

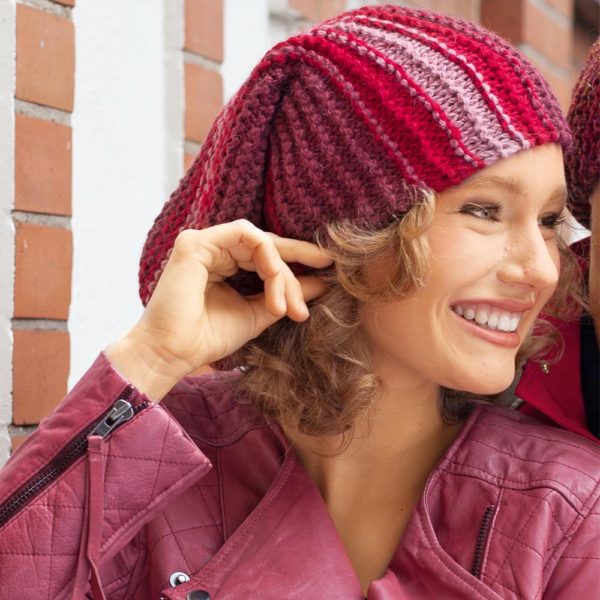
When the autumn colds come into their own, so I do not want to hide the rebellious curls under the hat. But you still need to warm your head, and in this case you have to put on a headdress. If you tie a volumetric beret or a hat yourself, then you can look not only stylish, but also very original.
Content
It does not go out of fashion for a long time, it only modifies its forms, patterns and textures. With the right choice, this headdress is suitable for any clothing, both classic and sports.
The composition of the threads can guarantee heat in cold weather or turn it into an openwork accessory for a summer evening. It can be dense or airy, strict or playful, in general, fully match your mood.
Models of berets: knit with knitting needles
- The shape of the beret must correspond to the oval of the face. In this case, he will look beautiful and decorate the mistress. Berets can be voluminous, flat, openwork, dense, with a visor and without.
- To choose the right beret, it is worth applying the following tips:
- the oval shape of the face will beautifully emphasize the classic beret;
- a round -shaped face is well suited with a visor;
- owners of narrow cheekbones and expressive eyes go any models;
- the headdress of soft yarn will successfully brighten up the volumetric features of the face;
- if your face today gives traces of fatigue or poor well -being, then the bright beret can distract attention.
- Different models of berets for women associated with knitting needles can perfectly complement any outfit and emphasize the nature and style of a stylish young lady.
Preparation for knitting beret with knitting needles
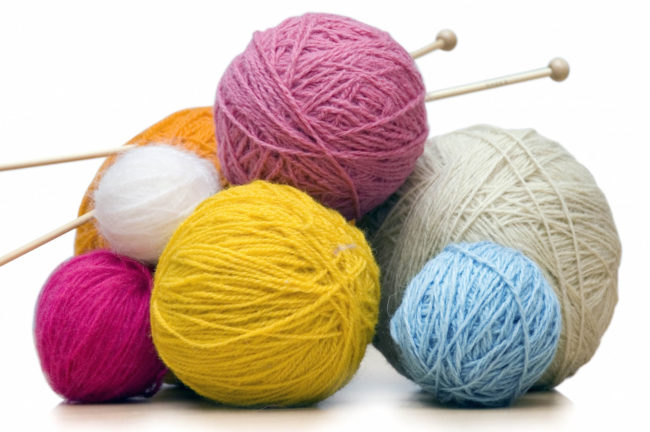
- The thickness of the threads and knitting needles must correspond to each other. For thin threads, it is better to choose knitting needles with a diameter of up to 3 mm, for thicker yarn it is better to choose knitting needles from 5 to 9 mm. Usually berets are knitted in a circle, so it makes sense to use circular knitting needles. There is another way when 5 ordinary knitting needles participate in the mating at the same time.
- The composition of the thread plays a key role for maintaining heat, so woolen or semi -haired threads are often chosen for winter models. For summer coolness, a cotton thread is well suited, which does not give excess heat and easily passes the air.
- Synthetics can be combined with natural threads or use only this type of material. Mixed yarn is more resistant to wear and stretching.
How to tie it from a rim with knitting needles: instructions for beginners
- The most common way of knitting is from gum to the crown. The beret's rim is easier and more practical to tie with an “elastic band”, and the upper part of the headdress is performed by the front viscous. We will tie the rim with more thin knitting needles so that it does not stretch very much when wearing and holding it in the right position.
- In order to decide on the size, you need to find out the circumference of the head using a measuring tape. It should pass simultaneously through the middle of the forehead and along the lower edge of the hair. Then we collect the number of loops on the knitting needles, which will correspond to the necessary length of the elastic band.
- Next, we knit the first row and close it into the ring. If knitting is performed using circular knitting needles, then we just move on to the next row, and if we knit on 5 knitting needles, then the hinges of the first row are equally distributed by 4 knitting needles.
- The elastic band can look different, but the most common performance is 1x1 or 2x2. The height of the rim should be compared with the shape of the forehead, but it should not be higher than 5 cm.
- After the elastic band is finished, we switch to thicker knitting needles and knit with facial loops. To expand the canvas, in the front row of the main knit, we make a cloak after each second front loop.
- Then, depending on the height of the beret, we knit 35 - 40 rows with the front knit, after which we proceed to the reduction of the loops for narrowing the headgear. In order for the top of the beret to look beautiful, you need to evenly divide all the loops into the right number of wedges.
- Then we perform all the loops in one group with a simple front viscous, and we knit the last 2 loops together. Such actions are performed for each group of loops. The next row is completely knitted with facial loops without narrowing the canvas.
- Thus, we reduce the number of loops in each second row until we reach the last 10 loops. Through them a thread is passed and a knot is designed, which should be fixed from the inside of the headgear.
How to tie simple beret from the crown with knitting needles
- Before knitting a beret from the crown, first you need to measure the volume of the head and choose the depth of the headgear. The method of knitting a beret from the crown is alternative knitting from a rim.
- First we type 10 loops and connect them in a circle. When knitting the first row, it is worth evenly throwing additional loops evenly through an equal number of facial loops. In the next row, the front loops should be knitted according to the scheme, and the additional loops are knitted with crossed loops.
- Thus, throwing loops should be performed in every second row. When the number of loops is as necessary as possible, you need to divide all the loops into 6 parts. Thus, the wedges of the headgear are formed.
- Subsequently, the Beret’s wedge also needs to be expanded. To do this, add loops in each second row 3 times and 6 times every 3 rows from 2 sides of each group.
- In the course of work, it is worth making sure that the canvas is even. The diameter of the crown of the beret for an adult should be up to 27 cm. After the formation of the upper part of the beret, a few centimeters of the canvas without increasing loops must be knitted.
- Then we proceed to the reduction of the loops. This process is best done in 4 stages so that the shape of the beret is smooth. As a result, the number of loops that will correspond to the circumference of the head should remain on the knitting needles.
- The final stage will be knitting the elastic band of the beret. The finished beret, connected by knitting needles, can be additionally decorated with rhinestones, beads, embossed flowers or brooch, as well as funny pompons.
How to tie it from mohair: Instruction
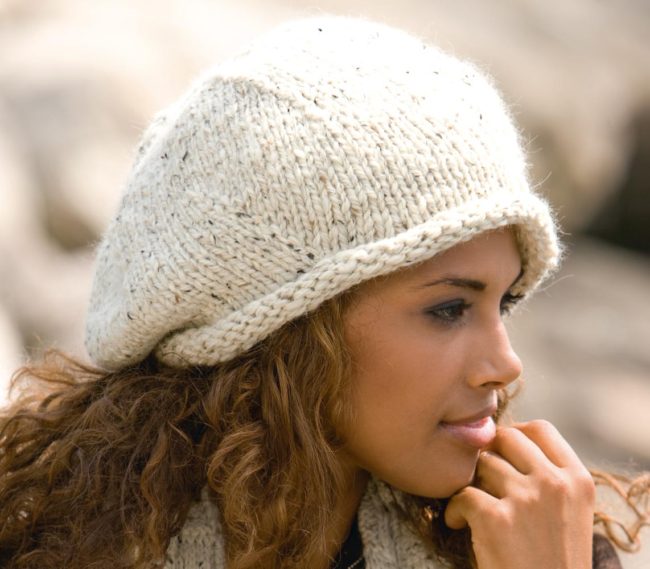
- Mohera berets perfectly retain heat and have a number of other wonderful qualities. This is yarn made of natural fibers that can contain silk, wool or acrylic. It is mohair who is often chosen when they want to tie the winter beret with knitting needles. It not only perfectly protects from the cold, but also a soft touch, light and durable material.
- Mohera products have a very fluffy and voluminous appearance. The knitting process will bring good mood, but for the desired density of the product you need to choose knitting needles with a suitable diameter.
- If the knitting needles are thick, then the thing comes out lighter and openwork, if the knitting needles are thinner, then the product will turn out to be denser. The optimal ratio of thread and knitting needles is 1x3.
- Mohera products require careful care so that their appearance remains impeccable for a long time. The washing of the moherian thing should be done only by hand at a temperature of not higher than 35 degrees using special tools.
- After washing, carefully squeezes moisture and put on a horizontal surface covered with a fly towel. Do not rush and dry it from the mohair in the sun or on the battery, as this will not benefit the thing.
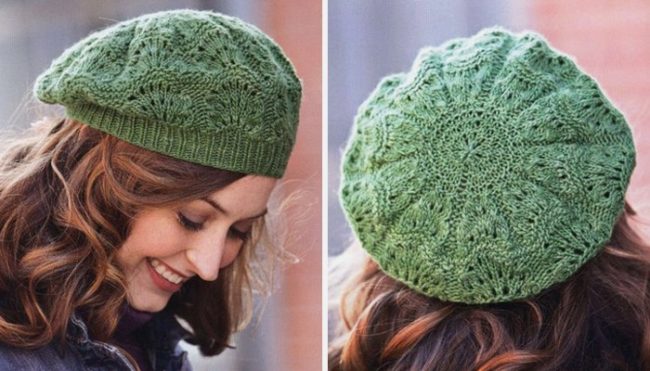
How to tie an openwork beret with knitting needles: diagram and description
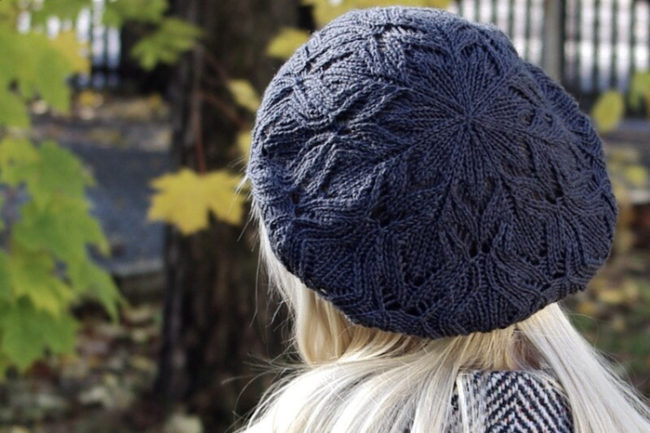
- Knitting berets with openwork patterns is best according to the scheme. This is a very fascinating process, but it requires attentiveness and scurpatic observance of all actions. The beret will look very embossed and attractive, which the needlewoman decided to connect with braids or other large ornaments.
- To connect with a pattern, you can study the master class, which are enough on the Internet. There are many varieties of braids. With all the attractiveness of this relief knitting, it is not difficult to perform it.
- The simplest braid is obtained if, against the background of the wrong knitting, knit an even number of facial loops, forming a strip. So it is worth doing several rows in a row, for example 8 or 10.
- Then just divide the number of facial loops by 2 and cross them, having tied first more distant loops, and then return to the remaining. Thus, the braid binding is formed, after which you need to knit the required number of rows again, continuing the strip of facial loops against the background of the wrong knit, and again cross the front loops.
- There are a large number of schemes for openwork berets connected by knitting needles. Patterns on them turn out to be one more beautiful than the other, so you should not pass before something new, it is better to boldly get to business.
Beres tied from different fragments
- It can be bonded not by a whole canvas, but with separate fragments. Most often they have a triangular or rectangular shape. Separate parts can be either one size or different. When all fragments are ready, they need to be collected together. After assembling the parts, a circle should form, which will be the bottom of the beret.
- After that, we continue to knit using the same technology as when knitting the product from the crown. To receive loops, we will stretch the knitting needle to the edge of the circle, making uniform indent. To form the volume, we will gradually add loops, and then reduce them as we approach the elastic band.
- This method of creating a beret allows you to create very original things. The decoration on the headdress can be embroidery with embossed floral motifs, geometric ornaments, braids and other elements.
- The berets related in the now -fashionable technique of Fritforms look amazing, which means a free form. This type of knitting has no boundaries and rules, it is completely free creativity. The whole product consists of colorful fragments of different shapes, shades and textures that are collected together in a finished product.
- In addition to the beret, you can tie a scarf, mittens, which will look simply irresistible.
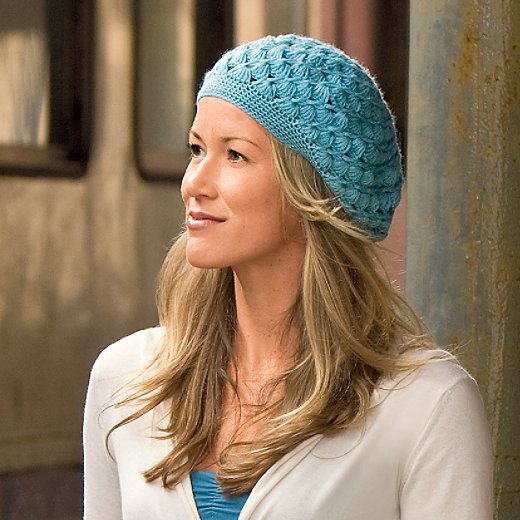
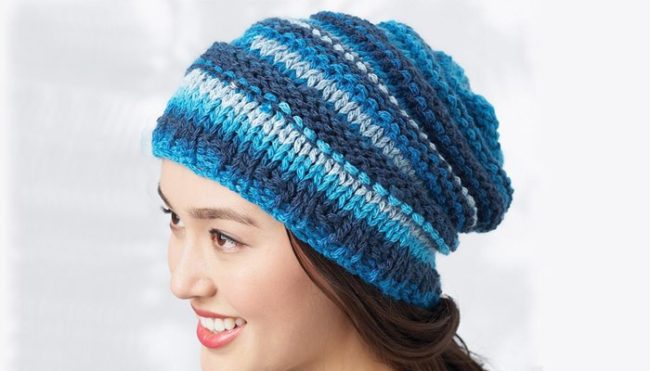
How to tie a crochet
- Beret, crocheted, serves to learn this skill in a very good way. After all, knitting in a circle is one of the first tricks that needlewomen masters.
- The hook should be chosen by the thickness of the yarn. The thread should be 1.5 - 2 times thicker than the hook. In order to take a crochet, it turned out to be a denser and warm one, you can choose a thinner hook for thick yarn.
- The simplest beret crocheted with air loops and columns.
- Crochet begins to knit from the crown. We perform 5 or 6 air loops and connect them into a circle. Then we knit in a circle without crochet. We continue to knit in a spiral, making 2 columns through each loop 1 loop.
- The third row is knitted similarly. From each second loop, we make 2 blocks without crochet. We are more rarely knitted all subsequent rows, but we control the shape of the circle so that it remains flat. If necessary, add columns or vice versa, miss their creation.
- To make the product neatly, in each row it should be added as many columns as it was in the previous one. In this case, we retain the same intervals between the columns of 1 row.
- After the crown is ready, you need to knit several rows without adding columns. The circle will begin to wrap and the bulge forms. The larger the thickness of the yarn, the less rows will need to be performed.
- After that, we begin to gradually reduce the loops. We knit with the reduction of several rows and make sure that the columns of the neighboring rows observe a checkerboard location.
- At the last stage, we reduce the number of columns to the required beret height. The more often a decrease in the number of columns, the more flat it will come out. At the end, we knit several rows with dense viscous without adding and reducing the number of loops for the design of a beret rim.
- The finished product can be decorated at your discretion. The flower tied and sewn on the side of the beret will look original and appropriate. You can use other decorative elements, the main thing is not to overdo it. If it is made in bright colors or using textured yarn, then the decoration can be superfluous.
It takes, with love, connected by knitting needles or hook, according to a scheme with a clear description of the process or invented by you personally, can become a highlight in your image. Know the secrets of needlework and create unique things for yourself and your loved ones.


Comments
a couple of years ago, there was no side of metrogils from the same problem, there were no side effects ...
I’m not a fan of peeling at all, it saves from acne of metrogil, it also smoothes it ...
Great article! ...
I take the second course of the Capsules Climafite 911. The tides went very quickly. It became calmer, irritability went away and I sleep well ...
i also noticed - it is worth nervous, everything immediately affects the face. Therefore, I try to avoid conflicts and unpleasant people. Of the creams, I like Miaflow from wrinkles - smoothes not only small wrinkles ...