

With the help of the varieties described below, the “shirt” paper can be incredibly congratulated, presenting presentations to the relatives and friends of the stronger sex. The work is easy to manufacture, and materials can be found, without exaggeration, in every house.
Content
Greet with a pocket "shirt" of paper with your own hands
It will be required:
- a sheet of plain paper A4 format;
- a sheet of colored or printed paper in size 16 × 16 cm;
- glue;
- scissors;
- simple pencil;
- ruler;
- writing accessories;
- small presentations, decor - at will.
How to make a postcard with a pocket "shirt" from paper in stages:
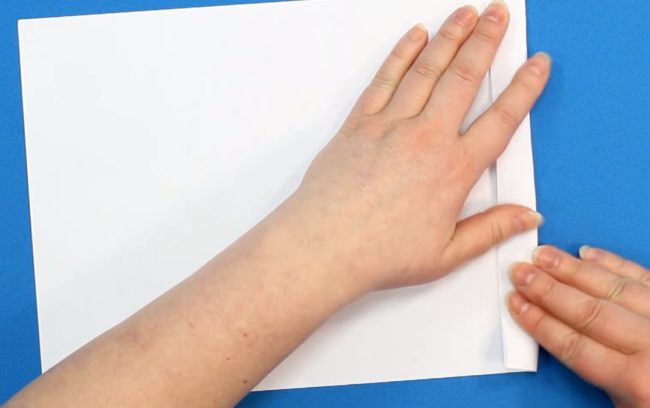
- Place a sheet of paper A4 format horizontally.
- Draw a vertical line, retreating 2 smuts from the right edge. Make a fold along this line.
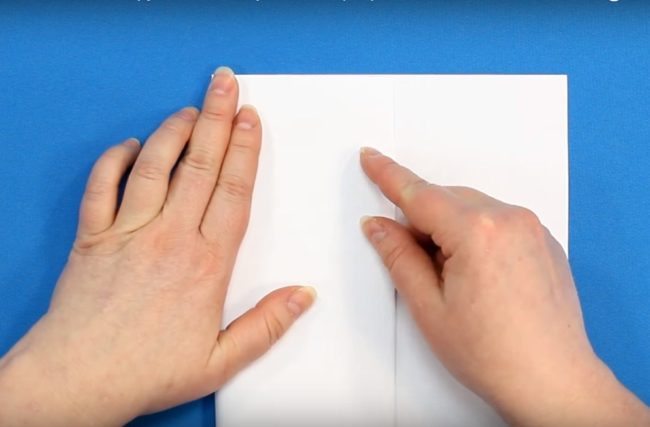
- Turn the sheet. Using a ruler and a simple pencil with vertical lines, divide the workpiece into 3 equal rectangles.
- Fold the paper on the resulting lines so that the envelope turns out.
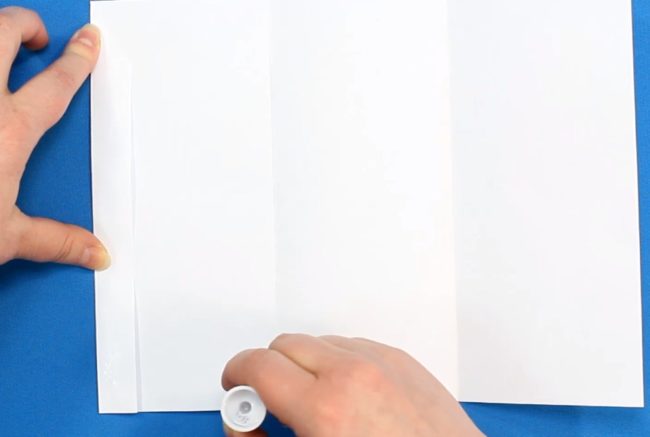
- Place the workpiece so that the two -centimeter fold is on the left.
- Cut the upper corner of the folds at an acute angle.
- Apply the glue to the fold and the lower side of the rectangle adjacent to it, fold it according to the already existing fold, and iron for better gluing.
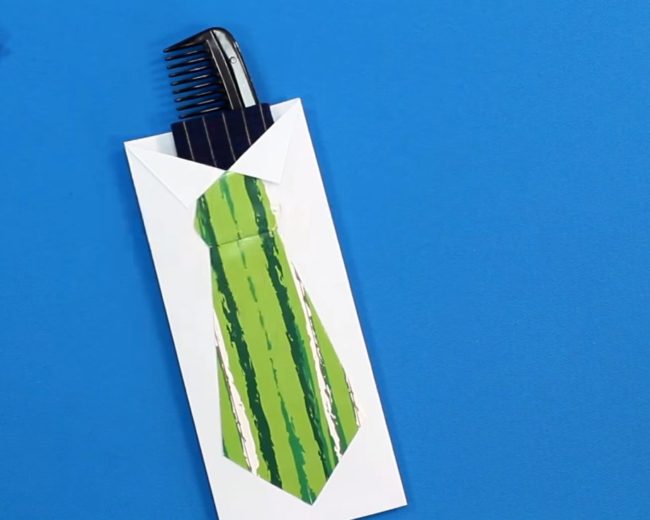
- It will turn out to blank postcards with a pocket for a presentation on the left and a place to write wishes on the right.
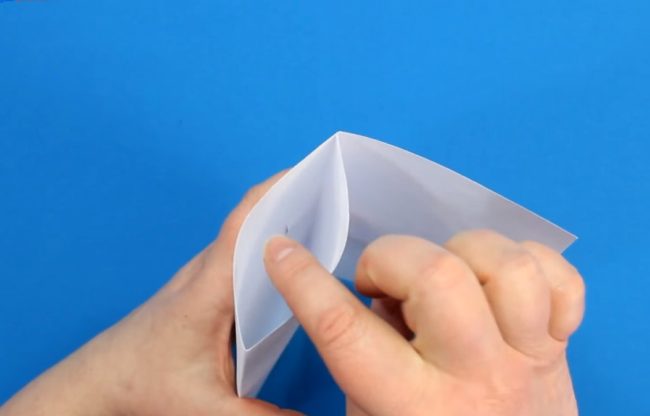
- Make a collar. Fold the card with a pocket up. From the center of the upper side of the rectangle, draw a vertical line 2.5 cm long. Cut the upper layer of paper along the line with scissors, bend the corners.
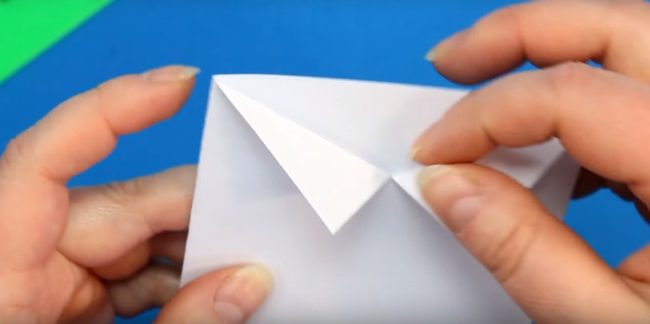
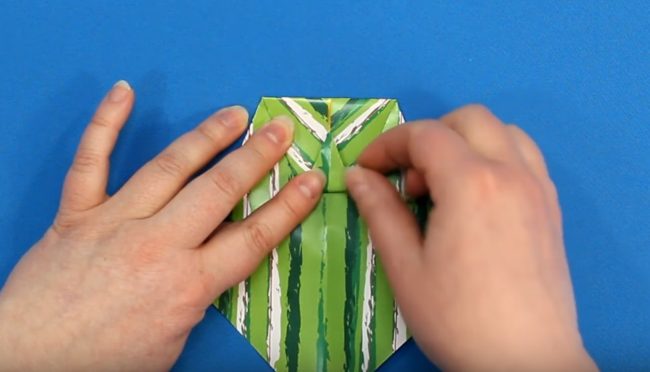
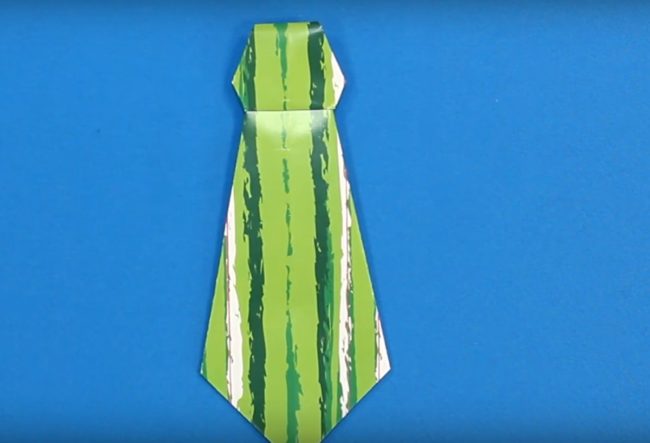
- Make a tie. Fold a sheet of paper in size 16 × 16 cm diagonally with the front side, work out the bend, and lay out.
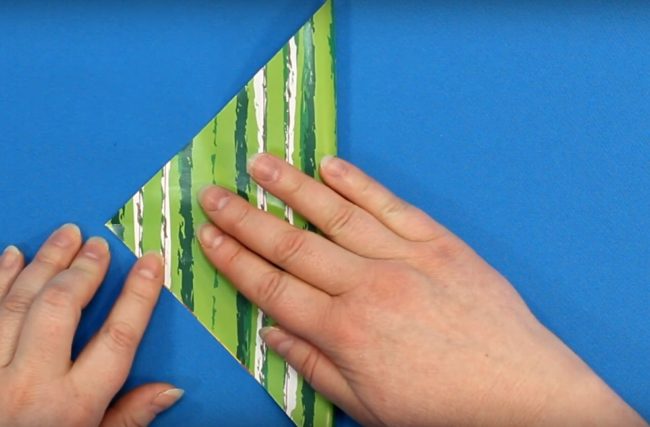
- Place the sheet so that the bend passes vertically. Wrap the upper side sides of the figure to the fold.
- Turn the billet of the tie. Bend the upper part of the part.
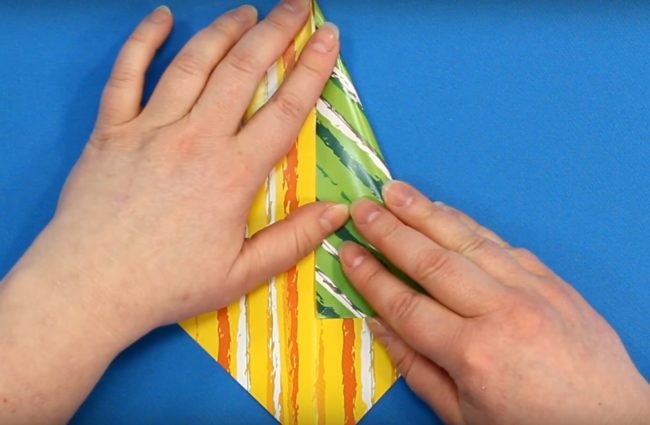
- The peak of the obtained isosceled triangle bend from you so that the height of the resulting small triangle is equal to half the height of the trapezoid into which it is inscribed.
- Spend another horizontal bend from the top of a small triangle in the direction of itself.
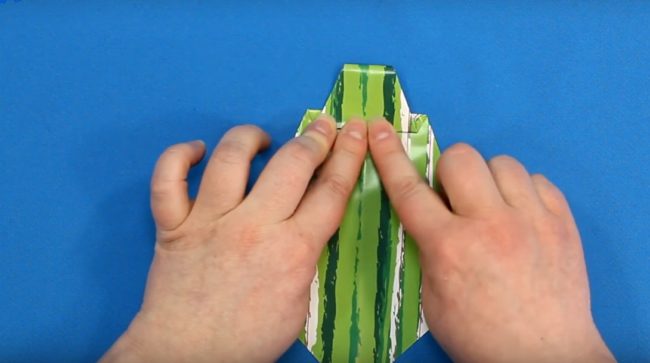
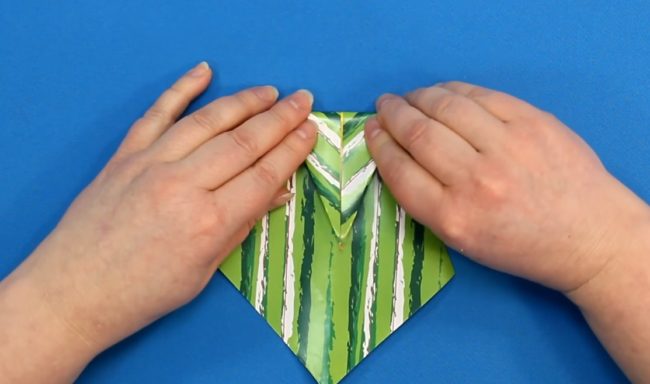
- The corners located at the base of the trapezoid so that there are miniature isosceles triangles.
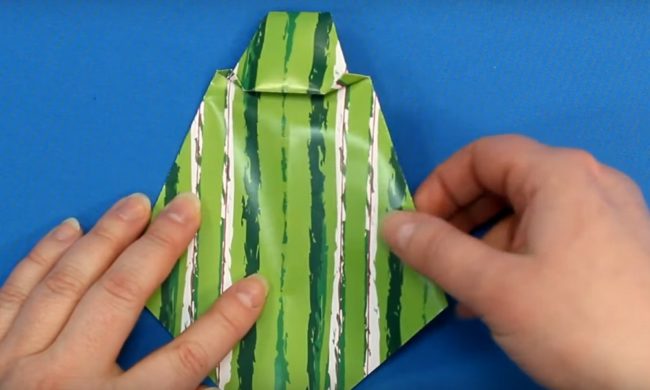
- Turn the workpiece. Wrap the side sides of the large trapezoid to the central fold line.
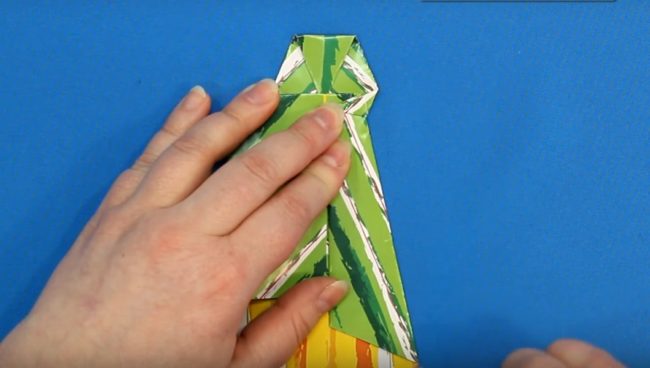
- The tie is ready.
- Glue a tie to the postcard. The postcard "shirt" from paper in the photo below:
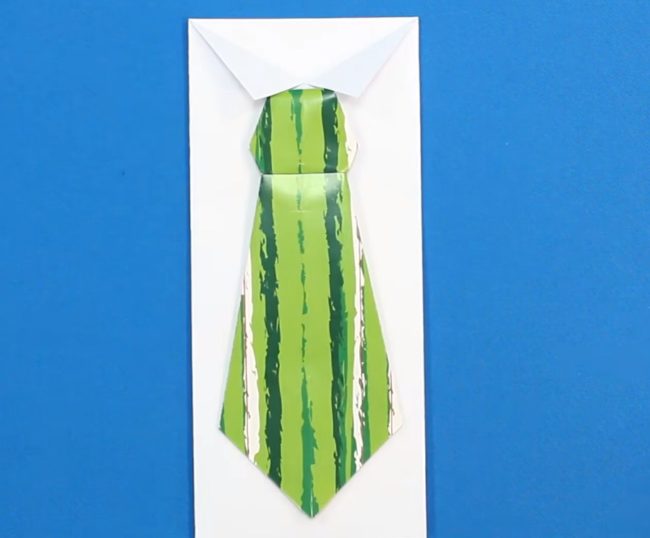
- Write a wish, put a present in a pocket.
Simple postcard "shirt" of paper
It will be required:
- a sheet of plain thick paper or A4 format;
- a sheet of colored or printed paper in size 16 × 16 cm;
- scissors;
- glue;
- ruler;
- simple pencil;
- writing accessories;
- decor - at will.
How to make a postcard a "shirt" of paper with a tie:
- Fold a sheet of thick paper vertically in half in the front side, expand the bend to the left.
- In the upper part of the obtained rectangles at a distance of several centimeters from the edge, draw a horizontal line.
- A strip of paper at the rectangle on the right is cut off along the intended line.
- At the rectangle on the left along the edges along the intended line, make cuts about 5 cm long, wrap the upper corners to the center. You will get a collar.
- Following items 9–15 of the master class on making a postcard with a pocket “shirt”, make a tie in the technique of origami.
- Glue a tie to the base of the postcard and the collar.
- Write a wish, decorate at will.
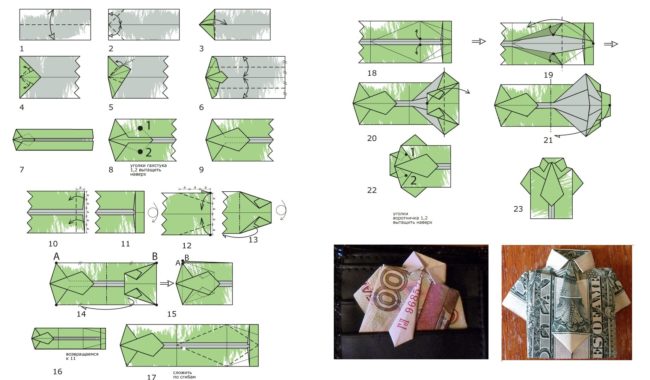
Origami "shirt" from paper or money bank
It will be required:
- cash bill or rectangular sheet of paper.
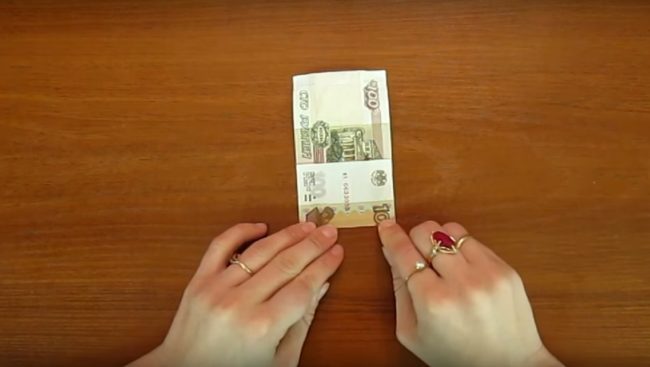
Master class: how to turn a paper shirt:
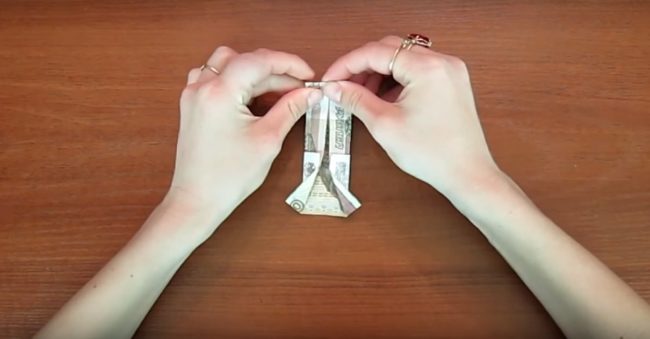
- Place the banknote vertically.
- Bend up the lower third of the cash bill.
- Turn the resulting figure, place it horizontally, fold in half, work out the bend and expand.
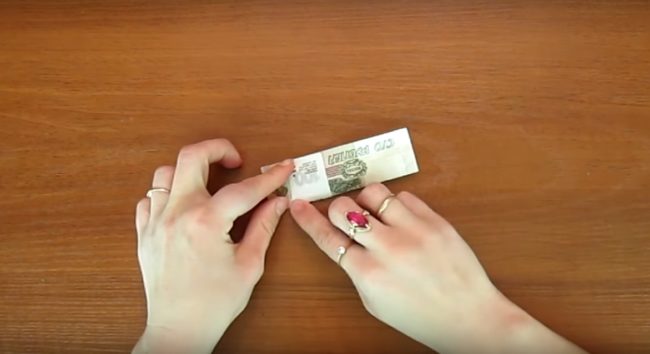
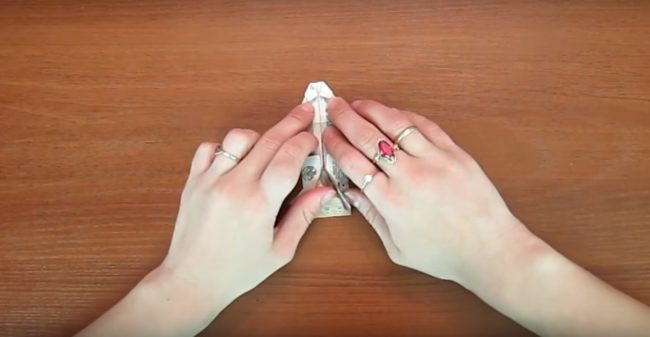
- Wrap parallel to the obtained central fold of the edge to the center.
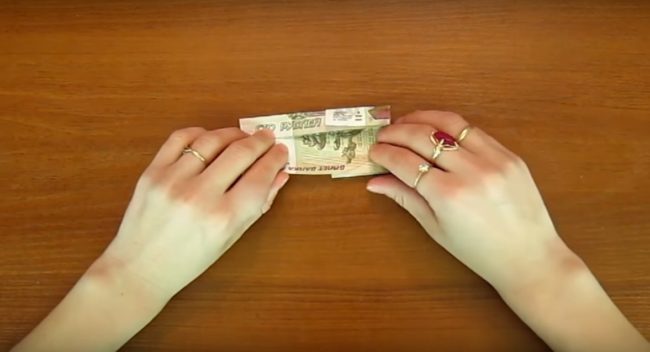
- In the workpiece formed at the bottom, a small rectangle draws an imaginary line connecting the outer lower corner of the figure and a point located on the border of the upper third of the opposite long side. The resulting rectangular triangle bend.
- Repeat the described in the previous point with another small rectangle.
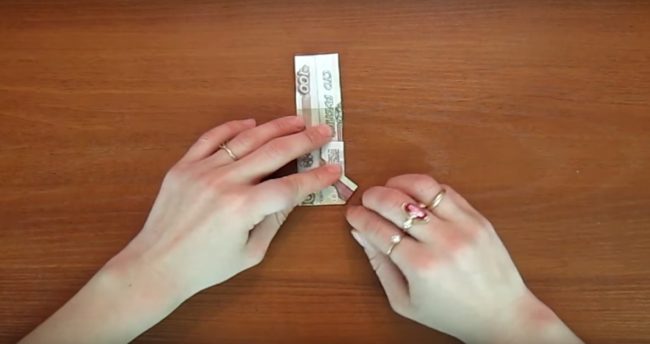
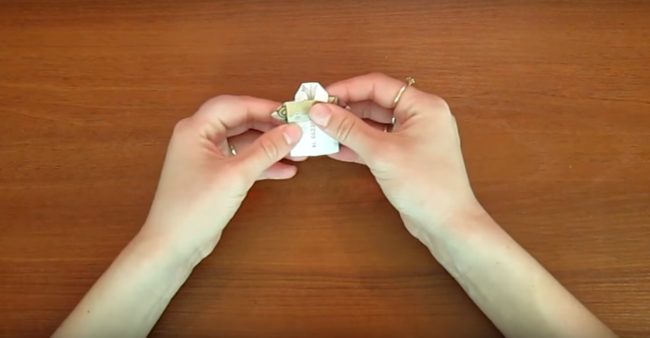
- In the upper part of the workpiece, bend in the direction of the rectangle from you 5 mm wide.
- Bend the upper corners of the workpiece to the point on the central fold line located about five mm from the upper edge.
- Bend the workpiece so that the lower part can be tucked under the collar formed on top.
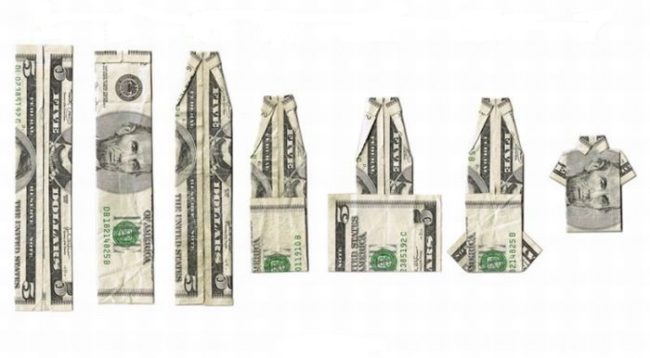
For the manufacture of crafts, you can also use the paper scheme of paper shirt in the photo.
Origami "Shirt with a tie" from a banknote or paper
It will be required:
- cash bill or rectangular sheet of paper.
How to make a shirt with a paper tie or banknote:
- Place the banknote horizontally, bend it horizontally in half, work out the bend and expand.
- Wrap the long sides of the rectangle to the resulting fold, work out the bend and expand.
- Set the banknote vertically. Wrap the upper corners to the central fold.
- The is an isosceles triangle obtained in the previous point.
- In the center of the triangle with fold, outline the outlines of the future tie. Bend the triangle on the intended folds so that the tie turns out convex. Work out a new fold in the upper part of the workpiece.
- Bend the edges of the workpiece to the central fold line. Refun the edges under the tie.
- Expand the workpiece 180 degrees. Bend from the upper side a rectangle about 5 mm wide.
- Turn the part. Bend the upper corners to the point on the line of the central fold located about 5 mm below the upper edge.
- Bend the upper part of the workpiece so that the distance between it and the lower edge of the tie is equal to a few mm, work out the bend and expand.
- Bend the side sides outward so that there are an isosceles triangles, separated in half by the bend obtained in the previous step. Fold the workpiece along the result of the resulting folds.
- Turn the part, bend so that the lower side corners are overlapped on the upper ones.
- Fold the lower part of the upper layer of the workpiece along the horizontal fold.
- Turn the part, lay the “shoulders” under the “collar”.
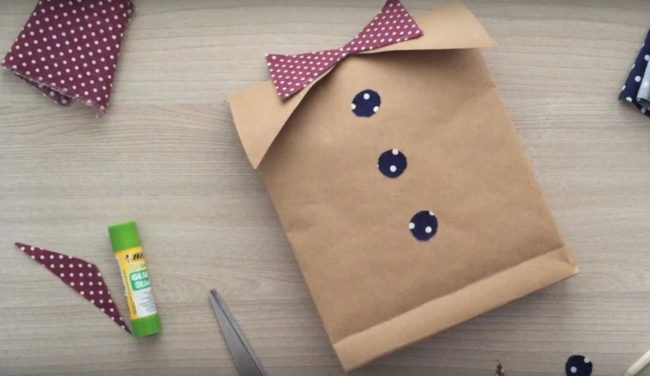
Gift package "shirt" from craft paper
It will be required:
- craft paper;
- scissors;
- glue;
- color or printed paper;
- cardboard;
- ruler;
- simple pencil;
- stapler and brackets.
Production:
- Fold the section of the craft paper (the size of the material is determined based on the dimensions of the gift) in half, work out the bend, expand.
- Wrap the side sides to the fold line so that their edges go one on the other about a centimeter.
- Make a place for overlapping with glue, fold, carefully iron it.
- Form the bottom. In the lower part of the workpiece, bend a rectangle with a width of 4-5 cm. Open it - you get a hexagon.
- Bend the upper and lower sides of the hexagon so that the overlap is formed. Glue the places of overlap.
- Form the side sides of the package. To do this, it is necessary to draw 2 imaginary lines at the edges of the bottom of the package, dividing the bottom into 2 triangles and a rectangle, and bend the side sides and the bottom of the bag along these lines.
- Straighten the workpiece. Fold the workpiece on the sides of the average bends inward.
- In the upper part of the future package, bend a rectangle about 7 cm wide, cut off one front and two side sides along the resulting folds.
- Bend the remaining rectangle on the front side of the bag. To outline an isosceles triangle on it with a peak lying in the center of the upper side of the rectangle and the base, which coincides and equal to the lower side of the rectangle.
- Cut the triangle.
- Draw and cut a tie-bow tie. Get it with colored or printed paper, attach it with a stapler.
- Cut several buttons from colored paper, decorate them with a “shirt”. The package is ready.
Gift "shirt" of paper: video master class on manufacture.
Conclusion
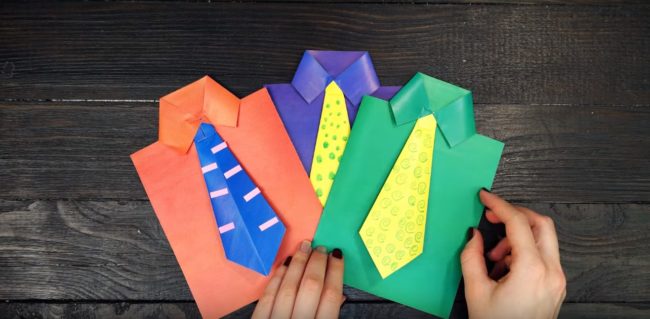
Among the above master classes you can find crafts of various levels of complexity. Simple postcard "shirt" can do even older preschool children. A postcard with a pocket and a gift package is somewhat more difficult to manufacture. The most accuracy, accuracy and zeal require shirts made in the technique of origami. However, you only need to practice a little and the fruits of this type of art will delight both the donor and the gifted.


Comments
a couple of years ago, there was no side of metrogils from the same problem, there were no side effects ...
I’m not a fan of peeling at all, it saves from acne of metrogil, it also smoothes it ...
Great article! ...
I take the second course of the Capsules Climafite 911. The tides went very quickly. It became calmer, irritability went away and I sleep well ...
i also noticed - it is worth nervous, everything immediately affects the face. Therefore, I try to avoid conflicts and unpleasant people. Of the creams, I like Miaflow from wrinkles - smoothes not only small wrinkles ...