Drawing-a real lifesaver for parents who want to calm children-nepomed for at least half an hour. A child with great enthusiasm refers to the image of houses, men and animals, especially if mother participates in this interesting venture with him. At first glance, there is nothing complicated in drawing animals. So it seems, until you pick up a pencil. To make the drawing beautiful and realistic, you need to transfer all the characteristic features of the appearance of your character to the paper. In this article, we will tell you how to easily draw a frog with a pencil and share these skills with your young artist.
Content
Before proceeding directly to drawing, you need to introduce some interesting facts from the life of the animal. In our case, this is a frog or a toad. So your activity will be not only entertaining, but also educational art. The kid, having met this representative of wildlife closer, will gladly help you draw him. What, for example, can be said about a frog?
- Under the name "frog", many different species of animals of this family are combined.
- Frogs are amphibians living mainly where it is warm and damp: in swamps, overgrown ponds, lakes.
- Frogs come in different colors and sizes.
- Frogs sleep with open eyes.
- The croaking of some frogs resembles the delicate sounds of the flute or the sonorous sound of the bell.
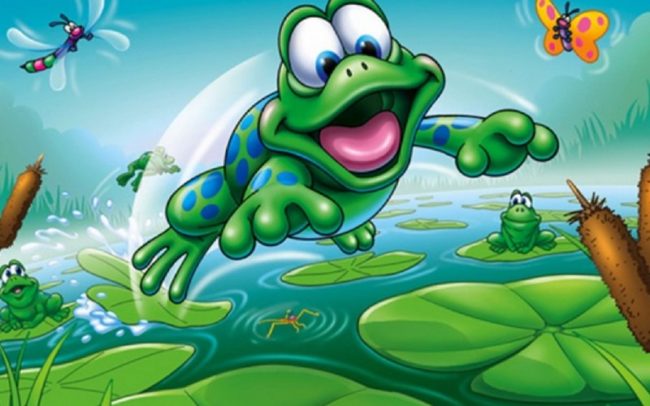
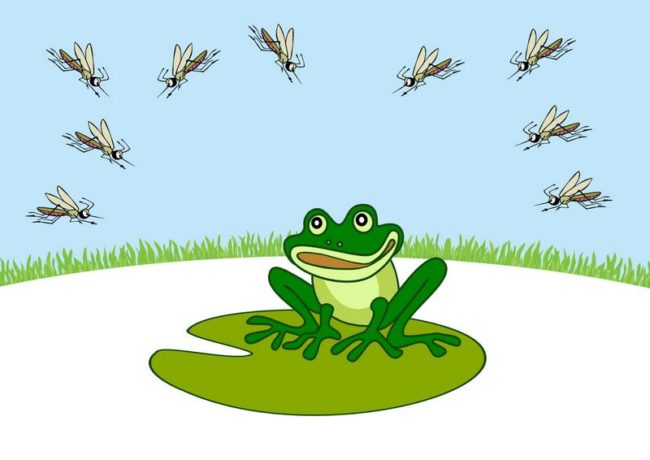
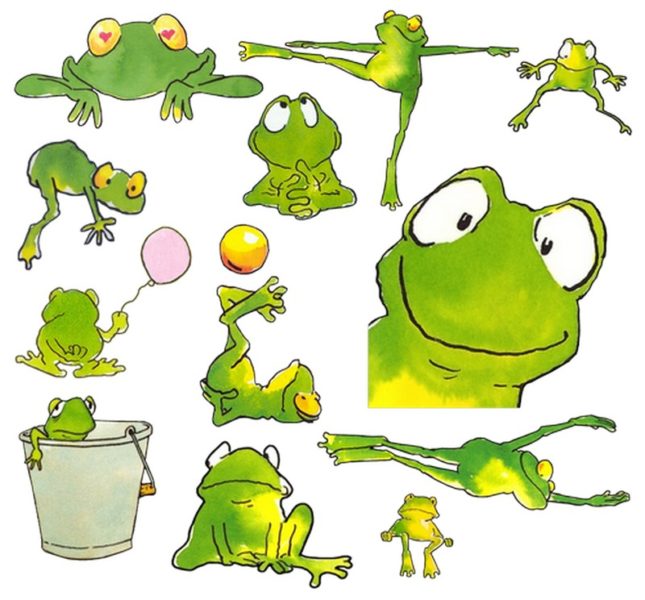
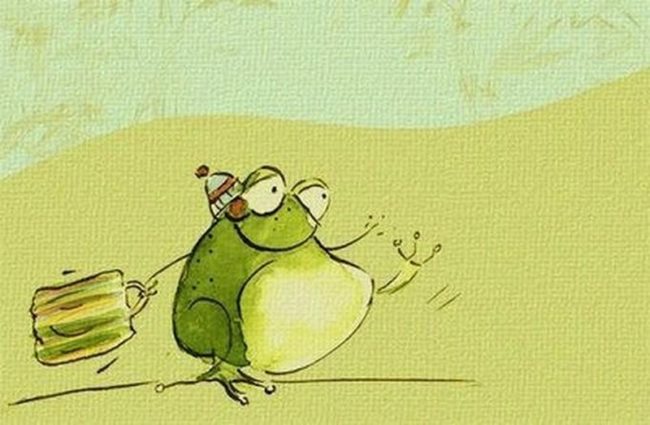
Of course, for a true artist this information is not primary information. But in our case, expanding the horizons of the child and introducing him to the world of wildlife will be very useful. Moreover, drawing with children at home allows us not to chase the right forms and vitality, depicting animals in a “cartoon” image. We offer you a selection of funny pictures of a drawn frog for inspiration:
How to draw a frog with a pencil in stages: the first way
Invite the child to list the most obvious features of the amphibian animal. What comes to mind in the first place? If the baby was confused, tell him: she is predominantly green, funny croaks, moves with jumps, she has round bulging eyes. Eyes will become a starting point in creating our picture.
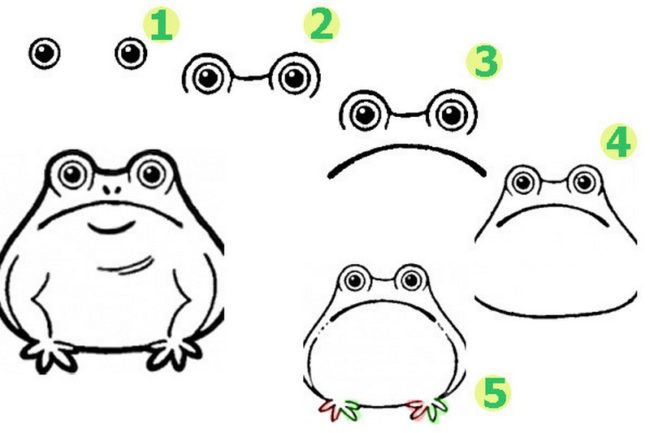
- We draw in the center of the sheet two identical mugs. Inside each of them we draw one more circle and paint them with a pencil.
- On top of each eye we draw the arch and connect them with a slightly concave jumper.
- We move on. Under the eyes, draw a long arched line, the ends of which are lowered down.
- Now we will draw vertical slightly curved lines from the eye, expanding them a little down, like a trapezoid.
- Below, we denote the frog tummy - we will draw an arcuate line with upward ends.
- We proceed to the image of the front paws: we draw spread fingers and draw from them a pair of curved lines up.
- Finally, we designate the nose on the muzzle with two specks, and just below we will draw a chin. See what an important and round creature we got! What color it will be - to solve exclusively to you.
How to draw a frog in stages for children: the second method
You can draw a frog for a child in different ways. We offer you another simple option for the image of the cheerful pache -eyed kwakshi.
To begin with, we will find a sketch of the future drawing. Draw an oval by hand a little higher than the central part of the sheet. Divide the geometric figure into 4 parts as shown in the example. This is the frame of our drawing.

Draw a large arc to the oval, making sure that the vertical frame line divides this figure into two identical parts of the part. The finished work will certainly please you if you do not forget about symmetry. At the same stage, just below the arc, draw small circles - the basis for the legs.

Now we will make a sketch of the legs: we will combine circles with the body using several lines. Please note: the lower lines are smooth, and the upper lines are blown up at an acute angle in one place. Do not forget that this is a draft, so it is not worth it to press a pencil.

In the oval, which will subsequently become the head of the frog, we will draw two circles so that they go beyond its borders. For convenience, take as a basis the horizontal line that we carried out at the very beginning of our work.

In the center of each mug, plunge two fat black dots - our eyes are ready! Now connect them with a linked line with a slightly concave, and then plunge the lower part of the oval to make the head. Inside the oval, portray a figure similar to a slice of orange. We got a cheerful frog muzzle.

In continuation of the topic, how to draw a frog in stages, logically go to the torso and paws of our muses. Let's start with the front limbs: along the smooth lines connecting the lower circles with the body, draw two arched lines. Then, from each circle, draw 3 short “sticks” and crown each of them with a circle. Falanks and “suction cups” are ready.


We go to the image of the hind legs. Taking into account the broken lines, draw two smoothly curved curves on their basis. If you did everything right, your drawing will look the same as an example. It is not necessary to follow our recommendations exactly, you can bring something of your own into this drawing. But remember that the image should be organic, despite the fact that we work in a multiplier style.

Armed with the eraser, carefully wipe all the sketches that we did at the beginning of the work. We will no longer need them - our character is ready and waits for him to be painted! The lesson where you learned how to draw a frog is completed, we give a child pencils or paint and provide him with complete freedom of action.

How to draw a "real" frog: a third way
And this step-by-step master class will be appreciated by people who have the initial drawing skills and want to hone their skills further. Now we will tell you how to portray the frog as realistic as possible. Follow the step -by -step instructions, and the result will pleasantly surprise you:
- so, let's start drawing our character from the muzzle and eyes. Draw the nose of the head and convex, an oversized arc. Press the pencil not much;

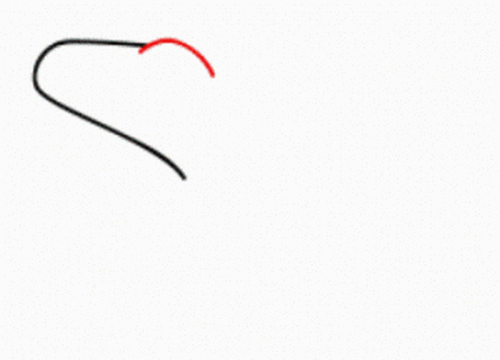
- now, with two smoothly curved lines, make a sketch of the back, throat and front limb;
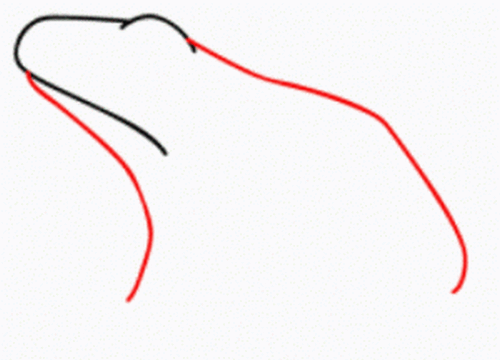
- we go to the paws: on the first front paw, we will finish the phalanx with membranes, in the background we depict the second front paw with the fingers. We draw the hind foot in this position, as if the frog is going to push off and jump;
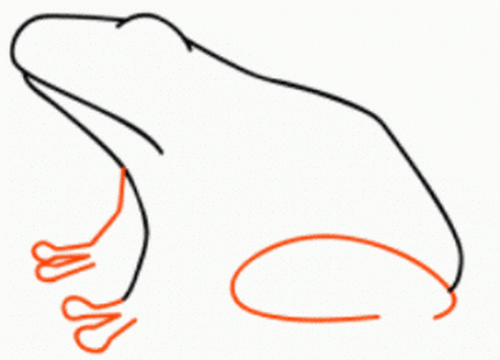
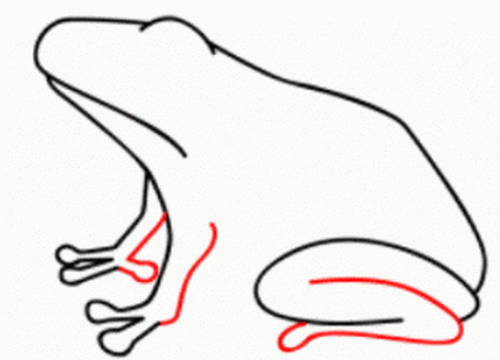
- at this stage, we will finish the stomach and the missing fingers on the legs;
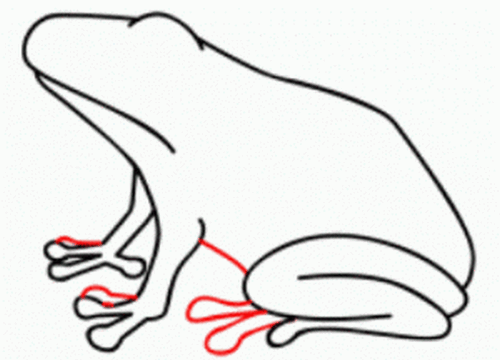
- we draw a round eye and an overseas arc from the other side. We depict a bend with a crooked line on the torso of the frog.
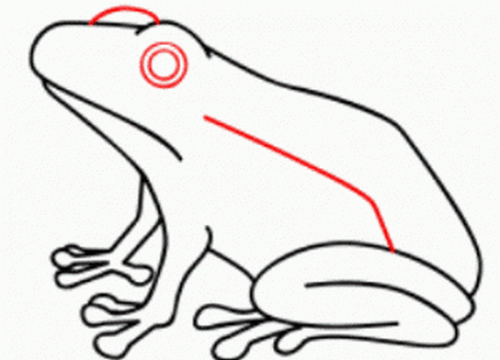
By decorating the pattern, use different shades of green and brown colors. Mixing the colors to get the shadows, and adding small details (for example, “pimples” on the back), you can make the frog as realistic as possible.
How to draw a fabulous tsar-footing
Having trained to draw simple frogs, you can proceed to a more complex activity - the image of fairy -tale characters. What cartoons with the participation of frogs come to your mind? Your child, most likely, will immediately call a couple of heroes that he remember. And we invite you to draw a stages in the princes. See what the enchanted princess in the performance of different authors looks like:
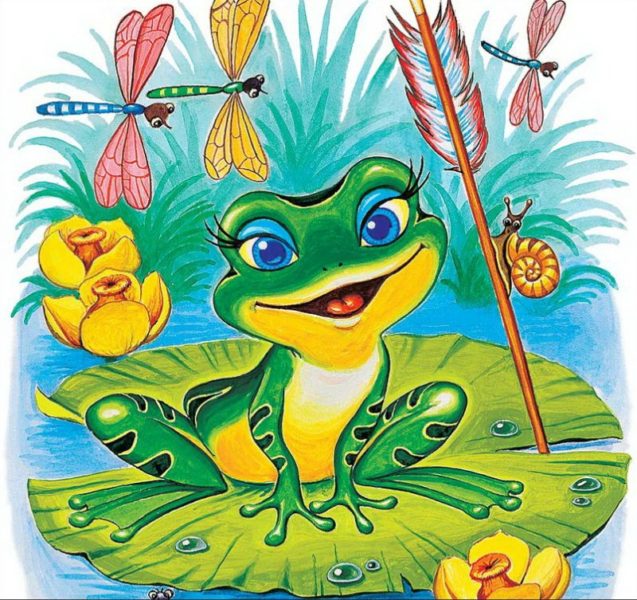
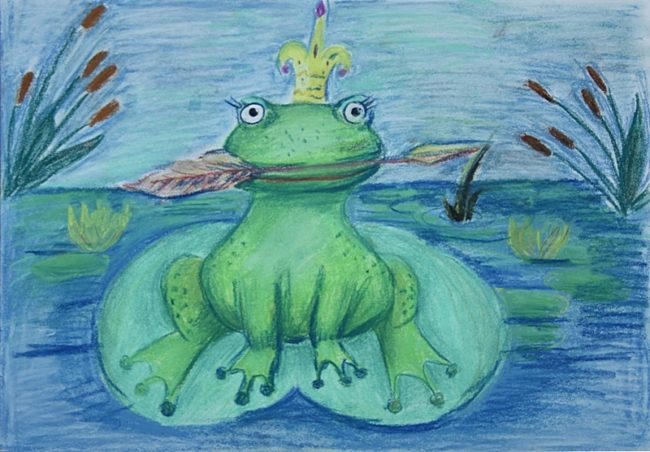
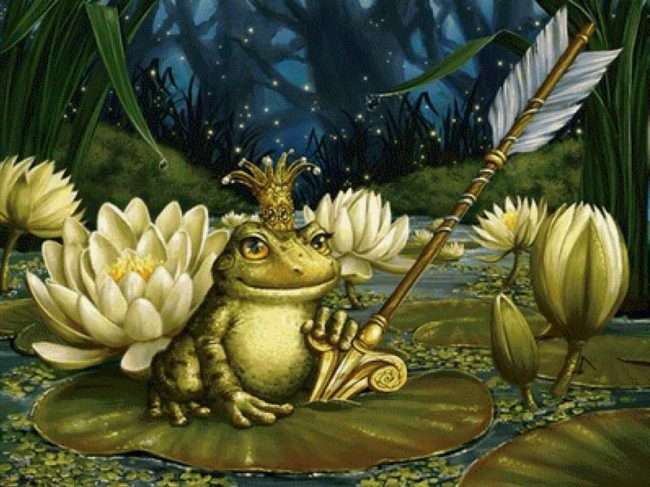
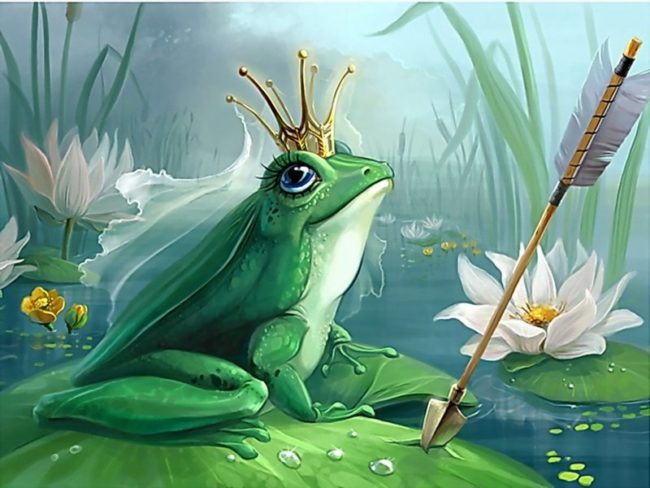
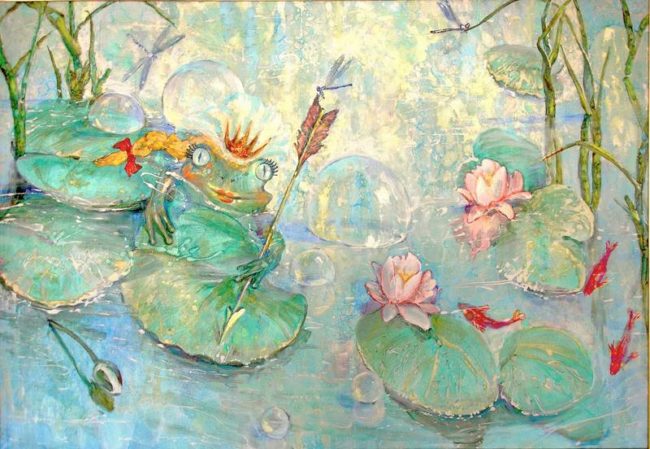
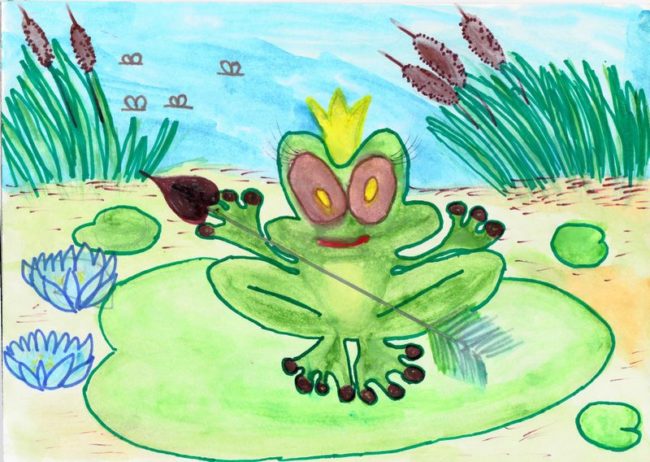
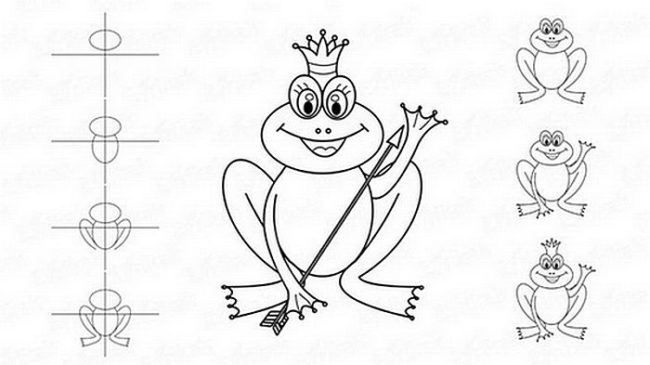
Let's take paper, a simple pencil, a ruler, an eraser and start work:
- In the center of the sheet, draw two perpendicularly intersecting lines that will serve us as the basis of the picture. In the upper part of the vertical line, draw an oval by placing it in such a way that the straight line divides it into two equal halves.
- Now let's go to the body. Draw to the oval an arched figure, extended in vertical, surpassing the head of the head in size.
- The main pride of the amphibian creature is long and strong hind legs, thanks to which the frog can make jumps over quite long distances. We will draw our fabulous princess sitting, so we will depict the hind limbs in the form of two lines bent into a long arc.
- Now draw your fingers like flippers to the hind legs. Gently delete the auxiliary lines with the help of an eraser - we no longer need them.
- We move on to the most interesting part of the work: draw large round eyes with eyelids and pupils, slices of the nose and mouth stretched in a smile. In general, the muzzle of the foreman should be fun and friendly.
- Using smooth crooked lines, draw the front paws with spread fingers to the character’s body.
- Well, now we’ll “hand over” the attributes of our kwakushka, thanks to which she is known as a princess for more than one generation of children: an elegant crown and a long arrow.
- Finally, make all the contours more clear and diligently draw the details. Our fairy -tale princess is ready. If desired, you can "sit" it on a large sheet of a swamp water lily.
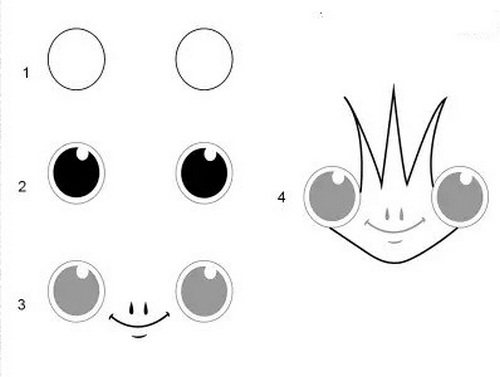
And here is another way to draw a snag from a fairy tale:
- we draw the blond eyes, a sweet face and immediately draw an impromptu crown;

- now - a small body and long hind legs with sharp fingers;
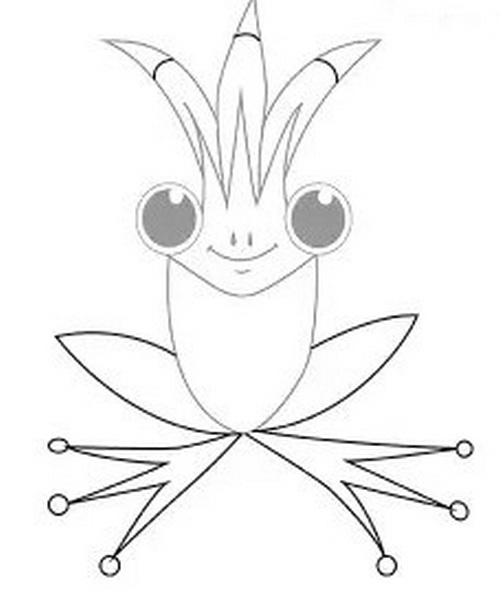
- and, of course, we depict an arrow, for which frog front legs grabbed tenaciously;
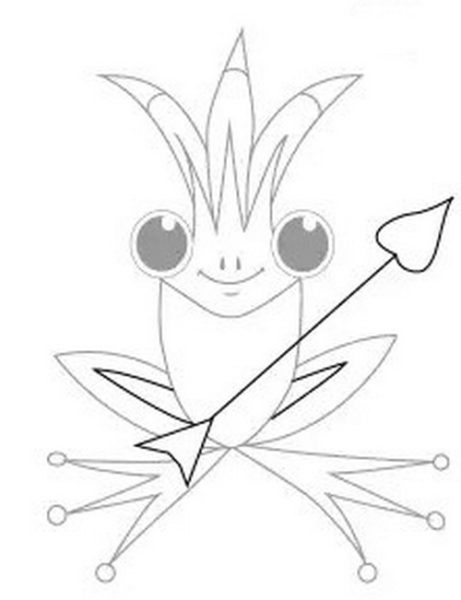
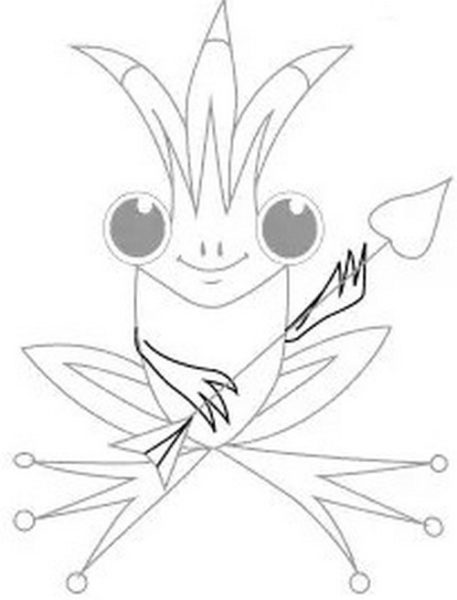
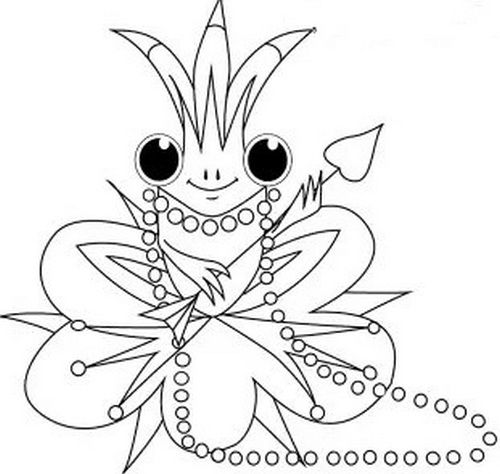
- we put our fabulous princess on a large flower and decorate her neck with a long thread of beads;

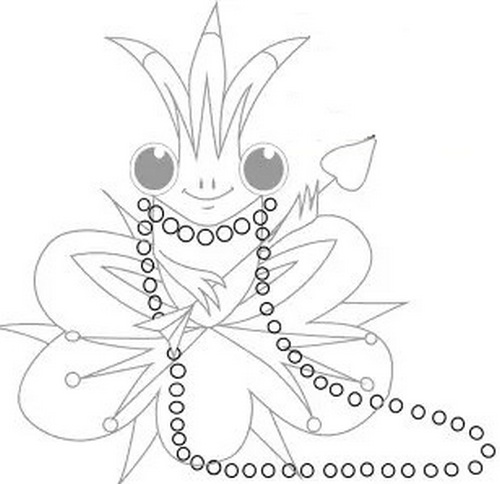
- we admire the finished image.


Comments
a couple of years ago, there was no side of metrogils from the same problem, there were no side effects ...
I’m not a fan of peeling at all, it saves from acne of metrogil, it also smoothes it ...
Great article! ...
I take the second course of the Capsules Climafite 911. The tides went very quickly. It became calmer, irritability went away and I sleep well ...
i also noticed - it is worth nervous, everything immediately affects the face. Therefore, I try to avoid conflicts and unpleasant people. Of the creams, I like Miaflow from wrinkles - smoothes not only small wrinkles ...