One of the main stages of apartment repair is high -quality wallpaper gluing. The current murals that have been relevant recently will help transform any room beyond recognition.
Content
The appearance of the walls determines the main background of the interior and the nature of the purpose of the dwelling. Therefore, it is very important to choose the type of wallpaper suitable for use and their color scheme. Today's variety of materials used for the manufacture of wall covering will ensure the correct mood for each room.
A special place among a wide range of materials for wall covering is occupied by murals, which have recently become fashionable. With independent gluing of such wallpaper, it is important to know all the features of this process. In order to avoid damage to materials and time spent on the next gluing, it is worth taking into account all the subtleties and type of material of wall wallpaper.
Selecting and applying photo -covers for walls
Types of photo wallpaper
To date, modern technologies for the production of wall coverings can offer consumers a fairly wide selection of various types of wallpaper with photo images:
- Paper photo covers of a finished type, the main advantage of which is their economical cost. Often images are printed in large factory scale on rather thin paper. Problems may occur with non -high -quality marking and incitement of parts.
- Ready -made photographs on a non -woven or viyal basis are printed on large -format printers with high -quality images of images on a denser material with the presence of various textures as hooks, canvas, sand, painting, plaster. Available in finished formats and are not executed on order with size adjustment.
- Lacques or lamination are performed in addition in the form of a matte or glossy film to protect against moisture and sunlight.
- Photo covers to order on a paper basis are performed to the desired size, have high -quality marking of the butt parts and can be made with the addition of various additional textures.
- Photo covers on order on a non -woven or vinyl basis are performed on high -quality printers with additional textures.
Choosing photography
As a rule, murals are used in an interior in a minimalist style, since too colorful furniture, curtains or curtains and the rest of the decor in combination with colorful walls will visually overload the room. Experts recommend thoroughly to consider all the design elements when using catchy wallpaper in advance. The basic color scheme of furniture should be combined with wall coating.
In all photographic wallpaper there are two basic colors that contrast with each other. The first of them prevails in the image and, in comparison with the other elements of the drawing, draws the main attention. The second shade is a kind of contrasting background, which is recommended to choose as the main gamut for color solutions of the entire room.
So, for example, the autumn landscape on the wallpaper will fit perfectly into the interior of the brown gamut and wooden furniture of natural shades. Bright flowers are perfectly combined with similar shades with curtains or upholstered furniture. But black and white photos are suitable for any interior and environment.
Three -dimensional images
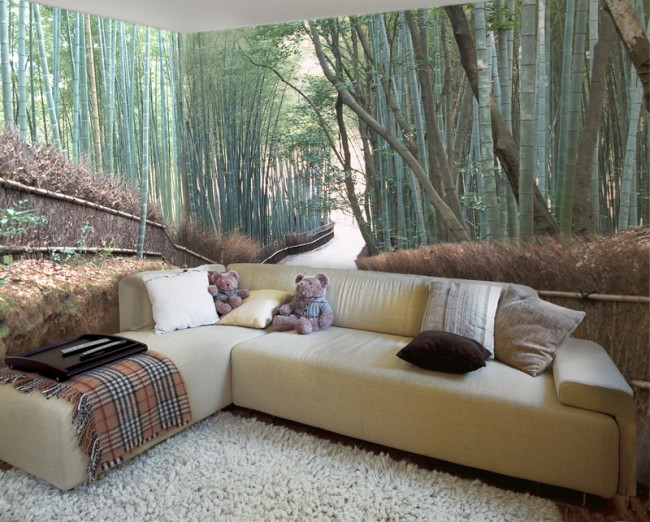
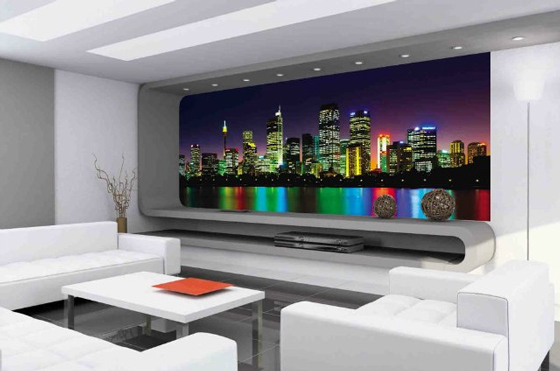
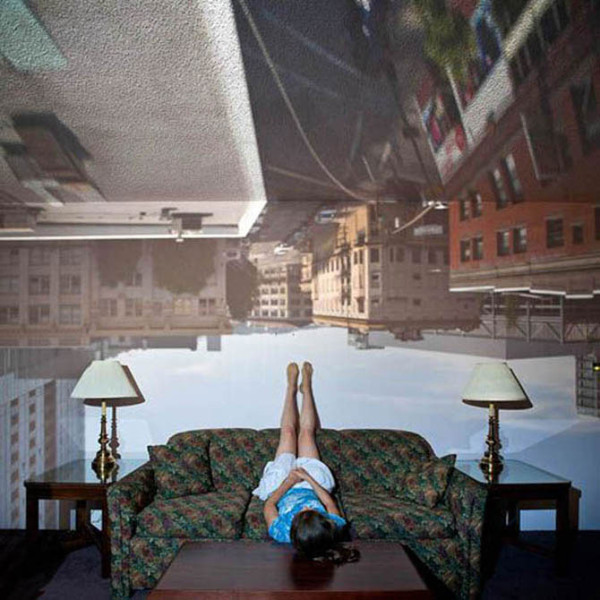
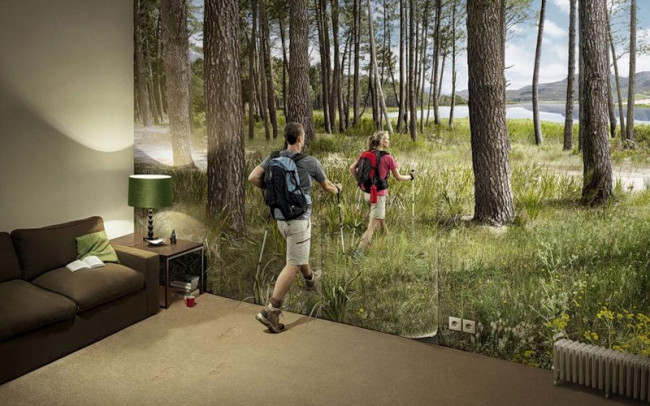
A trendy element of the design of the new generation walls with 3D images became. Such photos can be made to order and will become a highlight of any renovation. Images of a wide format create a visual “effect of presence”, and the design design and original illumination give the interior of an impressive personality.
It is three -dimensional wallpapers that have one indispensable quality - to expand the space. If the room is not large enough, then for a visual increase, it is recommended to use a coating with visual removal. It is worth carefully considering the purpose of such an image and determine the place for gluing, since some photos can also visually reduce the space.
For the living room and bedrooms, it is recommended to select calm color schemes, and for the children's and kitchen, funny and bright. Colorful wallpapers will complement the visual void if the room has a minimum of furniture. Warm tones have the ability to reduce space, and cold shades expand it.
White color and shades of orange, brown, red and pink visually increase the size of objects and create the effect of the image of the image. Black and shades of gray, blue and purple remote images on the wall. However, the most important factor when choosing a print is its thematic relevance in the interior.
Photo image on the door
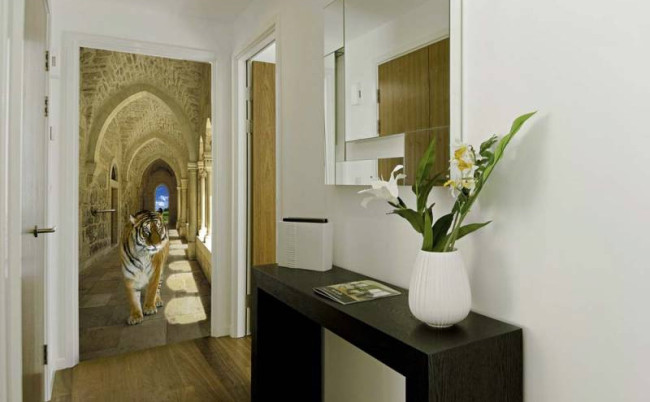
Another original solution may be the use of photo wallpaper on interior doors. Thus, you can transform the doorway into a decorative arch or window. Also, some images allow issuing a bookcase or fireplace.
Modern production of wallpaper cannot yet offer consumers a wide selection of door coatings, but any image can be embodied in reality to order. Such images can be selected by color for the rest of the design elements. Wallpapers of this format can be purchased with a laminated coating, which will preserve their appearance from damage, and also allows them to be washed with conventional means.
What do you need for gluing photo wallpaper on the wall?
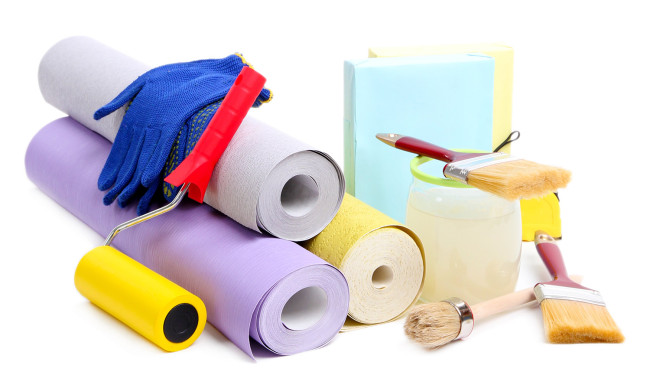
After you have decided on the color scheme of the room and the style of the photo image, you should prepare all the tools necessary for proper gluing and recalling inventory:
- A container with warm clean water to wash the walls;
- High -quality wallpaper glue on a natural basis and wooden or plastic long stick for its uniform stirring;
- Cloth gloves to protect the hands from glue;
- Soft roller or brushes of different sizes for applying glue and smearing joints;
- Sandpaper for clusing the smooth surface of the walls;
- Sharp stationery or wallpaper knife;
- Plastic container for breeding glue (pelvis or bucket);
- Portnovsky centimeter or construction roulette;
- Simple pencil and a long ruler or wooden rail for marking walls;
- Old newspapers, magazines or dense polyethylene for protecting the floor and furniture from glue pollution;
- Construction ladder or staircase, stable table or chair;
- Building alcohol level or plumb line;
- Construction spatula for removing old wallpaper;
- Solid rubber roller or pure x/b matter for smoothing the wallpaper;
- Pure matter for removing contaminants and excess glue (x/b fabric or sponge).
How to choose the right glue for photo wallpaper?
It is known that even the most high -quality wallpaper can be ruined by glue of unsatisfactory quality or inappropriate in composition to the material coating material. For proper gluing of photo wallpaper, it is recommended to purchase a special glue or composition for vinyl wallpaper, which contains antifungal substances that prevent mold. Popular universal glue is still better to choose the same brand as the acquired wallpaper.
Today's choice is offered by the consumer of the assortment of foreign and domestic brands, which mainly differ from each other only in the price category. When choosing glue, attention should be paid to the period of its production, a high level of moisture capacity of packaging and the lack of a strong unpleasant odor. The glue should be diluted strictly according to the instructions indicated on the package, and the composition should be calculated from the area and thickness of the wallpaper - the thicker, the thicker the layer.
Preparation of walls before gluing photo wallpaper
Many people wonder: is it possible to glue the murals on previously well -glued wallpaper? Experts categorically do not recommend conducting such experiments in their own repairs. The thing is that with superficial gluing a photo image, the pattern from the previous coating can noticeably occur, so before gluing light images the walls are advised to even paint a white water-based and primer.
The next frequently asked question when performing independent repair: is it possible to glue the murals on an uneven surface? Many mistakenly believe that a rather colorful pattern will help to hide the flaws of the surface. However, in reality, any photo wallpaper, especially light and thin will only emphasize irregularities, so the walls must be leveled, plastered, puttled with gypsum and cover with acrylic primer or cleaning the sliding surface with sandpaper.
The aligned walls must be thoroughly cleaned of the old coating, rinse and dry, remove skirting boards and sockets before direct gluing. The room in which it is necessary to glue paper wallpaper should be completely isolated from all possible air flows during the process and a day after the repair. The air temperature should be at least 5, but not more than 20 degrees.
Immediately before starting to glue the murals on a paper basis, they must be decomposed in full on the floor and make a clear markup with the numbering of segments on the wall for the perfect coincidence of all parts of the image. You should start from the window from the first extreme segment, drawing a line on the wall for its location. To draw a segment, use a pencil and a building alcohol level so that all the applied horizontal and vertical lines form a corner strictly at 90 degrees.
How to glue the murals correctly?
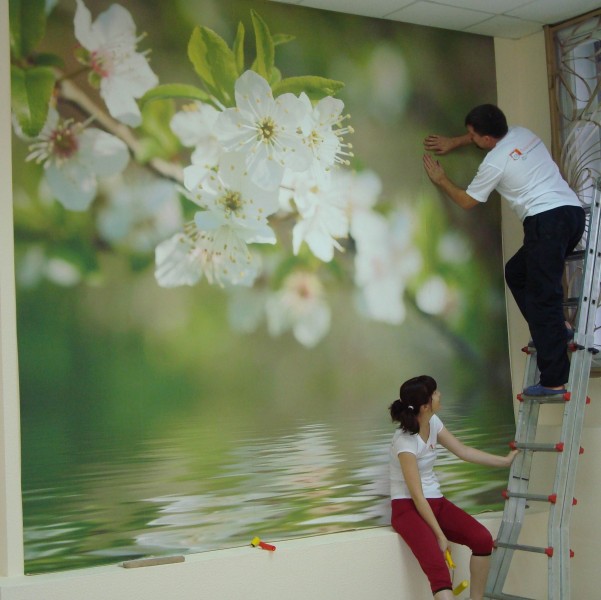
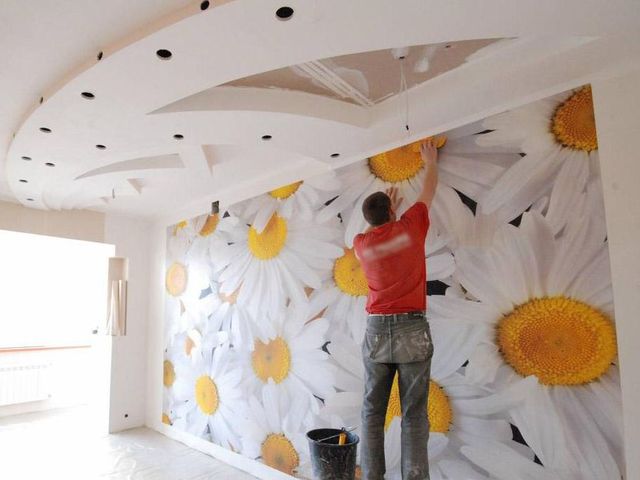
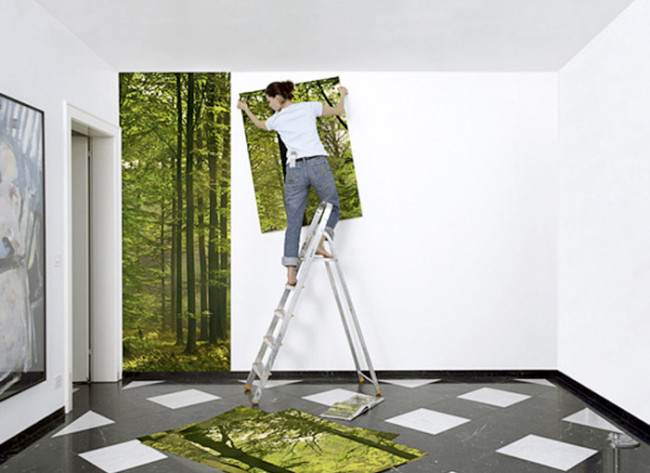
A step -by -step description of the correct process of wallpaper gluing in a standard way:
- Almost any murals consist of equal segments equal in size, which make up a whole image. Such segments are produced with fields at the edges for convenience when gluing. If you are going to glue the wallpaper "joint in the joint", then such fields must be trimmed with a sharp knife.
- All fragments of the image often have the corresponding marking on the reverse side for the convenience of gluing them. If the marking is absent, you can make it yourself. First, lay out the fragments on the floor with the front side, and then turn them over the back side up and place with numbers in the order of gluing. For convenience, it is also recommended to apply markings on the wall, which should start from left to right or down the vertical from the upper element.
- Next, go to the application of glue to the wall until completely absorbing excess moisture for a couple of minutes. It is better to apply glue to the wallpaper directly before gluing, since the murals are often very thin and from getting wet can stretch and break.
- The first fragment of the wallpaper should be glued perfectly evenly according to the marking previously applied to the wall, since the rest of the parts should be applied to it. It is necessary to glue the sheet from the middle, gradually smoothing it to the sides and removing the excess glue with a sponge or a damp cloth. If the edges managed to dry, then they should be smeared with a thin brush again.
- The following sheets are glued horizontally or vertical from the first overlap (at least 2 cm) or in the joint. Particular attention at this stage should be paid to a clear coincidence of the picture.
- At the final stage, the edges of the wallpaper should be cut after drying them and make holes under the outlet, if necessary, glue the joints. The wallpaper should dry at least three hours, but until they dry it, it is better to leave them for a day.
- For additional protection against moisture and ultraviolet rays, it is recommended to additionally cover with a lacquer or matte layer that protect the coating from temperature changes in the room and prevent rapid burnout of the image color.
- After drying the protective layer, skirting boards and the necessary sockets for electrical equipment should be installed. If the wall with murals is more than the image, it can be additionally designed in the frame with a ceiling baseboard.
Self -adhesive murals
There is an opinion that this type of wall or ceiling coating is much easier to glue, and there is also no need to buy glue and many additional inventory for repair. However, without experience and dexterity in such a case, an experiment with self -adhesive images can be less successful than with standard gluing of paper coatings. Such wallpapers have a paper protective layer, after the removal of which the image itself can be easily spoiled.
The fact is that after removing the protective layer, the wallpaper becomes very light and fragile to damage and gluing. There is a great risk of gluing parts of the image even before you bring the segment to the wall or ceiling. The glue on such wallpaper dries quickly enough, and when sticking to the surface, it can form shallows of wrinkles, which are almost impossible to smooth out or re -re -re -.
Video-set: how to glue murals?
A detailed visual briefing will help to properly glue wallpaper with a photo image even to novice repairmen:




Comments
a couple of years ago, there was no side of metrogils from the same problem, there were no side effects ...
I’m not a fan of peeling at all, it saves from acne of metrogil, it also smoothes it ...
Great article! ...
I take the second course of the Capsules Climafite 911. The tides went very quickly. It became calmer, irritability went away and I sleep well ...
i also noticed - it is worth nervous, everything immediately affects the face. Therefore, I try to avoid conflicts and unpleasant people. Of the creams, I like Miaflow from wrinkles - smoothes not only small wrinkles ...