The creaky floor does not cause positive emotions among the residents. Such inconvenience is annoying, and frankly nervous, besides, the floor creak causes a lot of troubles. Below we will understand the reasons for the creaking of the flooring and their elimination.
Content
Paul creaks: causes
“Musical” floors are often found in the houses of old buildings. The way out of this situation could be a holistic replacement of old boards with new ones, but it is not always convenient, from the point of view of global repair, and it would not cost cheap. Therefore, it is worth adopting several options for eliminating this problem without replacing the flooring. In addition, it will be much more economical. To begin with, we will understand the reasons that provoke the creak of the floor boards in the house. Why is the floor creaking and how to deal with it?
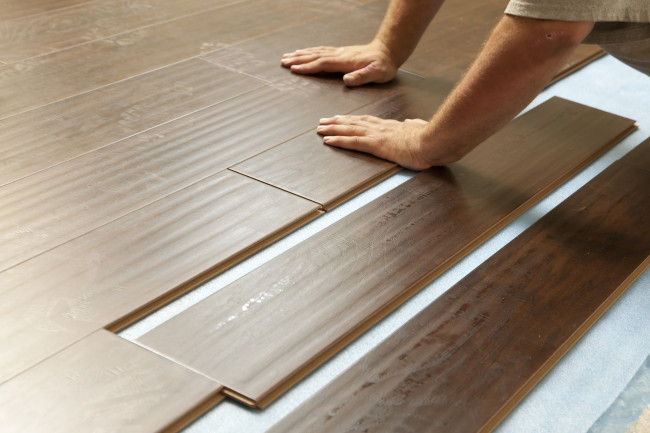
- The most common causes of the floor creaking is old age of flooring or violation of technical rules when laying the coating.
- Basically, the boards make a creak some time after installation, even if it was carried out efficiently and according to all the rules. This can be associated with the fact that the humidity in the apartment is constantly changing. In winter and summer, it is quite low, and in the spring and autumn - vice versa. All this can lead to the fact that natural boards will dry out, gaps will appear and this will cause a creak.
- Thus, one of the main causes of the floating floors is of poor -quality material or failure to comply with the basic requirements that are presented when laying the floor.
- If you stopped on a wooden flooring, then you must definitely choose boards and lags of good quality. Perfectly fitted floorboards will never create an unpleasant creak.
- Lags are wooden bars that are located horizontally and are the basis for floorboards. They are designed to create a certain space between concrete and the floor of a certain space, which is necessary so that the coating is ventilated.
- Lags should have a size of 4 cm to 10 cm. The distance between the lags should not be more than 60 cm. Otherwise, the floor boards will bend under the weight of your weight, and this, in turn, will lead to a creak.
- In addition, the lags should be well dried and the necessary time. If the material is raw, then the strips will begin to dry out directly under the floor. This will lead to deformation, curvature of the coating and, as a result, to an unpleasant creak of the floor.
- Due to the fact that the floorboards are attached to the lags with ordinary nails, this can also cause a creak. This is due to the fact that over time, nails can be scolding.
- It is important to consider the fact that by laying the floor at the walls it is necessary to leave a certain gap, and the boards themselves are thoroughly rubbed not only to each other, but also to the lags. All these nuances will help prevent the appearance of extraneous noise and creaks when walking.
- The flooring itself should have a thickness of at least 4 cm. Sometimes a plywood is used to cover the floor, but it should be thick enough - at least 2 cm.
How to warn the creation
If you adhere to some simple rules, then you can make sure that the floor does not creak at all, that is, to prevent the occurrence of this problem in advance.
- It is necessary to choose only high -quality and durable material for the floor. In Europe, pine or spruce floors are very common. They are strong, durable, and special bactericidal enzymes are released. In our regions, you need to build on the fact that the floor boards should absorb moisture as little as possible. The wood should be strong in structure. It can be, for example, oak, maple or ash.
- It is imperative to use an intermediate laying when laying the floor. It can be special substrates, heaters, or waterproofing material.
- It is necessary to lay the flooring loosely, leaving the gaps between the floorboards no wider than 1 mm. This will not in any way affect the quality of the final coverage of the floor, but will retain the ideal position of the floorboards, even given their partial drying or swelling.
- Sometimes the fiberboard is first put on the lags, and the floorboards are already on it. At first, you will not hear any creak. But fiberboard is the material is fragile and short -lived. Over time, it lends itself to deformation. This, in turn, leads to the displacement of the boards, which entails the occurrence of the creak.
How to eliminate the creak
- What to do if the floor creaks and how to get rid of it, we will try to explain and provide practical help. You can solve this problem in two ways:
- cardinal replacement of the entire flooring in the house;
- if your floors creak, without analyzing them, you can also cope with such a problem by point detecting a creak source and eliminating it.
- The first option is quite costly, the second is, on the contrary, practical and budget. It is produced in various ways. It all depends on the complexity of the problem, on the type of gender and many other factors. Consider step by step several simplest and most common ways to eliminate the creak in the floor.
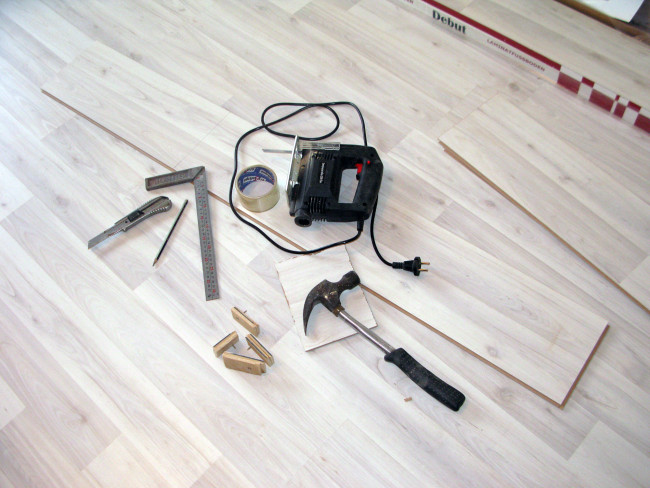
- First you need to determine what tools you may need to eliminate the creaking problem:
- lobby;
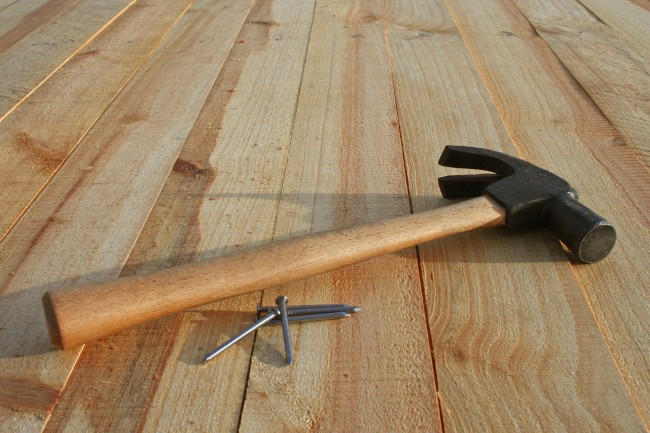
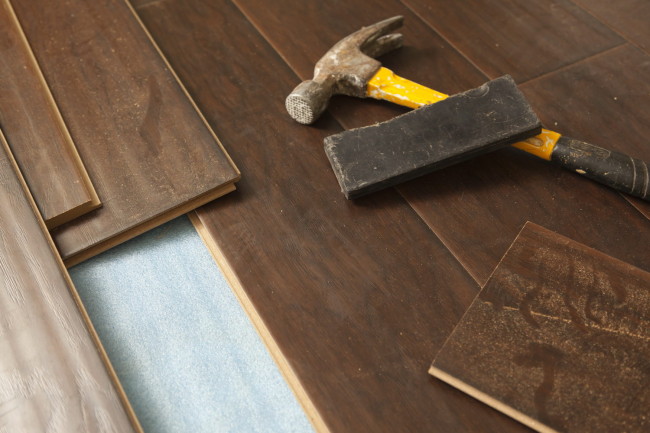
- the hammer is ordinary and wooden;
- manual screwdriver or mechanical drill;
- several screws;
- nail;
- wood sawdust;
- mounting foam;
- putty;
- cement.
The wooden floor creaks
Most often, wooden floors are found in country houses. There are several reasons why such a massive wooden floor can begin to creak. First you need to determine the reason why the floors creak in the apartment and solve it with the help of the following simple tips.
- Any tree is subjected to deformation over time, dry or swells. Since the boards during installation are attached to the lags with the help of nails, it means that some of them can get out and begin to create noise. First you need to find out exactly which fasteners have become unusable and removed using a nail. Self -tapping screws must be screwed next to those holes in which nails were located. And they can be used more than before that there were nails.
- Usually, the lags should be at a short distance from each other, no more than 60 cm. If it turned out that the distance in the flooring of your house is larger, and the floorboards themselves are thinner, then the boards can bend and create a creak. Such complexity is eliminated by installing additional lags. To do this, inevitably, you need to remove all the floorboards and lay the missing partitions between the main ones. Then fasten the entire sexual flooring again, but already with the help of self -tapping screws.
- If the boards are used for the flooring, which is supposed to be, then the entire upper sexual flooring is removed, and plywood or chipboard is laid directly on the base. Materials should be of high quality and, most importantly, moisture resistant. The flooring is already mounted directly on a fortified intermediate flooring using small diameter screws and sufficient length.
- If the boards were in an inconspicuous way, then over time they will inevitably suck. This will lead to the formation of cracks in the floor covering. In order to eliminate this problem in the gap, it is recommended to fill the graphite powder or talc. You can also drive small wooden blades into the cracks, and then put the unsightly places with putty mixed with wooden sawdust, or close them with the selected flooring material.
- If the apartment has high humidity, then the boards can simply be damp and begin to creak. Most likely, when laying such a sex, waterproofing rules were violated. To eliminate this problem, it is necessary to drag the entire sexual flooring and put roofing sheets on the lags. When installing them, it is important to make a small wiper on the walls. If the boards do not rot from the lower part of them must be treated with an antiseptic and mounted on top of the roofing material.
- If you notice an outgoing unpleasant sound from only one or two floorboards, then it can be eliminated using mounting foam. You should drill a hole in the middle of the board that was ill and squeeze out the mounting foam there. After that, try not to step on this board until it dries completely.
- If the flooring creaks due to the friction of the material, then such a defect can be eliminated using additional strengthening to the lambs with self -tapping screws or nails. You should fasten the boards with each other, screwing it at an angle. Such a solution will be effective if the boards used in the coating are quite thick.
- If you do everything when laying the coating correctly, and yet the floor creaks, it is possible that the base and lags are made of wood species that have different properties. In this case, the only solution is the dismantling of the external coating and the installation between the floor and the lags of additional fabric laying. This can reduce the creak, or even completely eliminate it.
The parquet floor creaks
If you notice that the parquet floor in your house began to cry out, then the problem must be solved immediately. Most likely, when laying the parquet, the installation rules were violated, and this led to the appearance of a defect. There are 3 ways to solve the problem of creaking of the parquet floor.
Complete shift
It is characterized by considerable material and physical costs.
Partial marker adjustment
- In this case, it is necessary to determine and assign to the marker or chalk those places on the floor where the creak is heard. They are sometimes clearly visible even with the naked eye - the parquet in such places is raised.
- After the problem is found, in several boards, using a drill, it is necessary to make through holes in which then screw the screws with a diameter of at least 7 mm. In the process of screwing, it is important to feel when the self -tapping screw reaches the concrete coating and immediately stop, otherwise the floor will rise even higher.
- It is important not to cut the hats of screws at once. After a few days, it is necessary to tighten them again. Thus, you will create supports that eliminate the creak completely or significantly reduce it.
Cycles of cracks
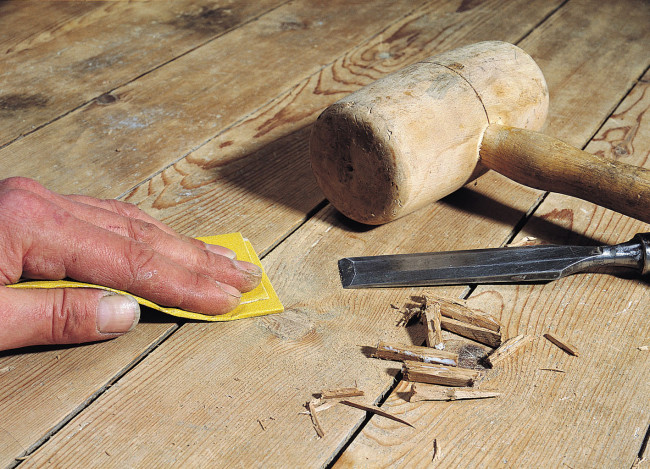
- Cycs or launching the resulting cracks with a special mass mixed with sawdust will help get rid of the quiet sounds of parquet and boards.
- One of the effective ways to eliminate the floors of the floors in the sagging parquet board is nothing more than to make a hole in it no more than 8 mm in diameter and mashwatukatukatuatukatuatukatatukatatukatatukatatukatatukatatukatatom.
- The construction mixture or cement solution must be made with a liquid consistency and using a syringe press its contents into the hole made.
- Filling is made until the void under the floorboard is completely disappeared. Before the cement hardening, one cannot step on the floorboard.
- After drying, the hole made is masked by special putty.
Grings from chipboard creaks
- If the floor is made of chipboard leaves, then their creak can be caused by improper styling or insufficient thickness of the materials used.
- When laying floors from chipboard, it is necessary to leave small gaps between the sheets themselves, as well as along the walls. If such security distances are not left, then over time, the sheets of chipboard will begin to expand and deform. Bloating in some places may appear.
- The chipboard will be especially actively deformed if you have high humidity in your house.
- In this case, it is necessary to make gaps between the walls and the slabs a little wider using a disk saw. You need to act carefully, make sure that self -tapping screws or nails do not meet in the path of saws.
- If the creak is caused by insufficient thickness of the material, then it is necessary to lay another row of chipboard or deliver plywood sheets. It is especially important in this case that the lags are located near each other.
- If you have only one sheet of chipboard creaks, then the floor noise problem can be eliminated without analyzing it. To do this, remove the flooring from the damaged area using a electric saw and cut a square from chipboard with a size of 60 cm by 60 cm.
- Next, under a sheet of chipboard, you need to put the bars so that they are pressed tightly to it, and then attach a cut piece of the sheet in place and strengthen with self -tapping screws. It is important to process the seams with putty, and then only lay the flooring again.
What to do if the floor creaks: video
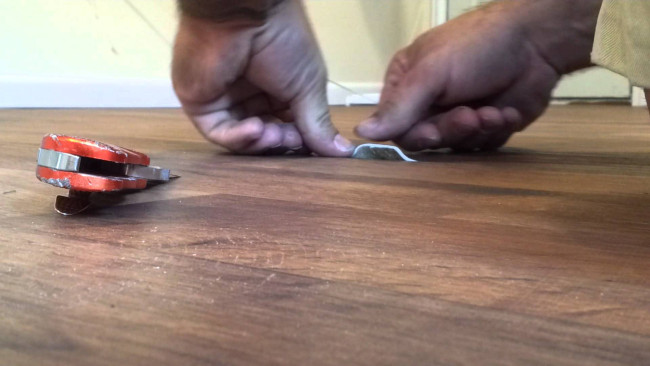
The simplest and most common methods for eliminating such an unpleasant problem as the floating of the sexes will help the owners in its resolution. If your floor creaks, the video provided in this article will help to clearly understand the process of dismantling and replacing creaky floorboards.




Comments
a couple of years ago, there was no side of metrogils from the same problem, there were no side effects ...
I’m not a fan of peeling at all, it saves from acne of metrogil, it also smoothes it ...
Great article! ...
I take the second course of the Capsules Climafite 911. The tides went very quickly. It became calmer, irritability went away and I sleep well ...
i also noticed - it is worth nervous, everything immediately affects the face. Therefore, I try to avoid conflicts and unpleasant people. Of the creams, I like Miaflow from wrinkles - smoothes not only small wrinkles ...