Talented craftswomen often sew a lot of beautiful clothes, bedding and even shoes for their kids. But each of them at least once came the idea to make a warm soft blanket with bright applications and lace. You can sew it out of anything and the flight of imagination in this matter is completely limitless. There are no strict restrictions on the choice of materials or the rules of sewing - it all depends only on your capabilities and desires. If you want to create a blanket for a baby for discharge, for walking in a stroller or just for covering with cold nights, we suggest you get acquainted with popular sewing techniques of home -made blankets and basic manufacturing schemes.
Content
Where to start sewing a children's blanket
To make the blanket good, and your efforts were not wasted, you need to correctly calculate the size of the blanket, and arm yourself with all the necessary materials.
DIY BLOWERS. The size of the blanket
You can choose the size of the blanket at your discretion, taking into account the age of your crumbs, the size of the crib and existing bedding:
- Kids from birth to three years old sleep in cribs for newborns. The standard dimensions of the mattress are 120 × 60 cm. The average of the duvetor for this age category is 120x90 cm. Therefore, the size of the blanket must correspond to its size. If you plan to use a blanket without a duvetail, you can slightly change its size.
- Children from three to six years old sleep on children's beds with dimensions of 160x70 cm. The appropriate value of the blanket for such a bed will be 140x110 cm.
- Kids 5-6 years old feel comfortable on teenage beds with a mattress size of 200x90 cm. For this age, a little more blanket is suitable-215x143 cm.
Modern textile production has long gone out of the standards and releases bedding and blankets of not quite typical sizes. Very often there are square and round blankets that are able to transform. Therefore, you can safely experiment with the size and shape of a home -made product.
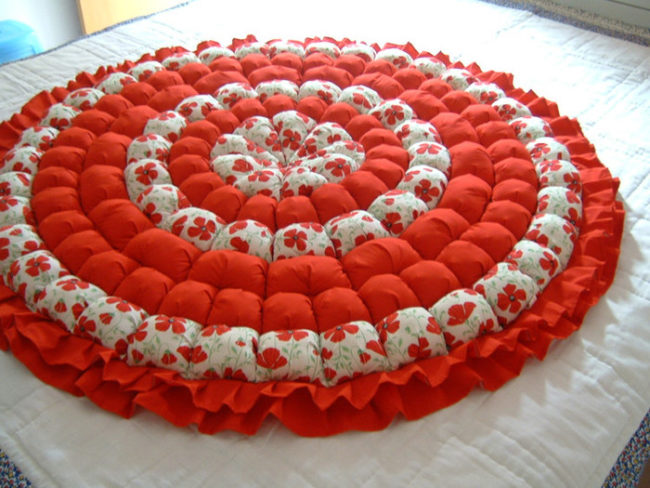
Children's blanket of non -standard sizes for newborns:
- 90x90 cm - will become an invaluable thing for sheltering the baby in the cradle, and then, when the baby grows up, it will come in handy for rolling on a swing in the cold season.
- 120x120 cm - perfect for discharge, covering the baby during a walk. It can be laid on a changing table or used as a developmental rug for games if decorated with applications. But such a blanket will very soon become enough for your baby.
- 150x130 cm-this size is suitable for sewing a blanket-spell. While the baby is small, you can fasten it, converting it into a bag, and over time use it, as the usual dressed.
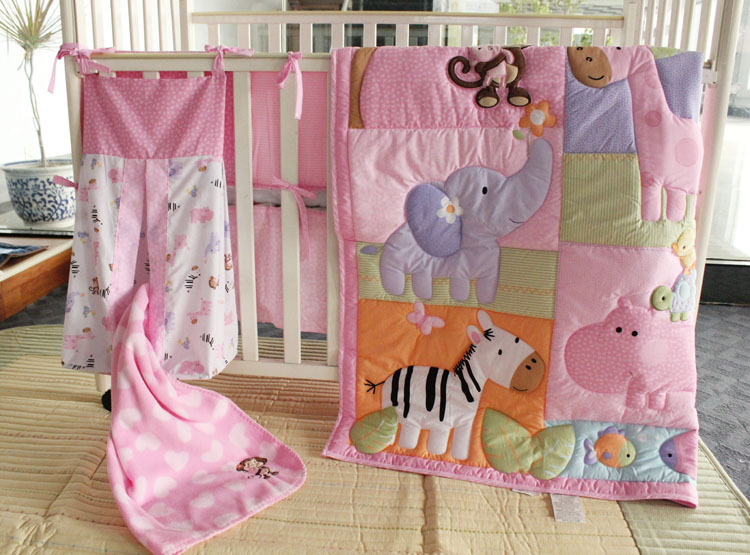
DIY BLOWERS. Product design and choice of materials
To make a blanket, sometimes it takes a lot of time and effort. The first thing the craftswoman draws attention to in the sewing process is the choice of materials safe for the child and the aesthetic type of product. But, the main place should always occupy the strength of the blanket, as well as the opportunity to take care of it without loss of the original appearance.
During operation, small troubles will occur in the form of spilled milk, juice or something else, moreover, the baby will sweat under the blanket during an illness. Therefore, from time to time the blanket will need to be washed. At this stage, many questions will arise that can be missed when sewing a blanket. In order not to spoil your multi -day work after washing, it is better to immediately carefully consider the design of the blanket and firmly sew it, and then fasten it.
The blanket consists of three basic elements - lick, filler and tires. But, some types of blankets may not have a warming layer. Each part of the blanket requires certain types of materials that must meet the following criteria:
- Hypoallergenicity - all consumables from fabric to threads should not provoke an allergic reaction in the baby.
- The absence of toxic dyes - the pattern should be safe for the child. Before buying, always be interested in the availability of a certificate for the material. The drawing should not melt and smell sharply.
- High wear resistance and mechanical strength - the blanket will be often used, so all materials should be resistant to friction, washing, stretching and other mechanical manipulations.
- Steam and breathability- all layers of a blanket must pass air and pairs of sweat. This will provide not only comfortable conditions for sleep, but also preserve the product from stagnation of air, untidy smell and reproduction of microorganisms (dust mites, mold, etc.).
- The natural origin of the fabric - exclusively natural fabrics, for example, calico, linen, silk, are recommended for the baby.
- Anti -history - it is better to sew a product from a fabric with an antistatic effect, otherwise a strongly electrified blanket will cause inconvenience.
For sewing tires, you can use any natural fabric, if only it was soft to the touch and did not provide mechanical irritation on the child’s delicate skin. For such purposes, thin furniture fabric or cloak fabric is also suitable if the blanket is intended for use on the street.
It is quite appropriate to take a cotton blade on the ramp. It fully passes the air and does not lead to a violation of thermoregulation in the child, while the price is available and completely natural. But it does not differ in wear resistance, quickly wipes, easily gets dirty and is very difficult to wash off.
You can choose a pursuit or silk. They are also breathable, pleasant to the touch, but excessively slippery. Therefore, if a child loves to spin in a dream, it is better to find another option.
The most optimal and budget solution is the use of a bamboo canvas. It holds heat well, while it does not interfere with air microcirculation, retains the appearance for a long time, and does not cause allergies.
The choice of material for the gap of the blanket must be done taking into account the season in which it will be used. For a winter product, a bike, fleece, calico are suitable, and for the warm season - a fabric (batist, satin, volt).
The liner is added to the blanket in order to make it warmer. As a filler, they use:
- Synetep is the cheapest silicone -based insulation. The blankets based on it are light and airy. But he is much faster, and when washing (if the liner is not densely fastened) - he is lost.
- Flice is a warm, strong fabric for outerwear. It is heavier than a synthetic winterizer, but does not stretch, does not get down and easily erased without subsequent deformation.
- Hollofiber - fibrous material on propylene basis. It costs more than a synthetic winterizer, but has increased resistance to saving and very warm. When washing, it is reluctant to deform, so the blanket on its basis lasts longer.
After you have already decided on the size and type of fabric, you should think about what appearance to give the blanket, with the help of which technique to sew it and how to decorate it. If you adhere to traditional tastes, you can make a synthetic winterizer or fleece blanket, and if you are a supporter of something exclusive, sew an unusual blanket blanket or tie an openwork blanket.
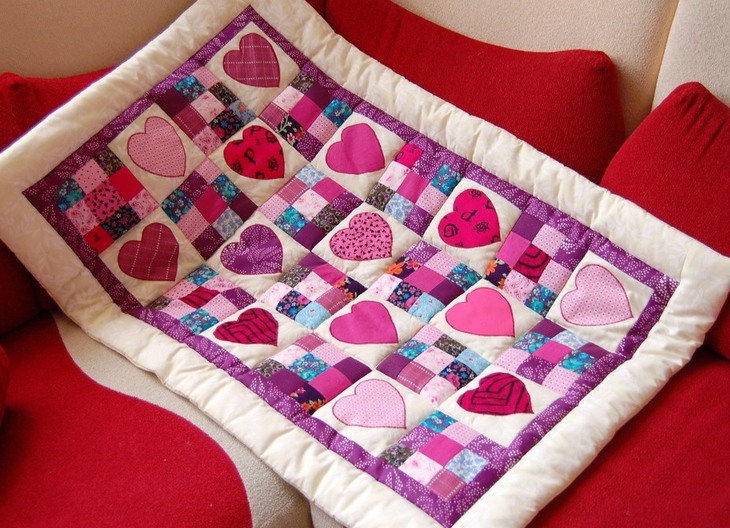
Do -it -yourself children's blanket
Pechvorka or patchwork - sewing technique, which involves the use of fabric shreds of different sizes and shapes. This is one of the most ancient types of needlework, which is now at the peak of its popularity. Now this is not only a way to use unnecessary shreds or old clothes as it was before, but also a stylish attribute in the style of “hand-maid”.
The word “patchwork” comes from two foreign words: patch - “shred” and work - “work”.
The presence of all kinds of fabrics with animals, cartoon heroes and another theme makes it possible to sew a unique and bright blanket for the baby, which will decorate each children's room and bring a lot of positive emotions.
You can also create a real masterpiece of children's sliders, body and suits. Children's clothing for the fidget is always beautiful and multi -colored, with wonderful patterns, applications and embroidery. Sometimes to throw her off the hand does not rise, and the patchwork is able to give her a new life for many years.
Starting set for children's blankets patchwork
To sew a children's patchwork with your own hands, you need to have quite a few materials and tools:
- Multi -colored fabric residues (children's clothing is suitable, which is already small).
- Fabric for sewing the inside of the blanket.
- Fabric for the box.
- Threads in tone with selected shreds.
- Any filler.
- The line for patchwork.
- Sewing machine and iron.
- Scissors or a disc knife.
- Pins.
The amount of expenditure material is quite difficult to indicate, since it depends on the size of the blanket and the complexity of the pattern that will be executed.
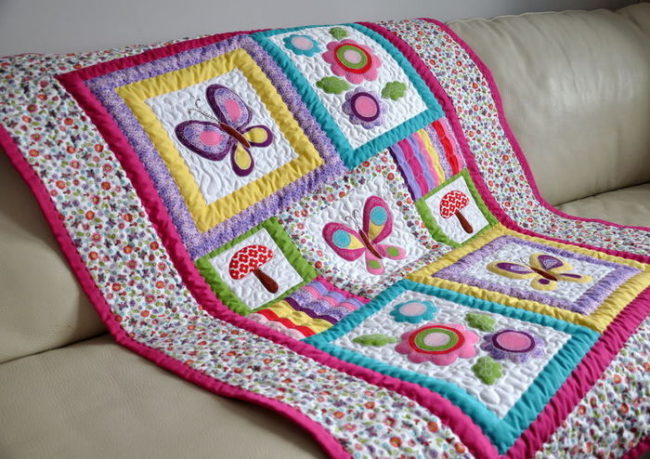
Stages of sewing patchwork blankets for children
Before the start of sewing, take up a few tips that save time and nerves:
- Pick up shreds of the same thickness and weight, and the texture may vary.
- Be sure to continue the prepared material.
- As a filler, it is better to take a thin synthetic winterizer with a thickness of not more than 1 cm.
- For cutting, it is better to use a disk knife. If there is no such tool, you can do with scissors, but the time to cut the shreds will take twice as much.
The whole process of sewing a patchwork blanket takes place in two stages: cutting and stitching shreds, as well as sewing synthetic winterizer and bottom of the product.
Stage No. 1: cut the flap and the creation of the canvas
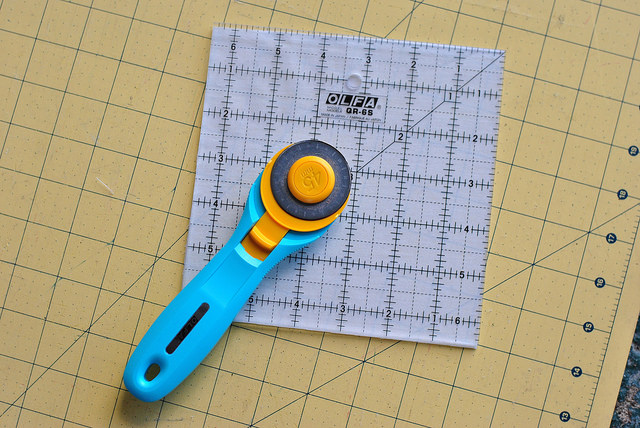
- If you are going to sew such a blanket for the first time, it is better to take small squares 15x15 cm as a basis. From the prepared material, cut the squares using a ruler and scissors. Their number depends on the size of the blanket, and can change in the process of sewing.
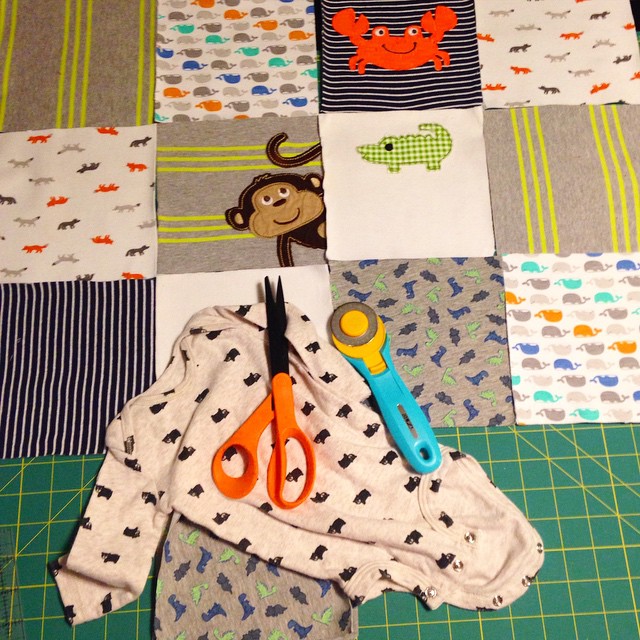
- Then you need to make a layout of the future blankets. To do this, put on the floor shreds in your chosen technique. The shreds are sewn face to face in a located manner in the form of ribbons of 7-8 shreds.
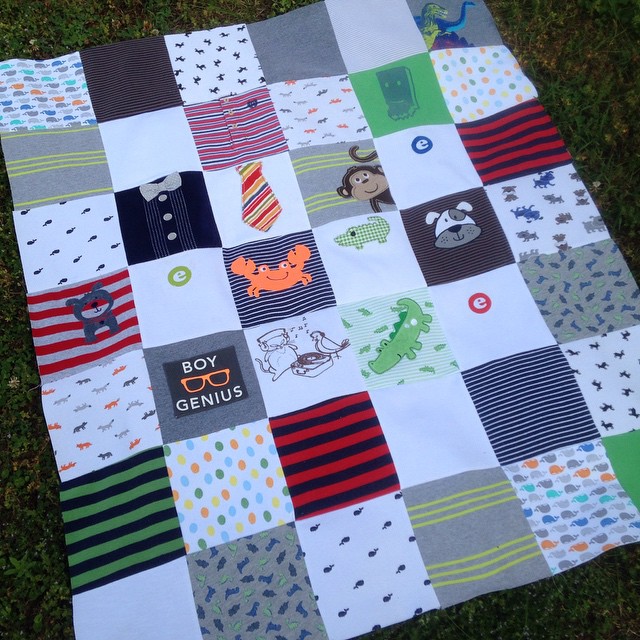
- All the allowances must be pissed down so that the blanket turns out to be neat and even. Then from the ribbons you need to sew a whole canvas.
Stage No. 2: sewing of synthetic winterizer and bottom of the blanket
- Take a piece of filler a little larger than a patchwork.
- Pin on top of it, and then sew the patchwork of the blanket.
- Put the finished basis of the blanket on the canvas, which will serve as the bottom of the product.
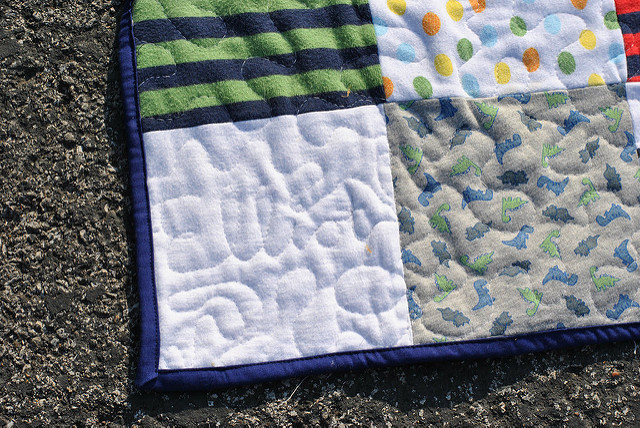
- Bend the edges of the upper and lower part by 1.5 cm and sew along the entire perimeter of the blanket. You can also deprive the edges with a box.
Baby patchwork blanket with your own hands - schemes
Sewing the blankets in the style of the patchwork occurs according to a certain scheme. Mostly the product consists of the same fabric segments, which are sewn in strict order, according to the planned pattern. But the patchwork is only one of the styles of patchwork and there are many other variations of a patchwork pattern.
For example, you can sew a blanket according to the following schemes, while using shreds of various shapes:
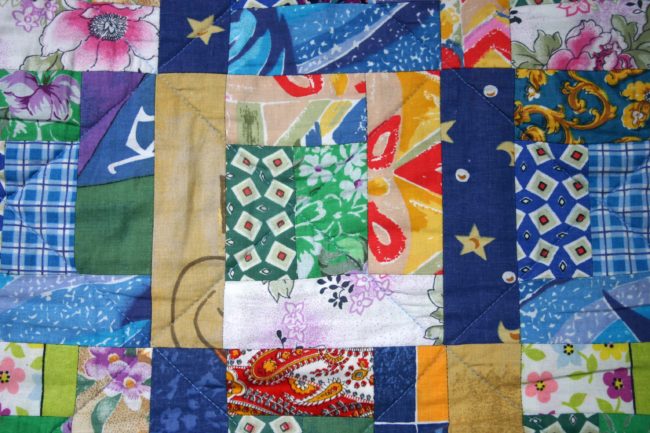
- Technique "Chaos" - it provides for stitched shreds of a satisfied shape and size. You can take ribbons, triangles, rhombuses and other forms of shreds and connect in the canvas, forming an abstract pattern without holding a strict pattern.
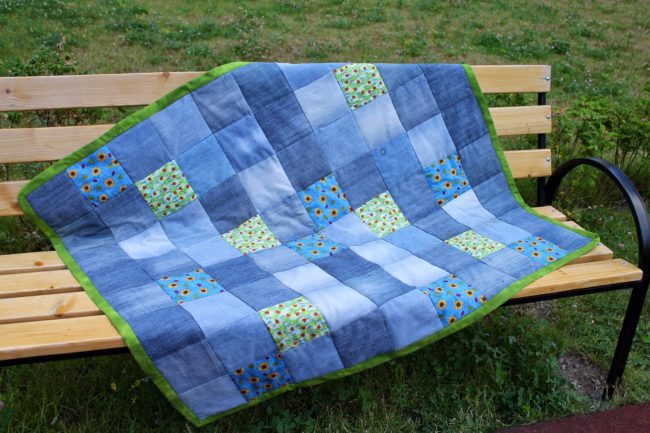
- Watercolor technique - connecting square flaps in one color scheme, creating smooth transitions.
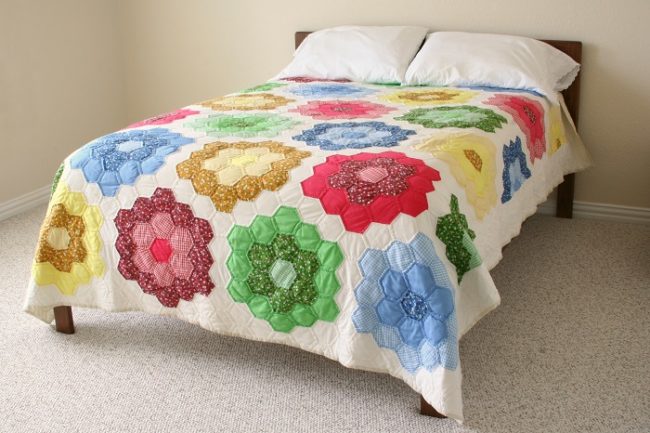
- Technique "Sot" - a blanket from hexagonal shreds in any color scheme.
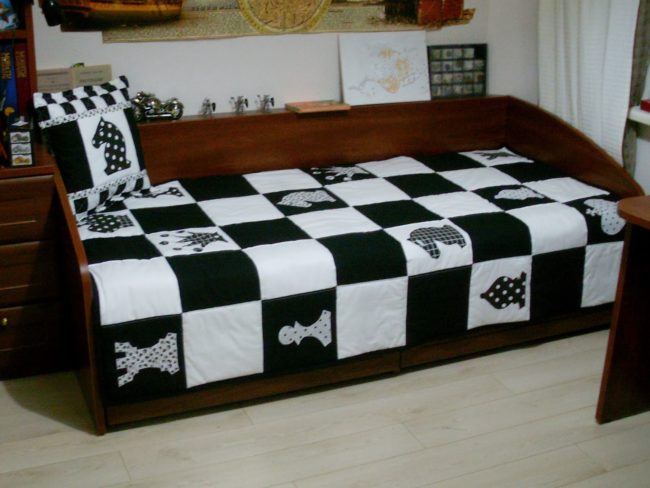
- The chessboard technique is a blanket made in two colors, and resembles a game of chess.
- The “strips” technique - instead of squares, strips are used, sewn in a chaotic order.
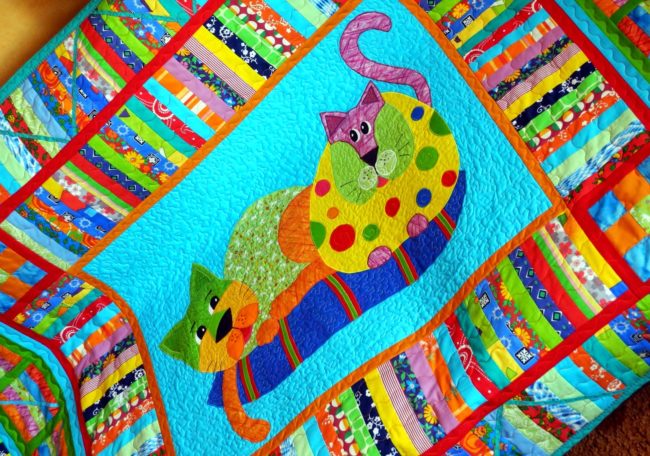
The principle of connecting and the subsequent manufacture of a blanket of shreds is the same as in the above instructions of the blanket of the patchwork.
DIY Baby Objectopon
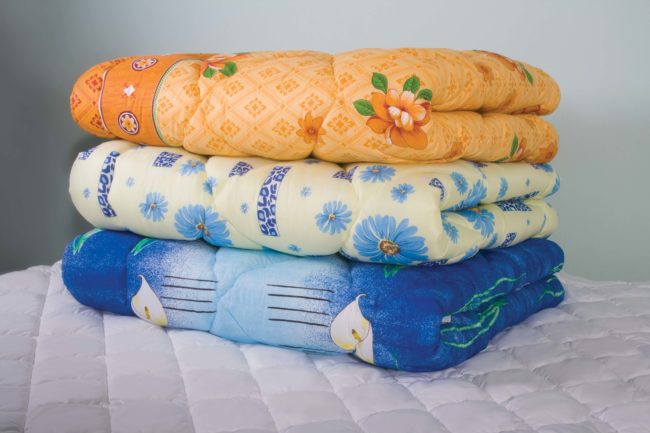
The blanket made of synthetic filler largely exceeds cotton and down products. Syntip and Hollofiber have a small weight, it is easy to take care of them, and, most importantly, they do not act as a provocateur of allergies.
DIY BLOWERS. Calculation of the required amount of fabric and other supplies
To sew a warm synthetic winterizer for the baby, which will be no worse than factory, it will be required:
- Sinetipon in accordance with the size of the future blanket.
- The fabric in the amount of two areas of the blanket + allowances.
- Needles, pins, threads and, of course, a sewing machine.
DIY BLOWERS. Open and phased instruction for sewing
As a rule, all x/b fabric after washing have a tendency to sit down. Therefore, first you need to wet the fabric so that it sat down or when building a pattern, add allowances for shrinkage.
To sew a blanket, you need a pattern. For cutting, it is better to take wide material so that the blanket is without unnecessary seams in the middle. You can cut the product both along the width of the fabric and in length depending on the placement of the pattern and width of the fabric.
Before cutting the fabric, you need to add allowances:
- On the seam (1.5 cm from all sides).
- On a shrinkage (5-7 cm each for each meter of fabric in length and 2-4 cm per meter in width).
- It takes 2-3 cm to fastening (for thin synthetic winterizer, for high synthetic winterizer or holofiber with thick fastening-7-10 cm).
How to sew a children's blanket with your own hands, step -by -step instructions:
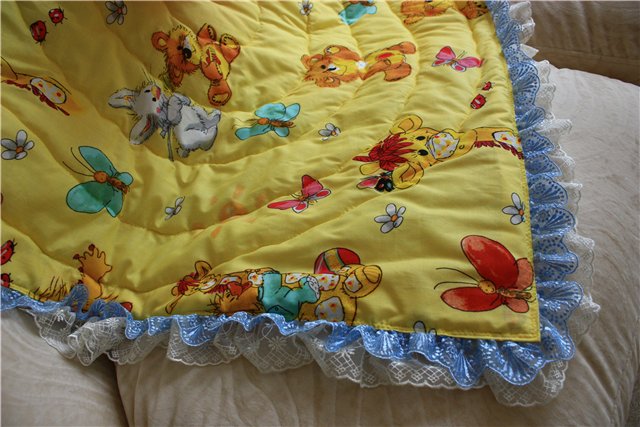
- Sew the blanket from three sides, and then turn it out.
- Through the remaining opening, put the filler and spread it.
- Fasten the syntheticacle with estimated stitches or fix it with pins (be sure to calculate their number so that not one is lost).
- Stitch the blanket from three sides at a distance of 10 cm from the edge.
- Next, stitch the middle of the product with lines in random order. You can decorate the drawing in the form of squares, waves, flowers.
- Sew the not sewn side of the blanket and make a line at a distance of 10 cm from the edge, as on the other sides of the product.
Knitted children's blanket for newborns with your own hands
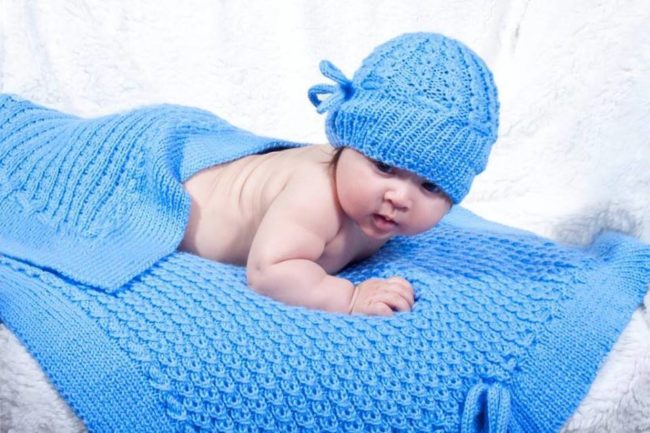
You can make a children's blanket without using a sewing machine. If you know how to knit, you can make a cute blanket size 88x88 cm. The type of yarn, its color can be chosen to your taste, depending on the pore of the year when the baby was born. You will need 450 g of yarn and knitting needles No. 5.
Scheme for a knitted blanket "Blue Cloud":
- When knitting the blanket, two techniques are used: pearl knitting (1 front and 1 wrong loop with a displacement of the pattern in each row) and knitting fantasy (diagram in the figure below).
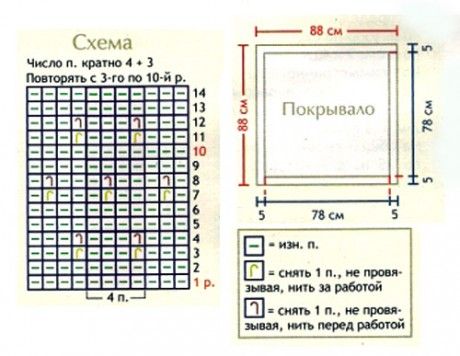
- Dial 139 loops, then, using pearl knitting, dial 5 cm of the canvas in height.
- Then you need to dial the first and last 8 loops with a pearl viscous, and the remaining 123 loops are fantasy viscous according to the scheme in the figure.
- After you tie 83 cm of a blanket, knit 5 cm pearl equipment and close all the loops.
Other children's blankets with your own hands - patternsand technology
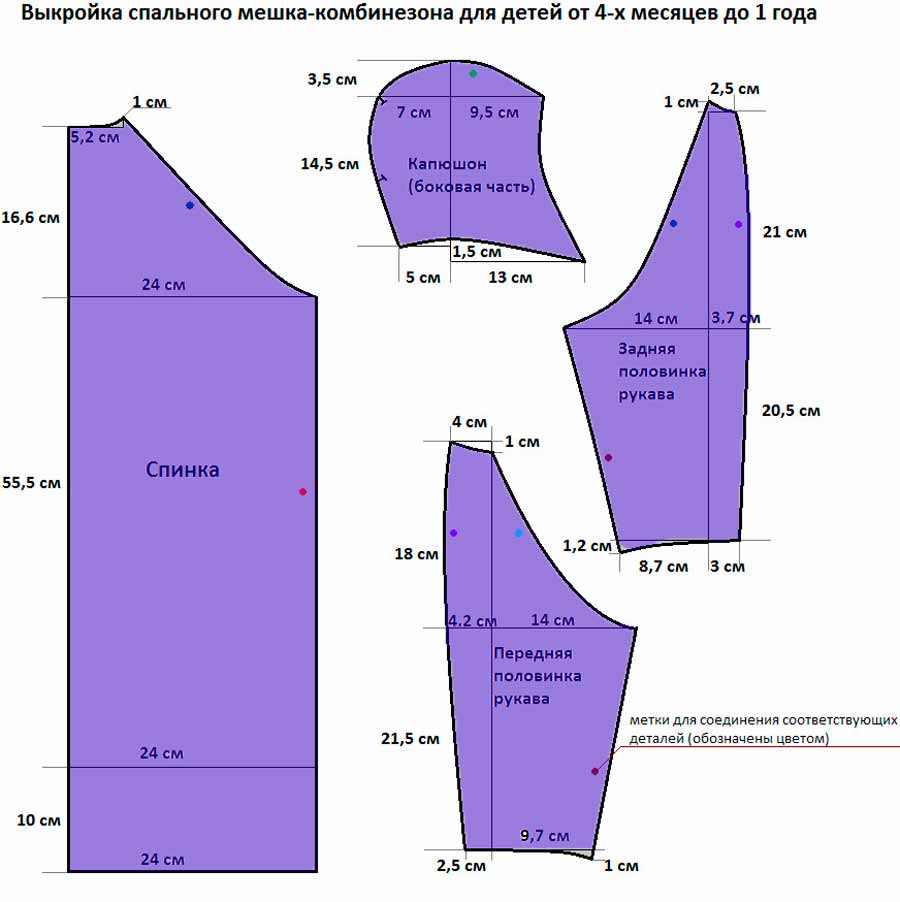
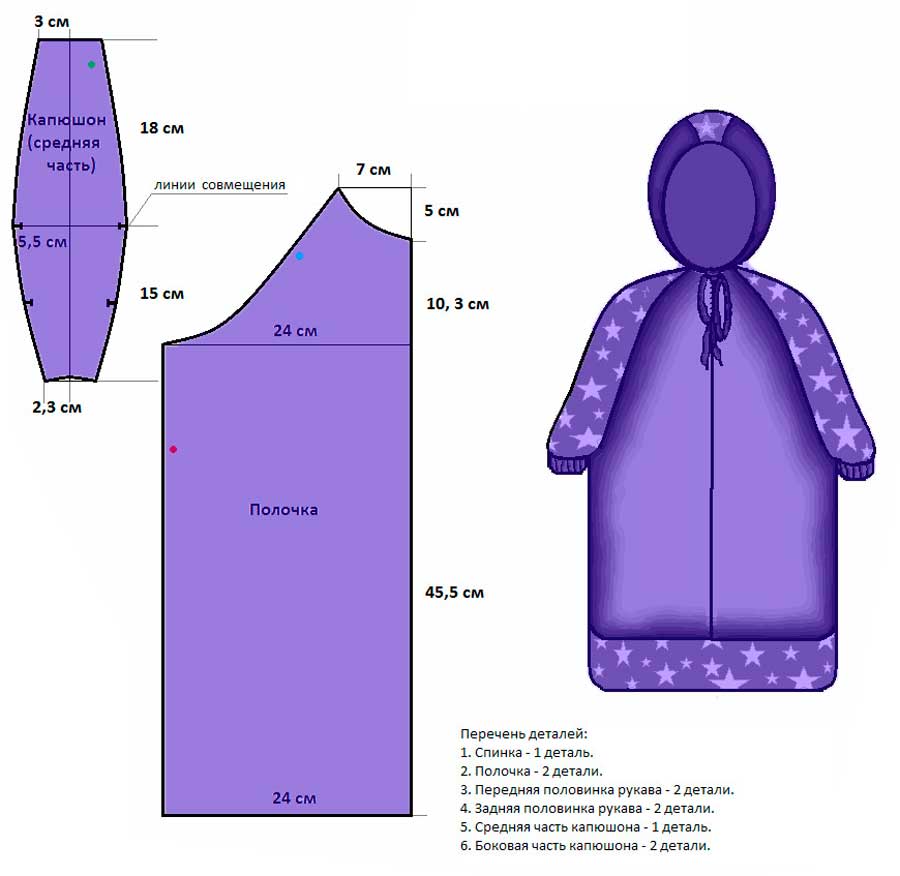
A sleeping bag is a great alternative to blankets. In it, the baby will be warm for the whole night, because he will not be able to open. In addition, such a product is ideal for walking in a stroller.
Production process:
- Print a pattern on a printer or build it on paper in accordance with the growth of the baby. It is better to make the bag a little expanded to the bottom so that it is more convenient for the baby to move their legs.
- At the fabric folded in half, attach the pattern and cut the material with the addition of allowances to the seams (1.5 cm). In the place where there will be lightning, the allowances need to be left a little more-at least 2-3 cm.
- By the same principle, cut a synthetic winterizer and lining material.
- Connect all the details: first, sign the synthetic winterizer to the main fabric, then sign the lining.
- You need to sew the product with the front part inward. The front parts must be connected with one side with the back, and to the other to sew the zipper.
- Turn the sleeping bag, squeeze all the seams.
- Slealfish and neck are fastened with a box.
- In the end, you can decorate the product with fleece applique.
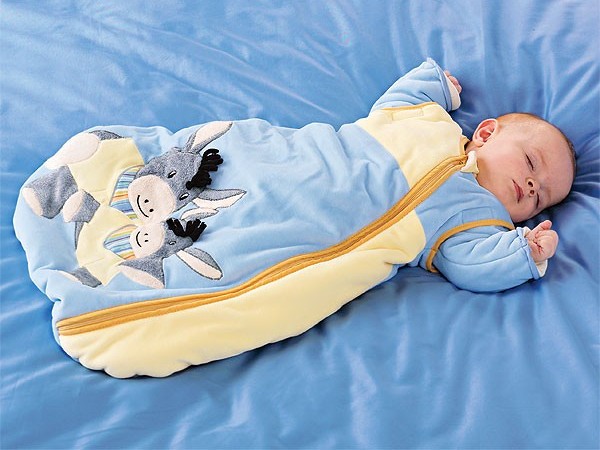
On the same principle, you can sew different models of sleeping bags.
A sleeping bag with a short sleeve, pattern:
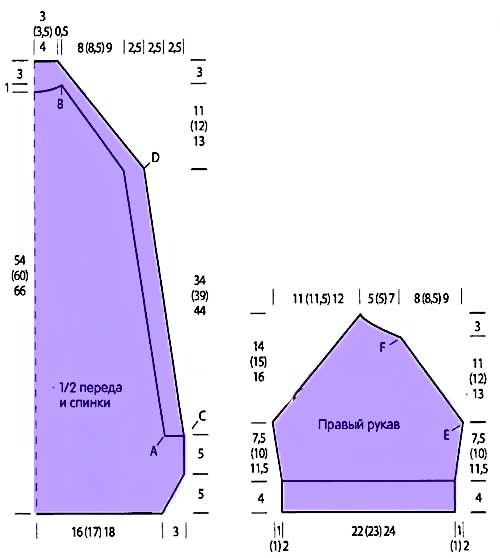
Sleeping bag is one -piece with a long sleeve, a pattern:
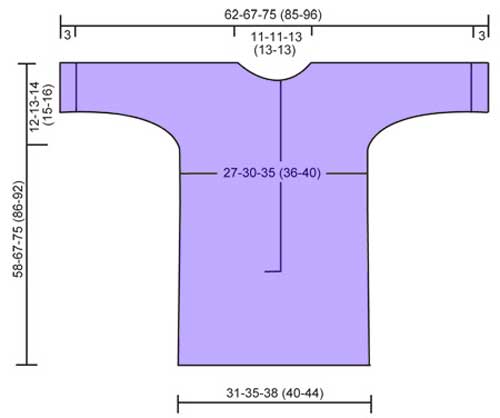
So you can sew a wonderful blanket for your baby without strong financial costs. You will be sure of his quality, and your child, meanwhile, will sleep sweetly under a blanket sewn with love.


Comments
a couple of years ago, there was no side of metrogils from the same problem, there were no side effects ...
I’m not a fan of peeling at all, it saves from acne of metrogil, it also smoothes it ...
Great article! ...
I take the second course of the Capsules Climafite 911. The tides went very quickly. It became calmer, irritability went away and I sleep well ...
i also noticed - it is worth nervous, everything immediately affects the face. Therefore, I try to avoid conflicts and unpleasant people. Of the creams, I like Miaflow from wrinkles - smoothes not only small wrinkles ...