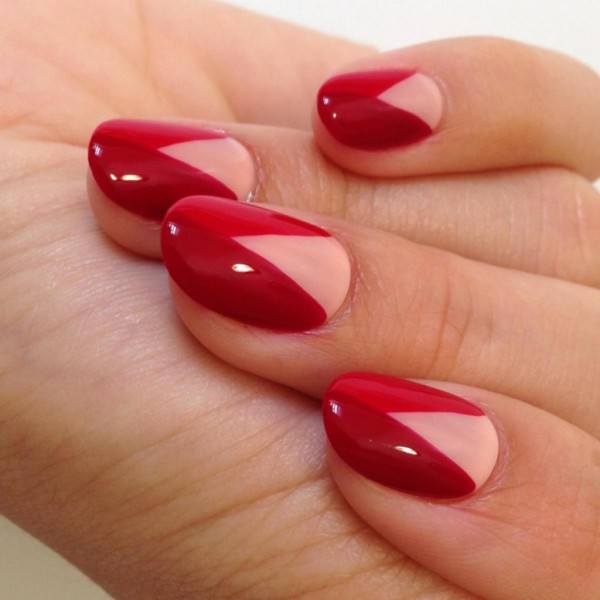
Lunar manicure is now one of the most fashionable options for designing short nails. A lot of color combinations, the use of various materials and an excellent view without extensions of nails make a moon manicure attractive to cover any type of them. The main nuance of the lunar manicure is the original playing out the lunar hollow and cutics, and there only fantasy limits you. Over the past year, the moon manicure with varnish and gel has become a worthy alternative to such a popular, but already enough beaten, French execution of manicure.
Content
How to make a moon manicure: Stages
A woman, like her hands, must always be impeccable and beautiful. Well -groomed and beautiful nails are one of the important points for leaving yourself. To do this, we walk through numerous salons, select and decorate our nails to the mood, holiday, season and evening outfit. We come up with and try something new. Lunar manicure - in fact, this is the same jacket, only with the opposite smile and it is quite easy to make it at home. It is only necessary to purchase the necessary materials, determine the design, study the technology - and your individual moon manicure is ready.
- The choice of flowers for lunar manicure.
For a beautiful moon manicure, you will definitely need two varnishes of different colors that should be combined with each other. One of the colors of the lunar manicure should be bright, specially popular with gold and silver of a wide variety of materials: from ordinary varnishes, to gels, shellaks and even foil for manicure. The second color should shade and combine with the first - to be more muffled and preferably matte. - The nuances of hygienic manicure.
Before starting the design of the nail plates, it is important to pay special attention to manicure and cuticle. Since the lunar cavity is actively played out in the design of the lunar manicure of the nails, work with the cuticle should be carried out flawlessly. No burr, uneven or torn edges, cuts and other things - everything must be carefully processed before starting to make a moon manicure at home. - Step -by -step varnishes: moon manicure.
- the basis is a bright varnish previously chosen. We apply it to the nail plate first, preferably with two layers and dry it in sequentially well;
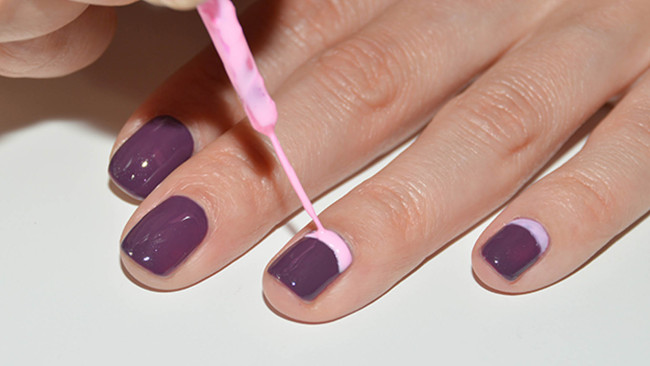
- the easiest way to make a moon manicure of nails at home is to use special stencils, which can be pre -bought in a store or make independent shape independently;
- we glue the prepared strips to each nail in such a way as to outline the lunar hollow, the so -called quarter of the moon;
- we apply the second varnish to the rest of the nail, so that it does not go to the glued stencil if possible. We need to dry and fix it - the lap manicure of nails with varnish is ready.
Moon manicure at home: tips
- A very important point in the design of the moon manicure of nails is the color scheme. Carefully choose a color palette and varnish texture.
- When you make a moon manicure at home, take a small trick: after covering a smile varnish, do not expect it to dry. On the contrary, immediately take off your smile. Drying evenly, the varnish can remove a large piece and hook part of the base - this, without a doubt, ruins the moon manicure.
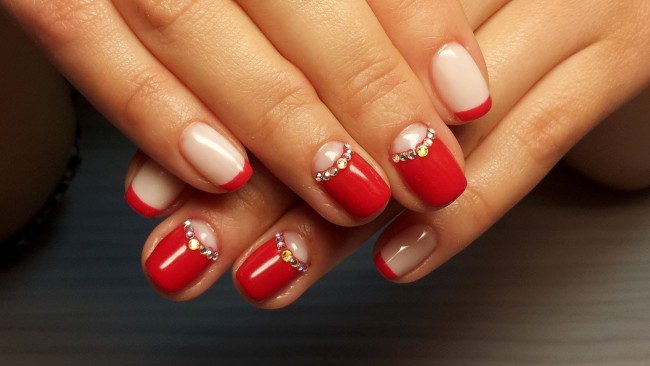
- If you decide to add decorative elements in the form of rhinestones to the moon manicure - apply them exclusively along the color combination line, do not use this technique in the center of the nail plate. The central elements in the lunar manicure can be, designed for this stickers. But in any case, do not combine these two decorations in one design of the nail plate - here everything should be in moderation.
- Be sure to fix the lunar manicure with an additional strengthening layer, especially if your base is not chosen. So, you will avoid unnecessary scratches and maintain the freshness of the moon manicure longer.
Popular design of lunar manicure
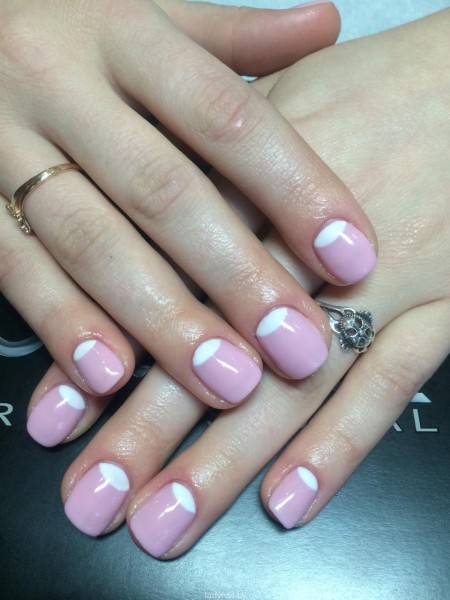
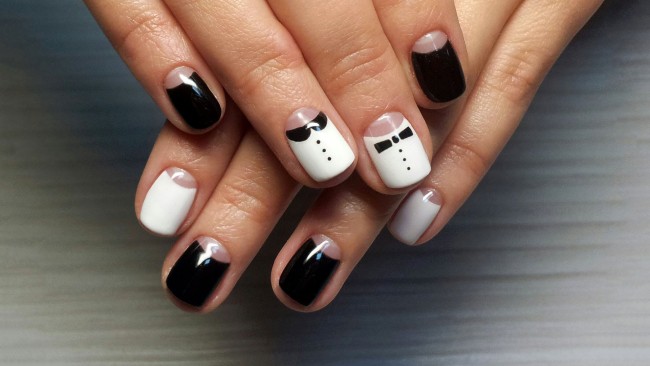
Since the only restriction in the design of the manicure of the lunar jacket is the combination of colors, there are many options for its execution. It all depends on your sense of taste and imagination. At the same time, not only bright colors, but also combinations of light, bodily shades are popular in lunar manicure. In addition, as in the classic jacket, a transparent base with a bright coloring of a smile is often used in moon manicure. The individual style of the nails of girls made at home is replete with the use of various decor in moon manicure. It is worth mentioning such a fashionable design as outlining a quarter of the moon or even the entire nail with a thin line along the cuticle.
Lunar manicure design options:
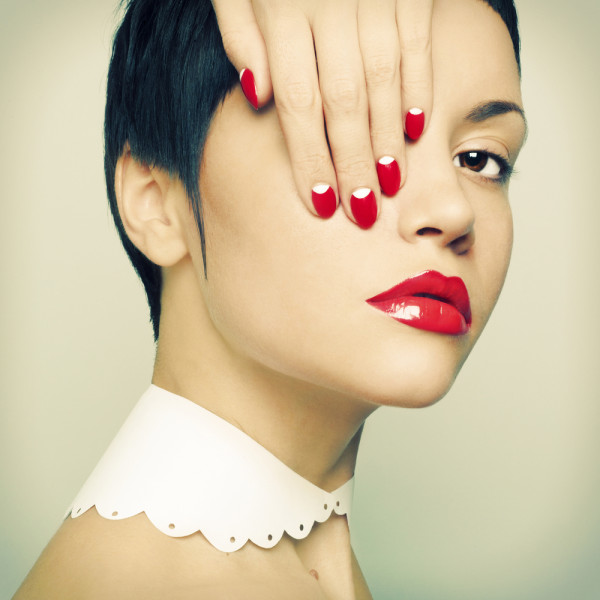
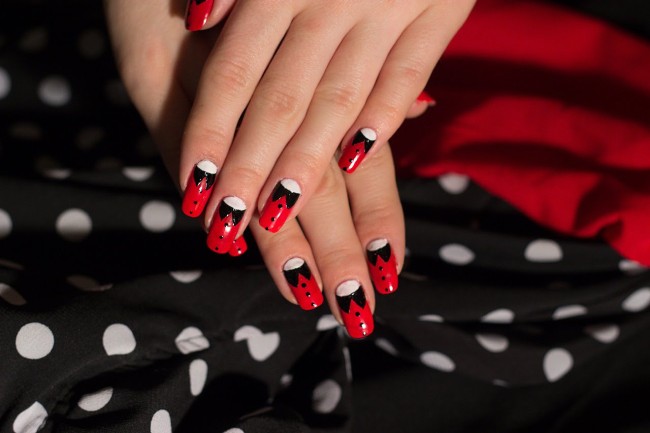
- a manicure with a red lacquer base is an unlucking classic. It is not surprising that the moon manicure with this color is a very popular solution in a nail design. In this combination, the white or bodily color of the hole is used;
- a combination of 50/50 of two bright colors at the base with the flesh color of the hole looks very original and juicy in the moon -to -lunar manicure. In this case, the hole is not additionally painted, and after applying the primary colors, an additional transparent fixer is simply covered on top of the entire nail plate;
- infinitely popular and in moon manicure is the Nude style - an inverted jacket. In this option, you do the same as in the French version of the manicure, only with an inverted moon;
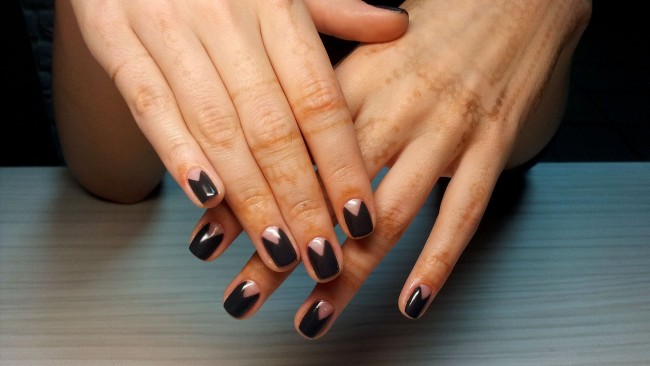
- in addition to the usual semicircular smile, in moon manicure with shellac, they use triangular design of cuticle and holes. Such a design is performed using a special brush to draw manicure. The combination of a white base and a bright triangle, coming from the upper semicircle to the center of the nail, is very popular. Do not try to draw such a pattern using a conventional brush - use only special, thin;
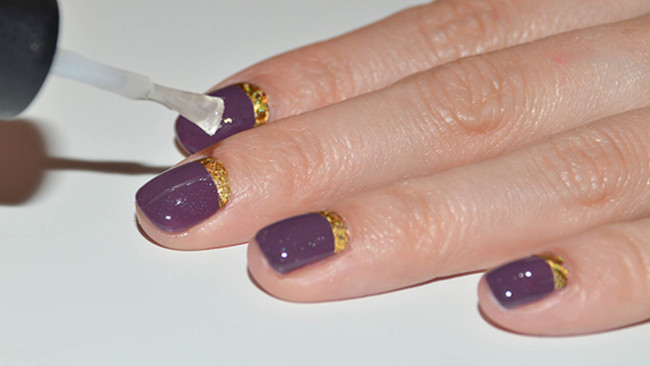
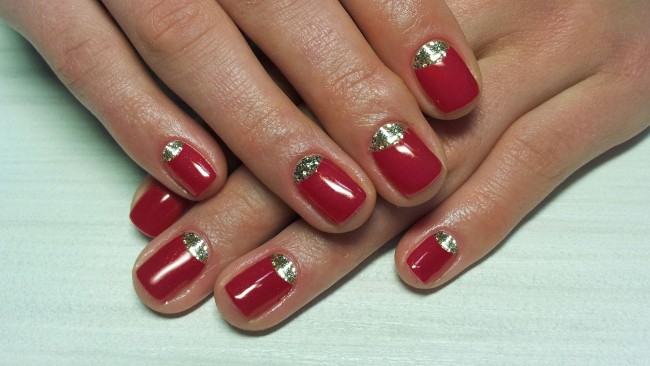
- if you decide to make a lunar manicure at home using sparkles, for example, with gold, the sequence of their application should be different. First, the base is stained and dried, and then a smile is carefully drawn. It is recommended to use stencils for smiles.
Lunar manicure with shellac step by step
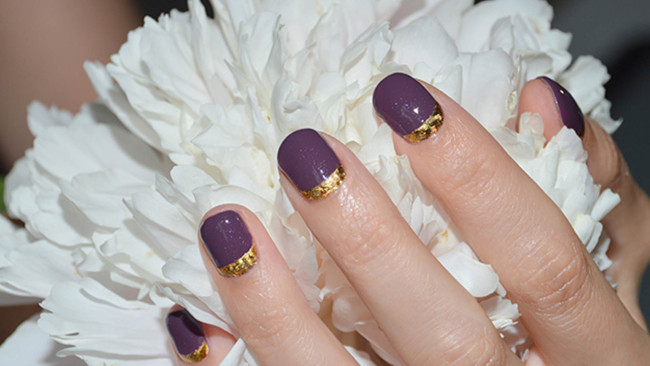
A trendy moon manicure using gels and shellacs in combination with a special foil looks advantageous on short nails.
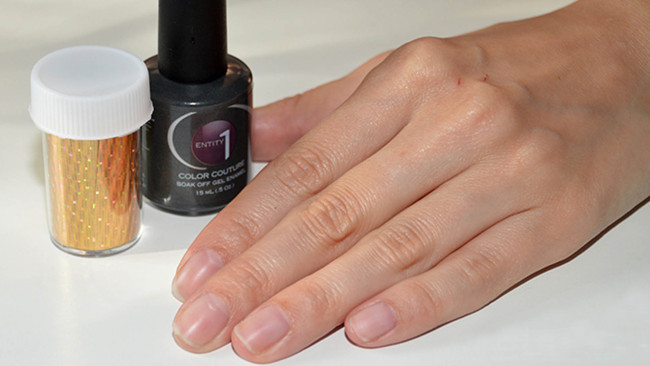
To create the design of such a lunar manicure, we will need:
- degreasing agent;
- acetone;
- coating - base;
- shelf color coating under the basis;
- top coating for shellac;
- foil for manicure translated with glue;
- ultraviolet lamp for manicure.
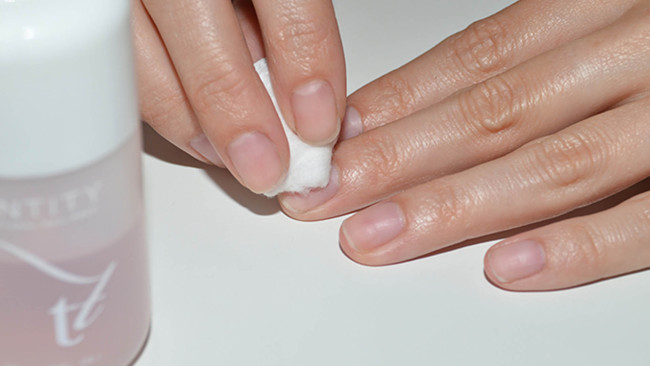
Step 1: We make hygienic manicure on the nails.
We process the cuticle qualitatively and decorate the short nails in the form of a soft square. Carefully degrease the nail plates before applying the base.
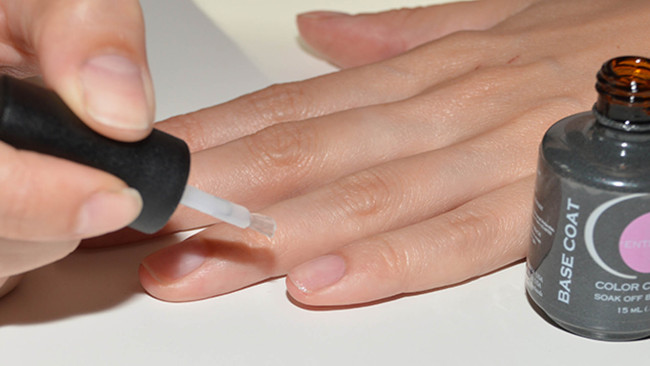
Step 2: The first layer.
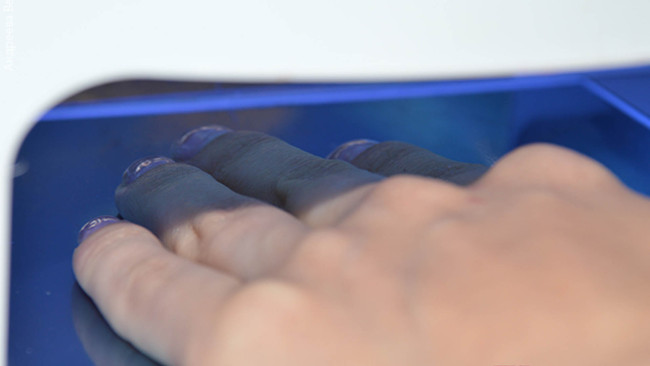
We apply the basic coating for each nail, we carefully pass through the zone near the cuticle and the tip of the nail. Dry in a lamp.
Step 3: Color layer.
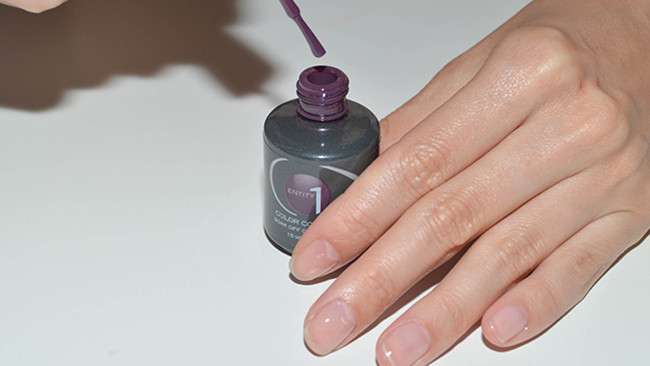
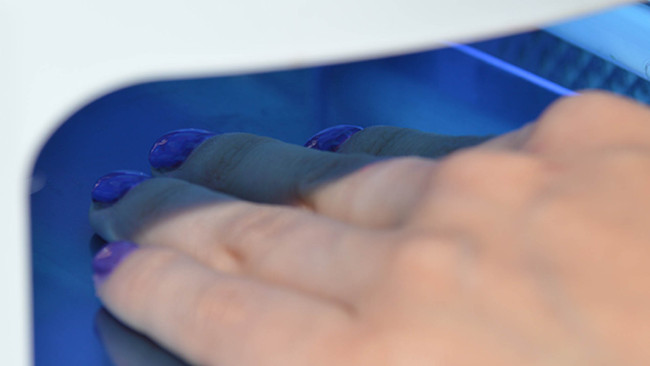
We apply the color base for the moon manicure, preferably two layers. We dry each layer separately in the lamp.
Step 4: We fix the base.
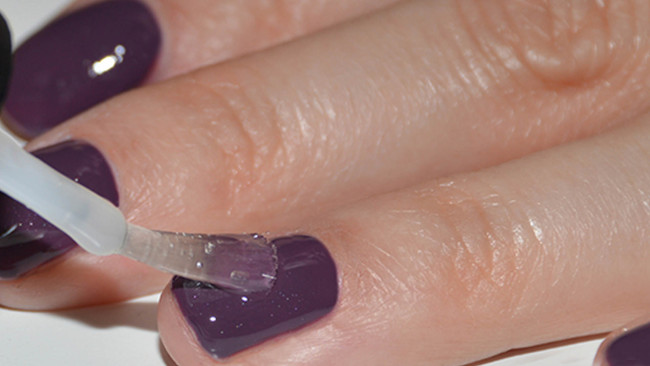
We apply the top coating to each nail, carefully stain the edges. We dry both hands in an ultraviolet lamp. Now carefully remove the sticky part of the coating using acetone to shine. Well process the zone near the cuticle acetone, otherwise dust will settle on the sticky residues, and the manicure in those places will look groomed.
Step 5: The design of the hole.
The responsible moment in the design of the lunar manicure chosen by us is the design of a smile with the help of a translation foil.
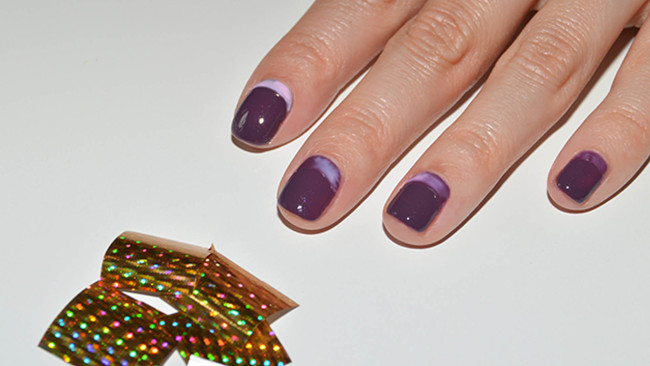
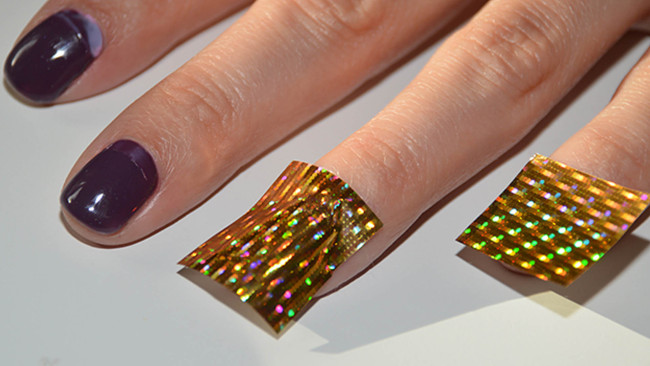
- prepare foil: cut into equal pieces in the shape of nails;
- with special glue, neatly, we cover the nail in the smile area, where we actually apply foil;
- depending on the chosen design, the contours can be different - we have a twisted moon;
- be sure to let the glue completely dry - it will become completely transparent;
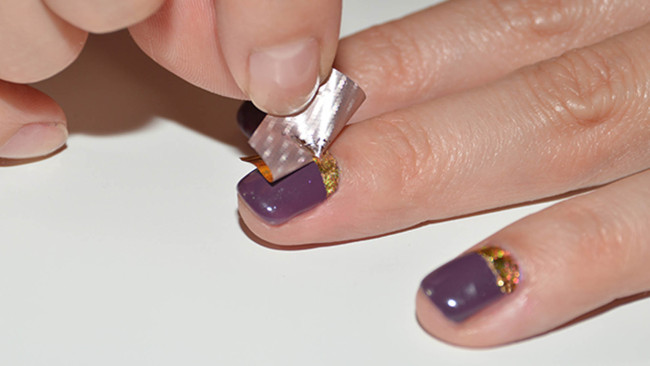
- put a piece of foil to the area with glue with the matte side and carefully smear the cuticle with a spatula for the cuticle;
- gently remove the foil, controlling that its matte part is printed in the hole in the hole;
- in conclusion, you can not cover the design of the lunar manicure with a protective layer, but especially if you use texture foil, it is better to do it.




Comments
a couple of years ago, there was no side of metrogils from the same problem, there were no side effects ...
I’m not a fan of peeling at all, it saves from acne of metrogil, it also smoothes it ...
Great article! ...
I take the second course of the Capsules Climafite 911. The tides went very quickly. It became calmer, irritability went away and I sleep well ...
i also noticed - it is worth nervous, everything immediately affects the face. Therefore, I try to avoid conflicts and unpleasant people. Of the creams, I like Miaflow from wrinkles - smoothes not only small wrinkles ...