In today's selection of material - learn to draw a squirrel. There are a lot of options to portray this cute animal. We will try to present the maximum number of different types of illustrations of protein: from realistic to animation. The phased execution of each drawing will facilitate the task to a minimum and will allow you to cope with the work of even the child.
Content
- How to draw a protein: features and basic rules
- How to draw a protein with a nut
- How to draw a squirrel on a branch
- How to draw a protein with a mushroom
- How to draw a protein with a bump
- How to draw a hatch squirrel
- How to draw a realistic squirrel
- How to draw an animated squirrel
- How to draw a squirrel on cells
- Pictures of drawn protein
- Video: "How to draw a squirrel in stages"
- Video: "How to draw a squirrel with a simple pencil"
How to draw a protein: features and basic rules
- Before getting down to work, it is better to get to know the rodent: watch pictures, photos, video materials. After that, it will be easier to represent the animal, which means it is easier to portray it on paper.
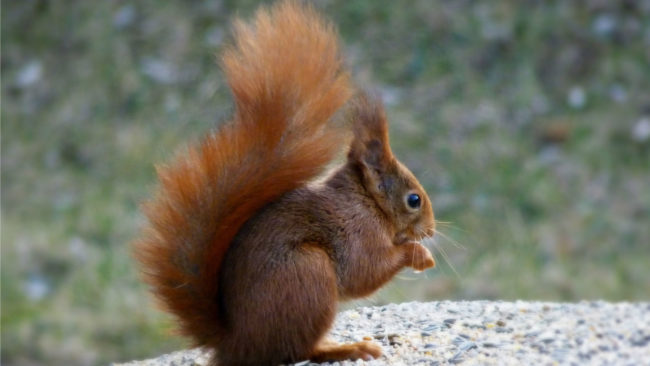
- The protein pattern is most often made in the profile to most clearly display all parts of the animal’s body: head, ears, torso, paws and fluffy curved tail. It is in this position that the protein is the most recognizable, realistic and convenient to illustrate.
- Drawing the squirrel in stages, easily and quickly turns out the final, conceived result. The main thing is to follow the proportions of the body as accurately as possible and the location of the parts of the drawing on the sheet.
- Squirrel drawings are divided into 5 main parts: head, trunk, front and hind legs, tail. The tail is one of the largest and most characteristic elements of the image of the animal.
- The sketch of the pattern is made using a simple pencil, if desired, you can then paint it with colored pencils or paints. The coloring of the animal can be from bright red, brown to blue or bluish.
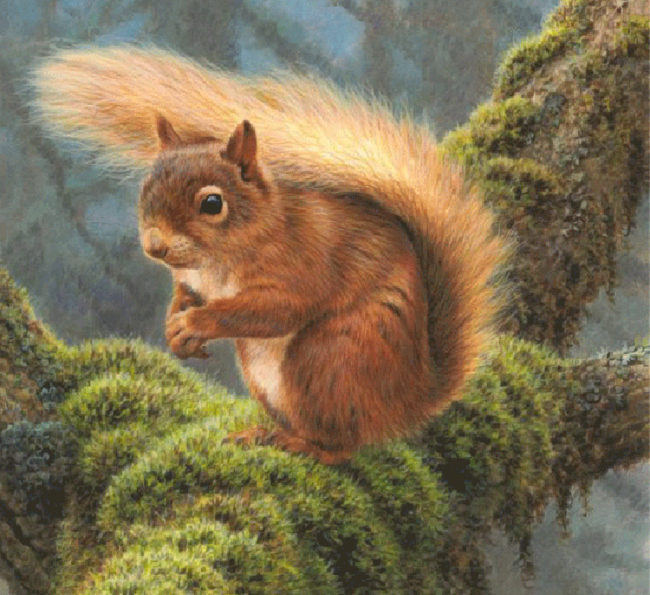
How to draw a protein with a nut
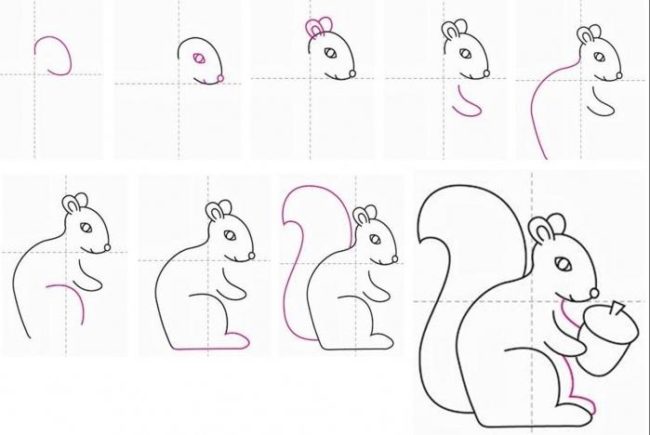
- Conditionally divide a sheet of paper (or the part of the sheet where the protein will be drawn) into 4 parts. This technique helps maintain proportions, sizes and spatial placement of the picture.
- Draw an unfinished oval in the upper corner - the head of the squirrel. In the center of the oval, indicate the eye, below - the nose in the form of a small circle and the outline of the mouth. On top, on the crown, ears are drawn. In one ear draws the middle.
- The next stage is to draw the legs and outlines of the body of the rodent. When sketching the lines, follow the marking on the squares. After the oval of the head, there is a small deflection on the neck and again a convex, arched part of the back. The lower limb (in a sitting position) has the appearance of a semicircle.
- The final stage is the drawing of a curved large tail and small details (duplication of the second pair of legs holding nuts, mushroom or bump).
- This drawing is not entirely naturalistic and well suited for children.
How to draw a squirrel on a branch
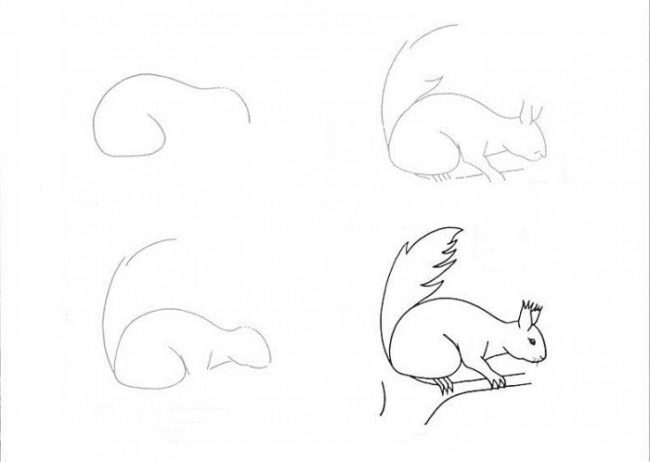
- Make a sketch of the body of the squirrel. You can also use the technique of dividing the sheet into 4 parts. The protein is in a sitting position, but differing from the first drawing. The head of the animal is located on one (horizontal) line with the body.
- The tail is drawn by almost a vertical, slightly curved line. Twisting the head of the animal, the oval is a little lengthened for the muzzle. Submit the front and hind legs.
- Continue to draw the parts of the protein. Picture ears in the form of brushes, divide the tail into separate strands, draw fingers with claws on the paws. Near the outline of the nose, make a few dashes for the antennae of the animal. Draw a tree branch.
How to draw a protein with a mushroom
- Designate the main parts of the body in the figure. For the general circuit and the location of the protein in the projection, draw a line of base at an angle of about 45 C. Focusing on the line, indicate the elongated oval body and the head of the animal. Draw the paws, adhering to the indicative horizontal line. The tail line is located vertically.
- After the main contour lines, the drawing of all parts begins. Two ears are drawn on the head, the eyes and a slightly elongated nose are drawn. The neck and limbs are indicated on the body. The mushroom is drawn in the paws.
- The tail passes with a stroke from the bottom up, displaying the fur texture of the animal. The ears are drawn in the form of a "brush".
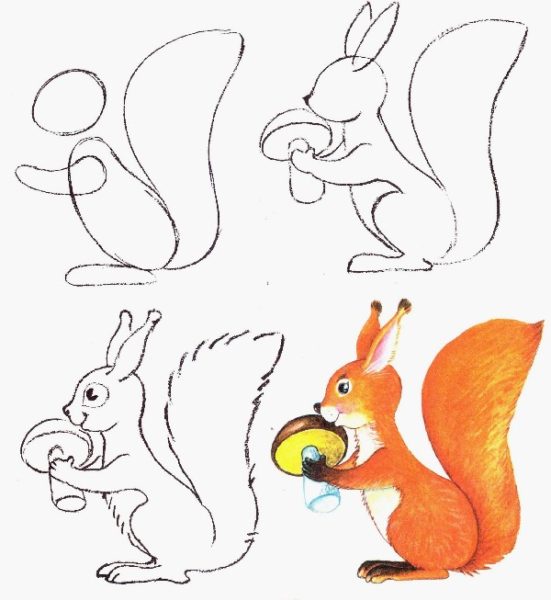
How to draw a protein with a bump
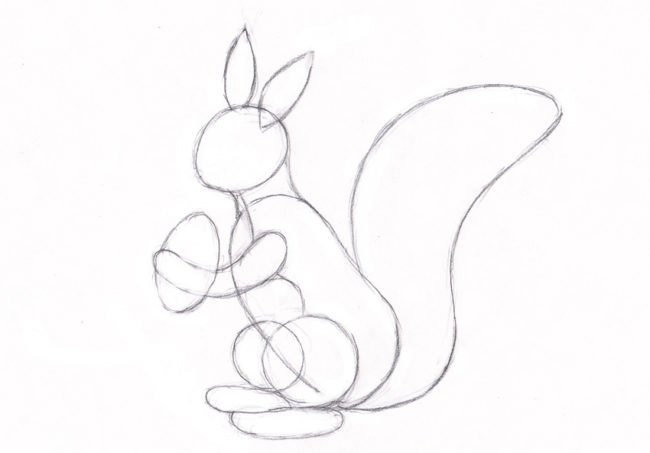
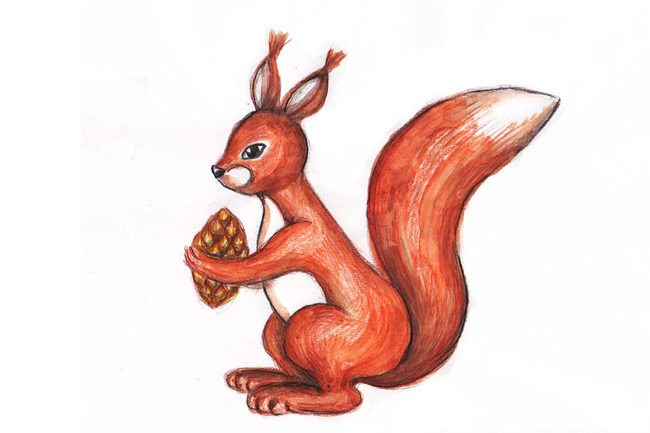
- How to draw a protein for children, you can clearly see the presented example. Compliance with the proportions of the body and the correct location in space are the main conditions of a successful pattern. And decorating a sketch, the drawing is truly “transformed”, because the children like bright and catchy illustrations.
How to draw a hatch squirrel
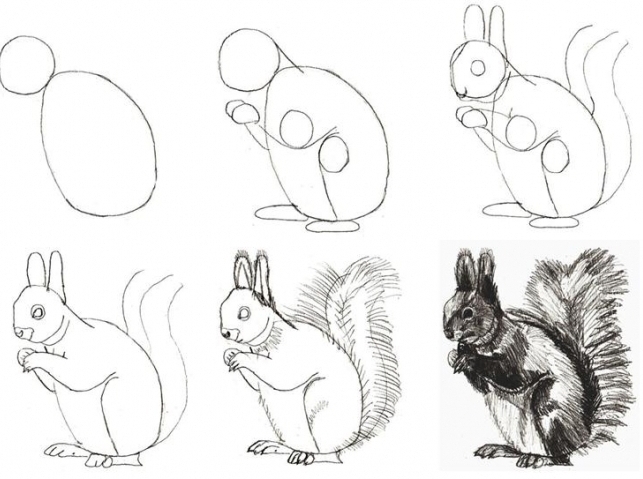
- This method allows you to most accurately convey the realism of the drawn animal. The strokes with a pencil imitate the fur proteins.
- The drawing technique is built in the original light sketch of the main parts of the protein body in the form of key circles. The sketches are easy to do without pressing the pencil, so that there are no traces of the rubbing.
- First, make a sketch of the head (slightly elongated circle) and a large body (oval). The following circles determine the location of the front and hind legs.
- The main contour is ready, and you can start drawing all the details. Osted ears are drawn on the head, the muzzle of the animal is sharpened and indicated by the eye and nose. Draw half -bent legs and tail. The drawing is almost ready and can remain in such a simplified form.
- A complicated option is a stroke of animal hair. Small brushes are distinguished on the ears on top, the core stroke more tightly, obscuring these areas. Smart strokes throughout the body, with shading in the right places, allow you to achieve maximum similarity with a real rodent.
How to draw a realistic squirrel
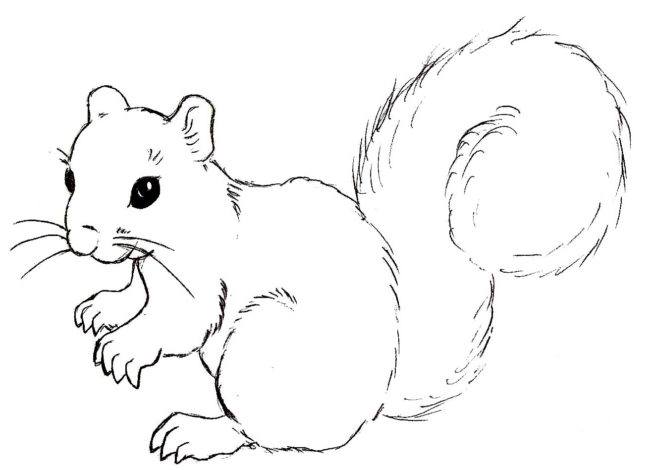
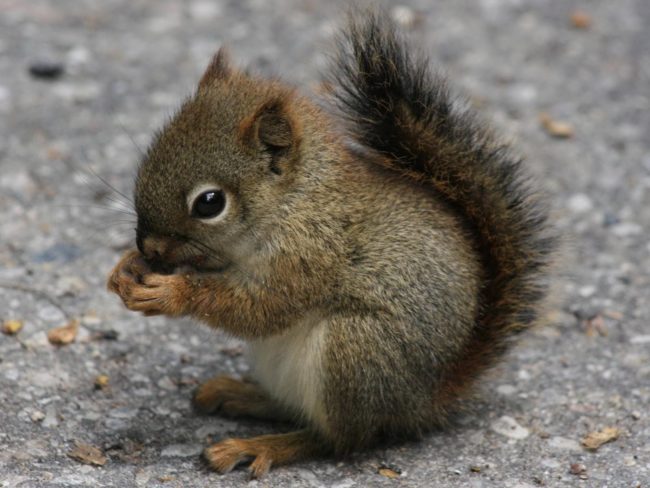
- The drawing is more complicated in execution, the protein is also depicted in profile, in a banded. The drawing technique is similar to the previous pattern: the original sketches in the form of circles are made.
- The main parts of the body are pounced: head, neck, body and large tail.
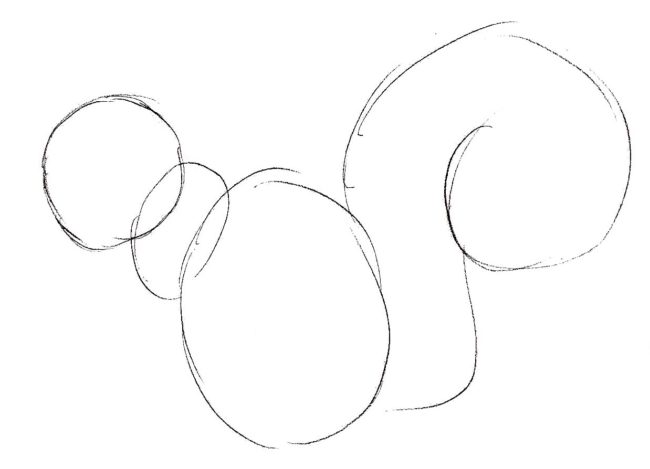
- The center of the muzzle is determined on the head. To do this, draw two cross lines, slightly displaced to the side. Paws draw.
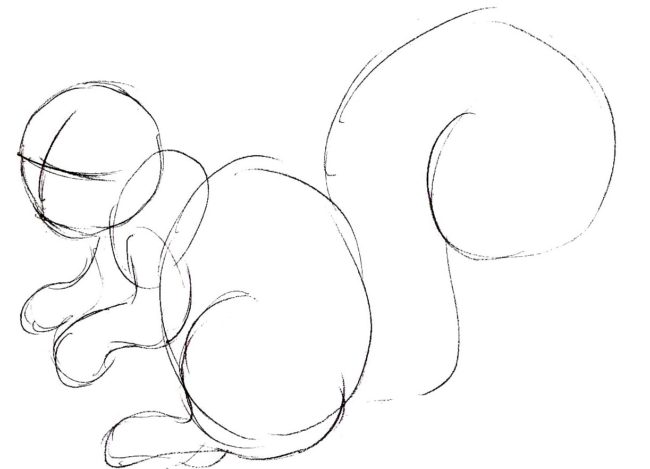
- On the head, the proteins draw ears (symmetrically), on the muzzle - ellipsoid eyes, nose and cheek with antennae. Eyes are located on one horizontal line.
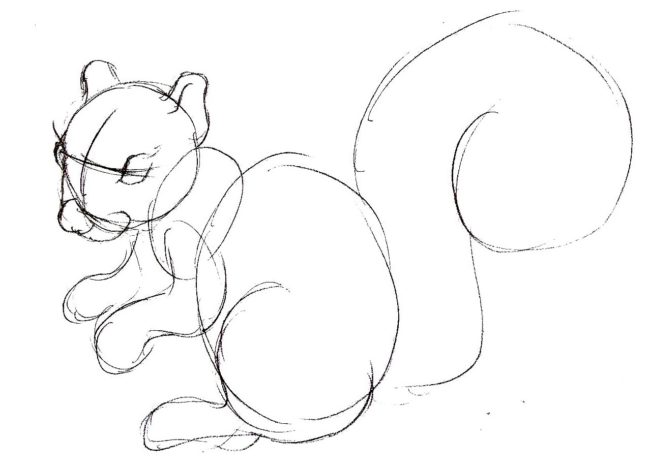
- All small details (the inside of the ears, eyes, eyelashes, mustache, fingers and claws) are detailed, unnecessary sketches are erased with an eraser. Eyes are drawn in black, adding glare.
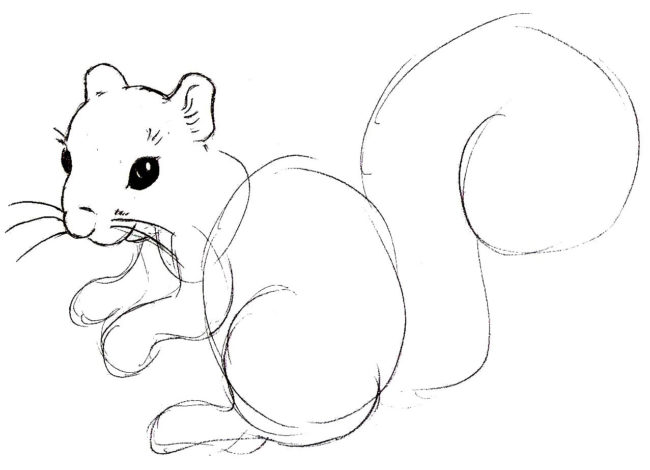
- Finishing the pattern, slightly shake the body of the protein, depicting fluffy volumetric fur and bends of the tail and legs. The protein drawing is quite realistic.
How to draw an animated squirrel
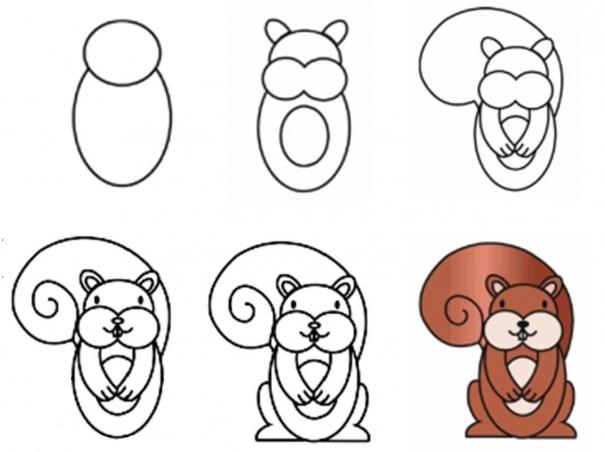
- The "cartoon" version of the protein drawing is not quite like the original, but it looks very cute and funny. This image is perfect for children's fairy -tale books, postcards, applications and even decorating the walls of the children's room.
- The drawing is easily, quite accurately duplicate the presented phased scheme. The dimensions of the picture are determined at their discretion.
- First, we perform, as usual, the general outlines of the animal. Two ovals are drawn: torso and head (elongated in different directions).
- Next, the details are drawn: stomach, cheeks, ears, legs and tail of proteins.
- The muzzle of the “cartoon hero” is detailed: nose, two teeth, eyes-angles. A spiral is drawn in the tail that simulates the volume of a fluffy tail.
- In the end, the protein is painted in the desired colors. It is important to shade the abdomen, the inside of the ears and a cheek of rodent.
- Squirrel in the children's style is ready!
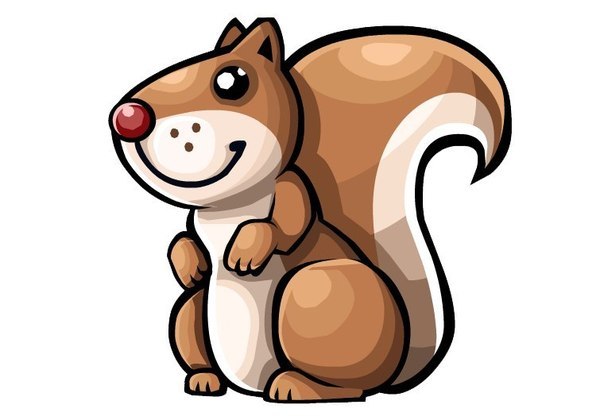
There are many funny protein image options. Here are some of the most successful modifications of funny and funny rodents.
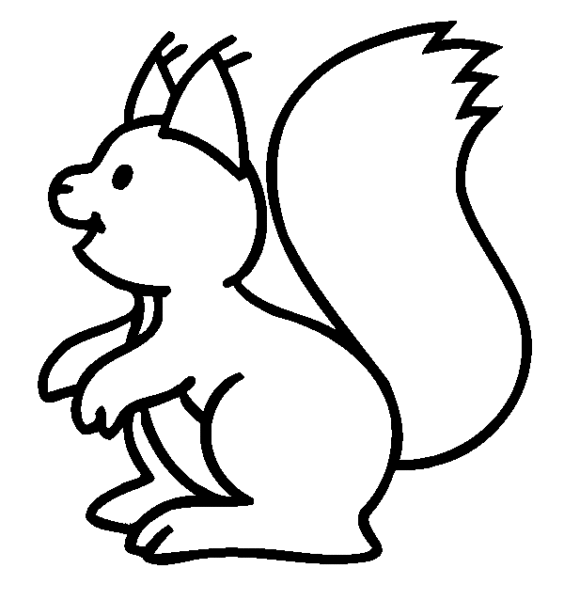
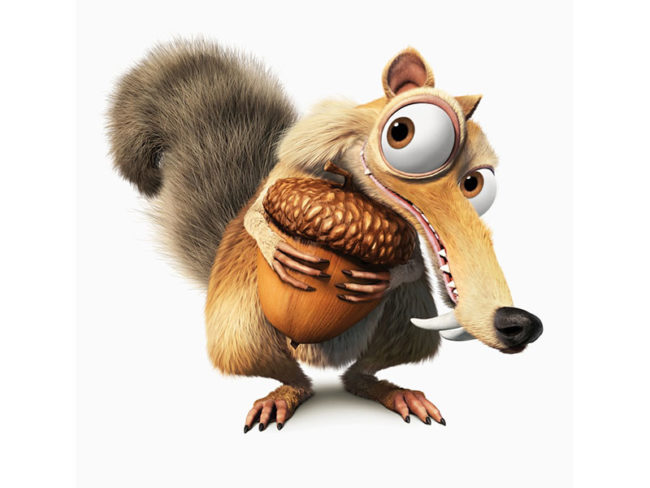
How to draw a squirrel on cells
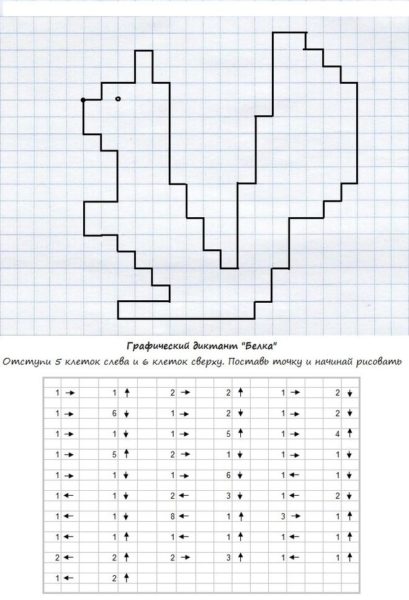
- You can draw protein on the cells using a notebook. This is the so -called graphic dictation that develops the logic, thinking and attention of the child. Drawing in this case turns into a rather exciting and useful process.
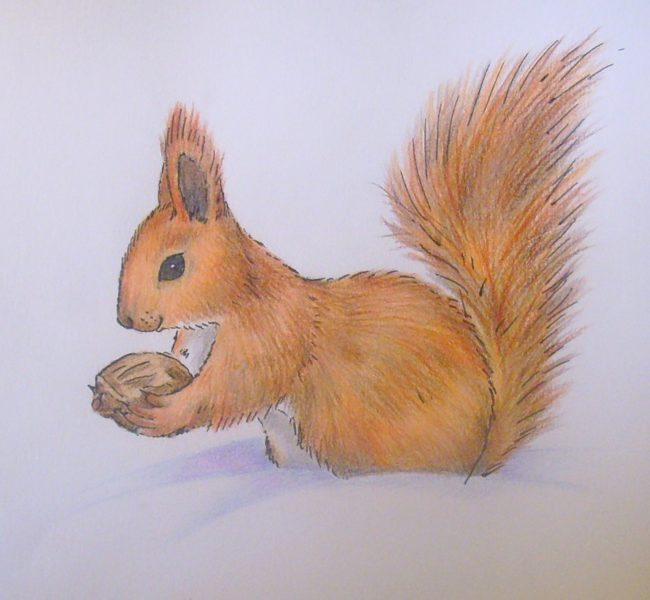
For clarity and as possible examples, we present a selection of pictures of protein drawn with a pencil. The drawings of young, just beginning artists and already quite consisted professionals, give positive and good mood. The main thing is to enjoy the work done.
Pictures of drawn protein
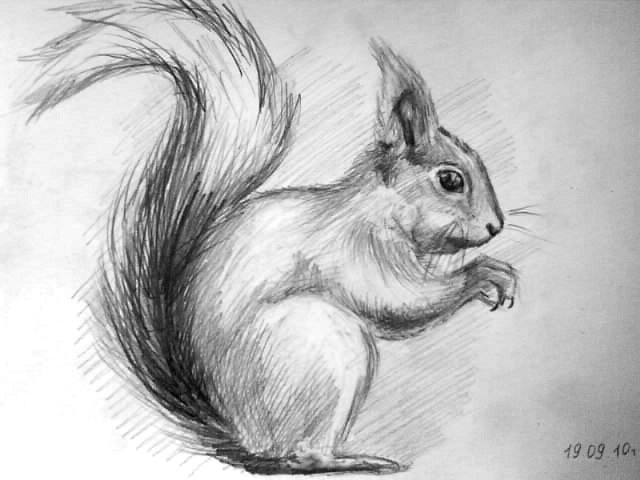
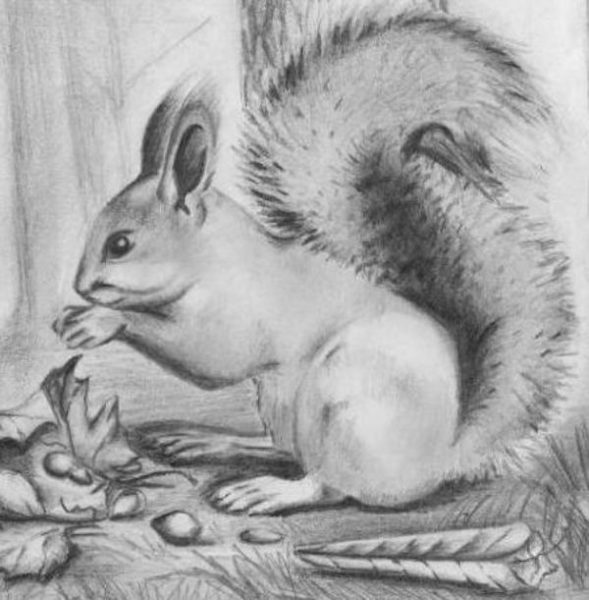
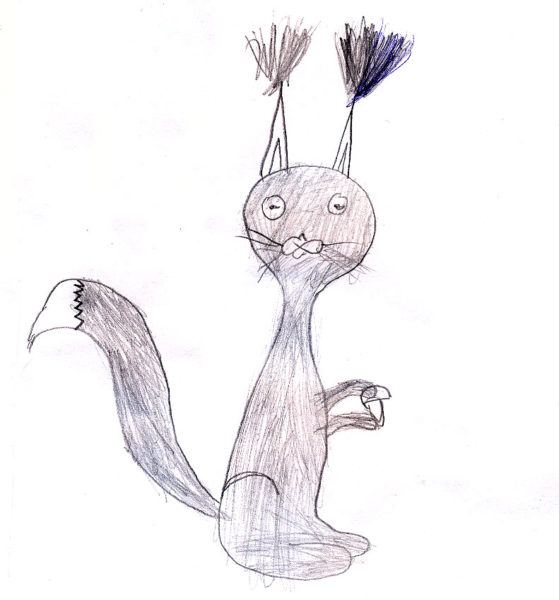
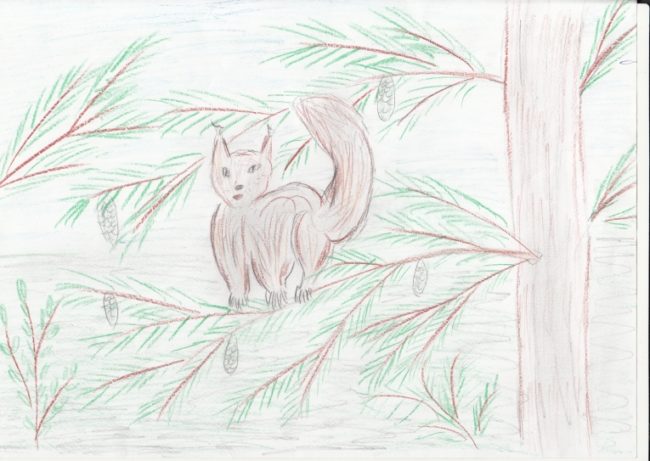
So, having examined in detail the topic “How to draw a squirrel with a pencil”, we denote the main thing:
- There are many ways to draw a protein: from simple and elementary to complex and ornate. The presented master classes will help to easily cope with any task.
- For novice artists, it is better to choose simplified options for a protein pattern. Having managed, you can safely take on more complex examples, improving skills and achieving the best results.
- The main rule of a successful drawing is "There is nothing impossible!" Patience and practice are the key to success and creative undertakings. And satisfaction from work will become a worthy reward.


Comments
a couple of years ago, there was no side of metrogils from the same problem, there were no side effects ...
I’m not a fan of peeling at all, it saves from acne of metrogil, it also smoothes it ...
Great article! ...
I take the second course of the Capsules Climafite 911. The tides went very quickly. It became calmer, irritability went away and I sleep well ...
i also noticed - it is worth nervous, everything immediately affects the face. Therefore, I try to avoid conflicts and unpleasant people. Of the creams, I like Miaflow from wrinkles - smoothes not only small wrinkles ...