Our pens are always in the spotlight. Both men and women pay attention to them. And so I want them to be well -groomed and beautiful.
Content
How to make simple manicure at home
It happens that for any reason, manicure in the cabin cannot be done. Sometimes there is not enough free time or not enough money, because in the conditions of the salon it is quite expensive. Believe me, you can successfully master the skills of manicure at home.
Most importantly, to observe accuracy when performing the stages of processing and then the result of your work will delight not only you, but also those who look at your hands.
Before proceeding with the manicure, we cleanse the nails of varnish, if it is available, and fade the nails, giving them the desired shape.
It is not recommended to steam nails before cutting to avoid stratification of the nail plate. It is better to feed nails, not cut. So you can avoid cracks and burrs on the nail plate.
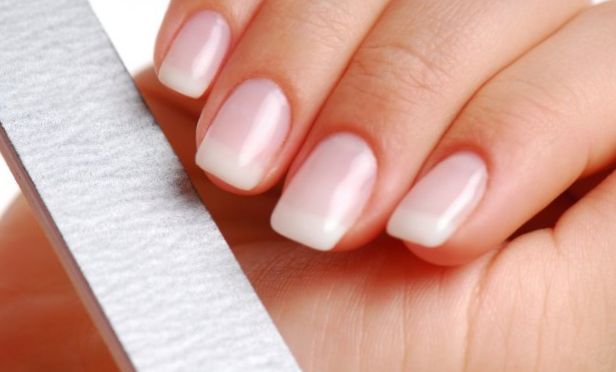
If the nails are strong, not brittle, sand or sapphire saws can be used to cut them. With thin, relaxing nails, it is advisable to use a finely abedient file, it acts softer. Metal files are not recommended at all.
Sprinkling nails, work with a file with confidently, but carefully. The saw should not touch the skin so that there are no burrs. Flowing movements go from rollers to the center of the nail plate. So you can achieve a smooth, even edge.
- The shape of the nails can be selected in the shape of the fingers, the nail plate, as well as the personal desire.
- The square form looks good on thin graceful fingers.
- The pointed shape looks great with a rounded shape of the nail plate.
- The oval shape of the nails is suitable for all types of nails and fingers.
After you have achieved the desired shape of the nail plate, it is necessary to polish the edge of the nail with a smaller file. The quality of polishing is checked by a fingertip. If there is no Zazubrin, then the polishing is done perfectly.
Now let's put the cuticle in order. By the method of processing the cuticle, two types of manicure are distinguished: rubberized and uneducated.
Types of manicure at home
Oblast manicure at home
It is not difficult to make a trim or classic manicure at home with your own hands.
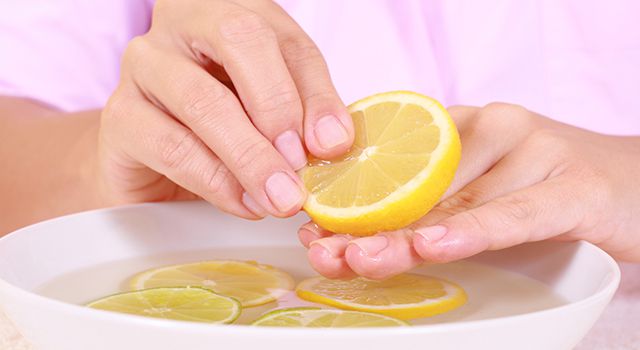
Out -to -cut manicure begins with a softening bath. We soften the skin of the fingers in a bath with warm water, adding 1 tsp. sea \u200b\u200bsalt. You can add lemon juice, it softens the cuticle, and sea salt will strengthen the nail plate. If the nails are relaxed, instead of salt, you can add a few drops of iodine. Bath time is 5-7 minutes.
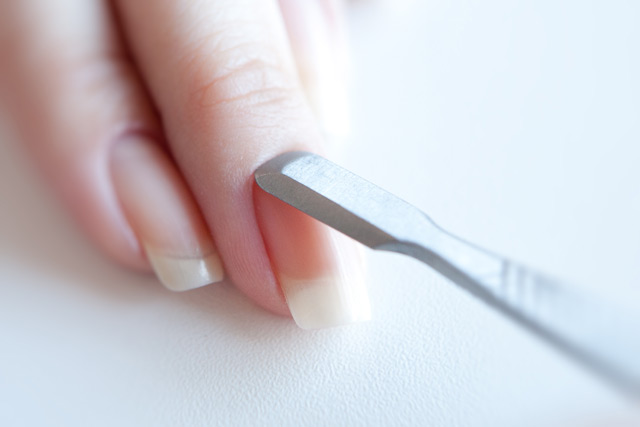
We wipe our hands dry and separate the cuticle from the nail plate using a special stick.
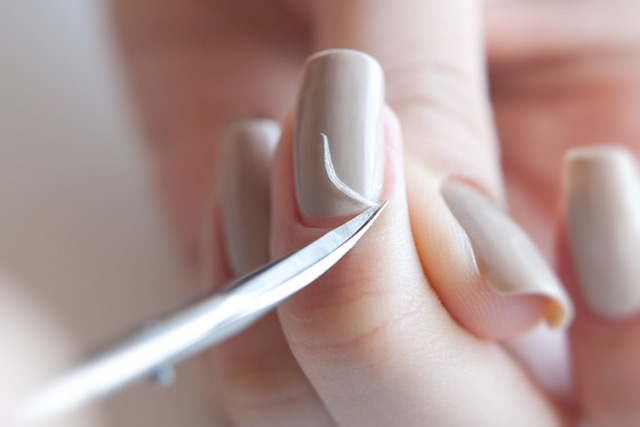
We remove the cuticle using manicure forceps.
We try to cut the cuticle smoothly so that a beautiful rounded edge is formed. You should not cut a lot, this can lead to the appearance of wounds and burrs. Accuracy in this matter is the most important rule.
We treat the cuticle with an alcohol solution. If we do not cover the nails with varnish, it is necessary to lubricate the cuticle and nail plate with a special oil for the cuticle or any natural, for example, olive.
If we cover the nails with varnish, then we use oil after absolutely drying the varnish.
UNDERDENDED manicure at home
Unsuitable manicure has several advantages:
- The composition for removal of the cuticle contains substances that slow down the growth of the cuticle. Therefore, manicure can be done less often.
- Unsoluble manicure at home is an absolutely painless procedure.
- Unedicated manicure at home is perfectly fighting burrs.
Carefully, using a brush, apply the composition to the base of the nail. Within 3-5 minutes, the product softens the cuticle roller and it can be removed with a cotton pad. Then we separate the cuticle from the nail plate and lubricate with special oil, which stops the growth of the cuticle.
Unsmealing manicure is very convenient for women leading an active lifestyle, when there is absolutely not enough time to go to the salon, such a manicure can be made at home.
Unsuitable manicure at home. Video
In this video you can familiarize yourself with the methodology of unrealing manicure.
Manicure on short nails at home
In order for the hands to be unique, long nails are not necessary. An unusual beautiful manicure at home can be made on nails of any length and shape. Basic rules of manicure for short nails:
- A caring manicure should be performed especially carefully. The nails should be equal to the length, neatly filled and polished. The cuticle must be removed in a timely manner.
- Volumetric design on short nails should be avoided.
- The geometric pattern is recommended not very large and not too small.
- Vertical drawings visually make the nail longer.
- The color scheme should not be varied, 1-2 colors are enough.
- When choosing a picture, the shape of the nails should be taken into account. Square nails will look great with a geometric pattern. The oval shape of the nails is suitable for decorating a romantic and floral design.
French manicure at home
French manicure is a great option for designing nails for owners of a short manicure. It can be made in a classic form for everyday. But if you fantasize and paint the edge of the nail not white, but in color in the tone of clothes or accessories, such a manicure can also be suitable for a celebration. In order to make French manicure at home, you will not need any special skills. It is enough to 1-2 times perform such a manicure itself, and you will see how easy it is.
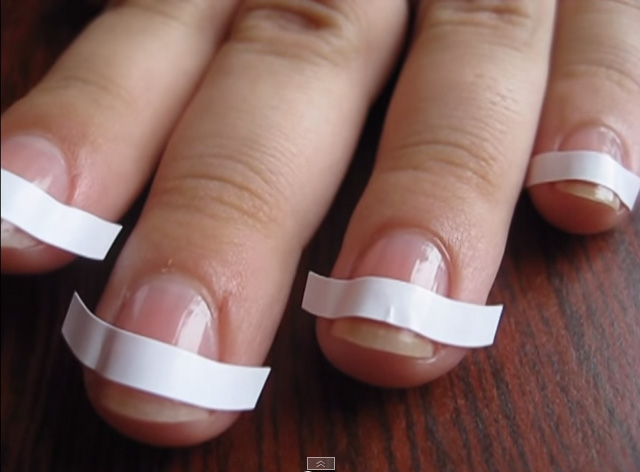
To perform French manicure at home, you need to stock up on white varnish, as well as bodily or pink - to your choice, and stencils with special sticky stickers. We glue stencils so as to clearly indicate the boundary of the white varnish. It is important to remember that the white strip should be no more than 2 millimeters and very careful.
Cover the edges of the nails with white varnish. We are waiting for absolute drying, then we remove the stickers. If you get bumps, it doesn’t matter! They can easily be removed with a cotton swab moistened in a varnish removal fluid. Now it remains to cover the nail plate with varnish, which was chosen, in 1-2 layers. It is advisable to cover with a fixer on top. This will allow for a long time to keep the manicure brilliant and neat.
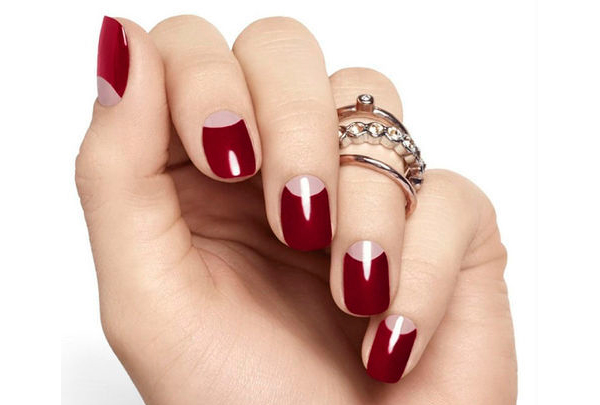
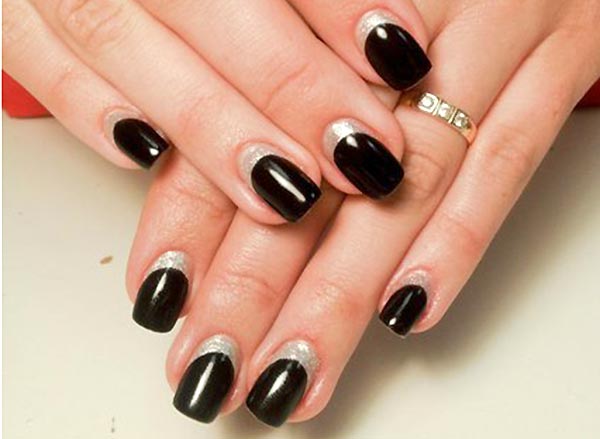
Moon manicure at home
The moon manicure is not the first season for the most fashionable directions for decorating female nails.
When creating this fashionable manicure, you can combine different colors of varnishes, different geometric solutions. Fantasy here can be limitless!
Can be performed in different versions:
- Using a stencil. This will require: 2 shade of varnish of contrasting colors, the upper fixing coating and stencils. We cover the nail plate 1-2 times with the main varnish, let it dry. We glue the stencil so as to get the required pattern. We paint the selected part with a second color varnish. Gently remove the stencil and cover the nails with the top coating to fix the manicure and give it shine.
- Using a brush for decoration. This option of lunar manicure is also easy to do at home. The difference with the previous option is that stencil is not used, and the “lunar” pattern is applied with a brush on top of the main color.
- Using special translated foil. It is also not a complicated manipulation. For such a manicure at home, it will be required: the main varnish, which will be covered with nails, glue for foil, translated foil, varnish to cover the top of manicure.
We cover the nails in 1-2 layers with the main varnish, dry. Then apply glue for foil in those places of the nail plate where we plan to stick the pattern. Let the glue dry. Small pieces of foil we apply the matte side to dried glue. Press very tightly. We try to abruptly tear the foil from the nail. We cover with a fingering varnish on top. It turns out a very beautiful original manicure at home.
Gel-varnish manicure at home
It is extremely easy to make a manicure at home using gel polish. Special skills are not required for this. It is enough to cover the manicure once with gel polish, and the nails will already purchase a slight shade with a glossy strong surface. For a more saturated color, apply 2 layers. Gel polish does not cause allergies, perfectly strengthens the nail plate. In order to make a manicure gel polish at home, you must prepare:
- 2-3 types of gel polish;
- basic coating;
- nails for nails;
- UV lamp for drying gel polish;
- top coating;
- brushes;
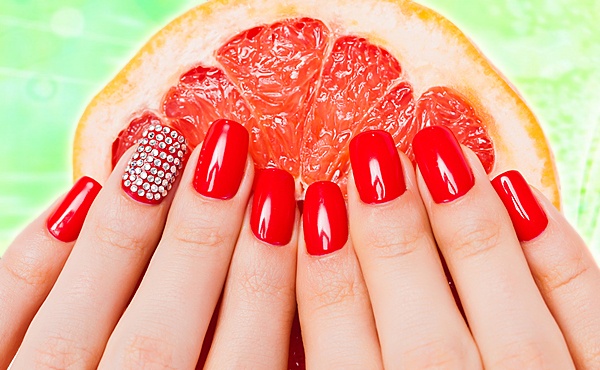
- decor elements: sparkles, rhinestones.
We proceed to applying manicure using gel polish:
- degrease the nail plate;
- With a thin neat layer, apply the basic coating of gel polish, be sure to cover the edge of the nail with varnish;
- We dry at least 2 minutes in the UV lamp;
- We cover the nails with gel polish in 2 layers, drying each layer in a lamp;
- We cover the nails with a finish or top coating.
Such a manicure will please you for 2 weeks. He does not lose gloss, does not crack. Removing gel polish as easy as ordinary varnish. For this, a liquid is used to remove gel polish.
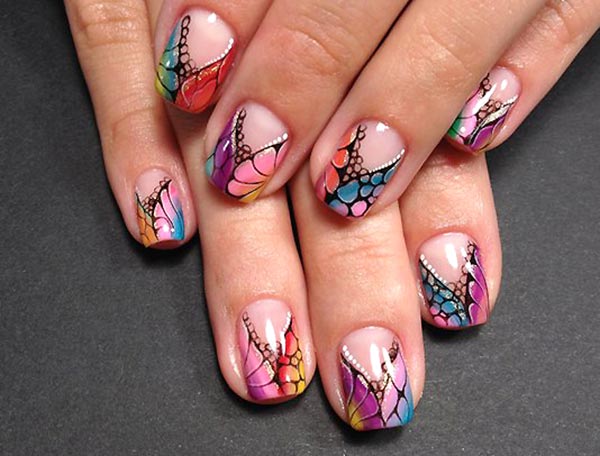
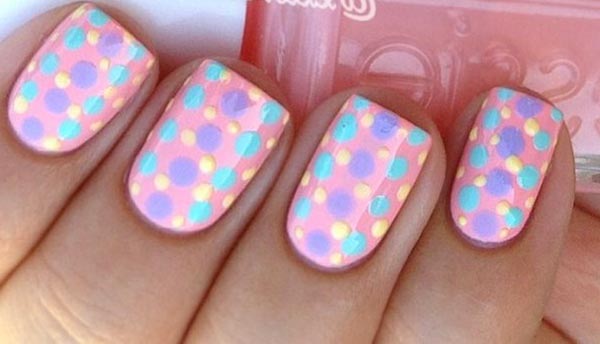
Home manicure with drawings at home
A sample of a lunar manicure made by gel polish.
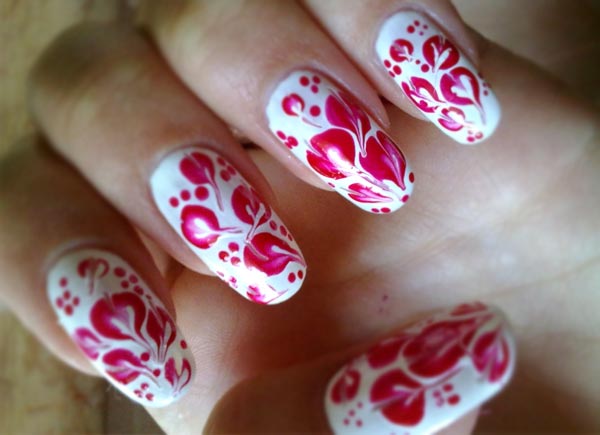
This original manicure is made using toothpick and gel polish. After applying and drying the basic color, drip gel polish and make a pattern with a toothpick, dry and cover with finish varnish.
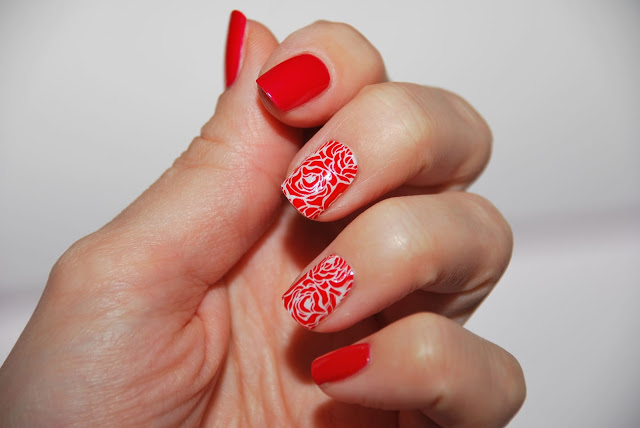
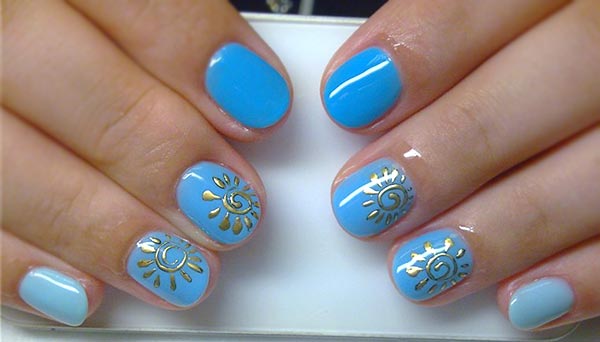
The effect of casting on the nails looks very original. Such a drawing is easy to make with translated foil and gel polish.
Shellac manicure at home. Video
In the video you can see how to make shellac manicure at home.









Comments
a couple of years ago, there was no side of metrogils from the same problem, there were no side effects ...
I’m not a fan of peeling at all, it saves from acne of metrogil, it also smoothes it ...
Great article! ...
I take the second course of the Capsules Climafite 911. The tides went very quickly. It became calmer, irritability went away and I sleep well ...
i also noticed - it is worth nervous, everything immediately affects the face. Therefore, I try to avoid conflicts and unpleasant people. Of the creams, I like Miaflow from wrinkles - smoothes not only small wrinkles ...