The age of the woman, first of all, is judged by the face. There is no doubt that good cosmetics will help to disguise several "extra" years, but no more. Cosmetics will not hide the lowered corners of the lips, lethargy of the muscles of the face, wrinkles and double chin. After all, the true cause of such changes undesirable for any woman lies inside, and not on the surface. And in order for the youth of the face to remain for many years, it is necessary to fight the root cause, and not with the consequences.
Content
- Facewilding for Faces: Methodology
- Facewilding for Faces: Important Moments
- Facewilding for Facial: How to perform exercises correctly
- Facewilding: Contraindications
- Facewilding: Facial Exercise Complex
- Eliminate wrinkles between eyebrows
- Smooth the forehead
- We tone the skin of the eyelids
- Prevention of "Goose legs"
- Get rid of "bags" under the eyes
- We work with nasolabial folds
- We model the shape of the nose
- Put up the corners of the mouth
- Restore the shape of the cheeks
- Improve the chin contour
- Strengthen the muscles of the neck
- Prevention of the appearance of the "second chin"
- Facewilding. Photo before and after
- Facewilding. Video
Facewilding for Faces: Methodology
The word "facebuilding" from English is literally translated as "building facial construction." At its core, it is a diverse set of exercises aimed at preventing aging and correcting age -related changes in the face. Regular classes contribute to strengthening and tightening of the muscles of the face, improving blood circulation, which means that the skin feeds on better, refreshes and renews. The first positive results can be seen after 2 weeks.
The first mention of this rejuvenation methodology using special exercises appeared in the 30s of the last century. The author, the plastic surgeon Reinhold Benz, developed this system specifically for the famous ballerina in those days, with whom he was very friendly. He noticed a clear imbalance between the trained and young body of the ballerina, and her aged face. This observation featured a surgeon to develop a set of exercises.
Training soon helped the ballerina to find fit faces and rejuvenated skin. And this system began to gain more and more popularity. Over the years, she gained wide fame throughout Europe, and then in North America. To date, the exercises developed by Benz are improved by numerous fans and followers of this system.
Facewilding for Faces: Important Moments
Those women who regularly practice exercises for facial muscles will be able to slow down in many ways aging processes and preserve their beauty longer.
- clear contours acquires the oval of the face;
- the cheeks are pulled and lifted (the so -called “shallows” decrease or disappear);
- nasolabial folds are smoothed;
- the skin under the chin (as called the second chin ") is pulled and becomes more elastic to the chin);
- the "bags" under the eyes disappear;
- the general expression on the face changes;
- the complexion becomes healthy and fresh.
Facewilding for Facial: How to perform exercises correctly
All this can be achieved with the mandatory fulfillment of the following conditions:
- Regularity of classes. Lessons must be performed at least 5 times a week 10-15 minutes twice a day. Visible results will bring only systematic lessons.
- Before proceeding with the exercises themselves, it is necessary to carefully cleanse the face, because The skin should breathe. In addition, in the process of class, they often resort to the help of fingers, so many recommend using gloves.
- As before any training, you need to go through the preparatory stage, during which the muscles of the face and neck are heated and muscle tension is removed. This is achieved by self -massage techniques.
- In the main part of the classes, the alternation of the dynamics is necessarily (each movement in the exercises is performed on one account) and statics (the muscles are strained and retained in a certain position in 10 accounts), and the load should increase gradually. It is advisable to perform the exercises themselves on a short delay of inhalation in 3 sets of 10 seconds. For problem areas, either the number of repetitions or the duration of the exercise is increased.
- Women who are just starting classes can control the correctness of the exercises, looking at their face in the mirror. This is necessary so that instead of smoothing wrinkles, not to acquire new ones.
- In the final part, it is imperative to relax the muscles of the face and neck.
Facewilding: Contraindications
Despite all the simplicity of the exercises, Facewing also has contraindications:
- high numbers of blood pressure;
- facial diseases (neuritis, injuries, paralysis);
- plastic surgery on the face, which was performed during the previous 2 years;
- botox injections.
Facewilding: Facial Exercise Complex
Unlike bodybuilding (body modeling), it is very difficult to pump muscles or injure in facebilding. If the exercises are performed correctly, then a feeling of light tingling in the muscles of the face will appear. Before moving on to the next exercise, the face should be relaxed. To do this, you just need to exhale through the half -tied lips (the sound made is most reminiscent of the horses).
Eliminate wrinkles between eyebrows
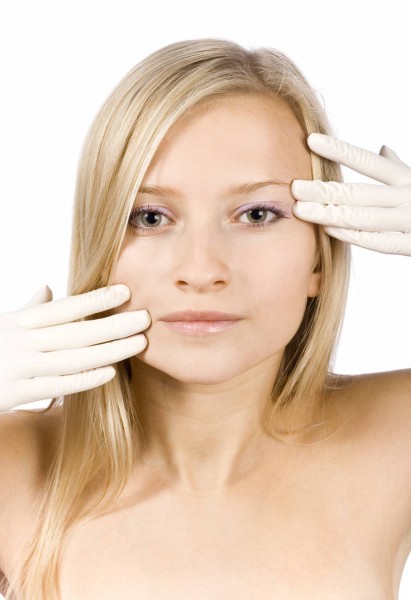
Place the index or ring fingers above the eyebrows. Press the skin slightly, so that resistance is felt during the exercise. Then move your eyebrows to the nose, not forgetting to mentally keep an account. This is a dynamic exercise. Then you should go to the static - put your fingers on your forehead so that they touch each other a little. The middle finger is parallel to eyebrows. Press slightly, pull the skin, and move to its temples. At the same time, move the eyebrows to the nose. Fall in this position, keeping an account. In order to avoid the appearance of “goose legs” in the corners of the eyes, the thumbs can be put in the places of their formation.
Smooth the forehead
Put your fingers on the forehead so that the nameless is located on the eyebrows with a dynamic exercise. The fingertips practically touch each other. For each count, raise your eyebrows up, with effort overcoming the resistance, which is created by tension of the fingers. The facial expression takes on extreme surprise.
When performing a static shape of the exercise, the fingers pillow are placed along the hair growth line so that the thumbs are at the outer edge of the eyebrows (while, as it were, the eyebrows are stretched in opposite directions). Pull your fingertips with your fingertips up your forehead up to the crown, and try to pull your skin with your forehead muscles down. Freeze in this position under the expense. When the exercise is finished, a little massage your eyebrows.
We tone the skin of the eyelids
For the lower eyelids: put two fingers on the outer corners of the eyes and lift the lower eyelid upward, counting 10 times.
Exercise for the lower eyelids (static): Place the ring fingers on the lower eyelids, and in medium, fix the eyebrows. It turns out that you are looking out between the fingers. Take the elbows to the sides without raising them. Open your eyes wide, and point your eyes up. Under the ring finger, the feeling should arise that the eyeball presses slightly. Locate in this position, counting up to 10.
For the upper eyelids: open your eyes as widely as possible (so that the protein of the eyeball is clearly visible). Eyebrows should not take part in this exercise, and the forehead does not wrinkle.
Prevention of "Goose legs"
Put your fingers on the outer edges of the eye depressions and click the eyelids. Under the fingertips, you will feel the movement of the skin striving towards the nose. The touch of the fingers should be easy so as not to prevent this movement. Do not forget to keep an account.
Get rid of "bags" under the eyes
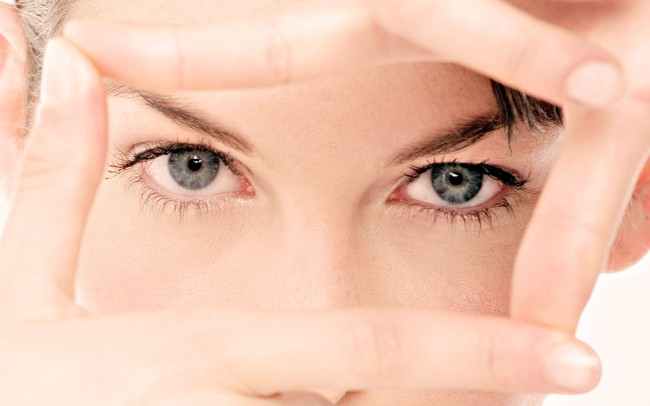
Exercise number 1. Touch the pillows of the fingers of both hands to the outer and inner corners of the eyes, so that the figure of the fingers is like the English letter W. The gaze is fixed up. You need to strain your eyes as if you are trying to squint. The fingers at the same time provide light pressure, and under them a trembling of muscles should be felt. In the dynamics, you need to squint and relax 10 times in a row, and then freeze for 30-40 seconds in a tense state.
Exercise number 2. Place 3 fingertips on the lower edge of the eye socket and press them slightly. The gaze is directed straight. Try to raise the lower eyelid without moving the upper. Stay in this position for 10 seconds. Repeat the exercise 3 times.
We work with nasolabial folds
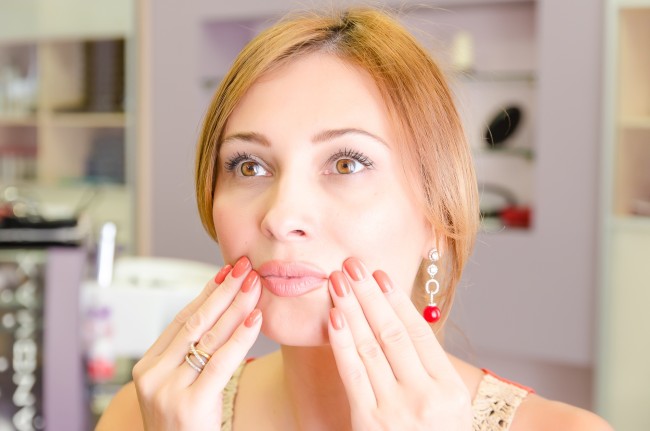
Open your mouth so that your lips form an oval, and press your lips tightly to your teeth. In this position, the index fingers, pressing slightly on the skin, glide along the nasolabial fold from the corner of the mouth to the nose, and then back. As soon as the sensation of a slight burning sensation appears, start tapping massaging movements along the same fold for 30-40 seconds.
We model the shape of the nose
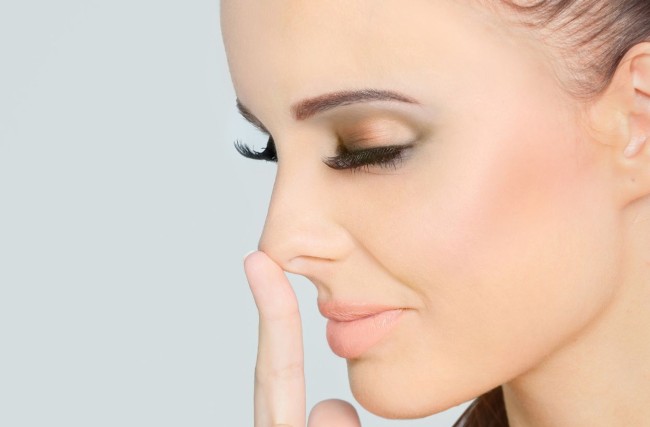
With age, the end of the nose is slightly down and becomes wider. To avoid such a problem, perform the following exercise: with one finger, press slightly and slightly lift the tip of the nose, and pull the upper lip down. The lips during the exercise should be in a closed state. If you perform the exercise correctly, then you will feel that the nose is bent down. Loose for a couple of seconds, and then relax your face muscles. Repeat the exercise 20 times.
Put up the corners of the mouth
Squeeze your lips so that the corners of the mouth tenses and become small dense nodules. Place one finger in the corners of the lips. Start lifting the corners of the mouth in a slightly designated smile, then lower down. After the reference is 10 times, complete the exercise with soft tapping movements in the corners of the mouth.
Restore the shape of the cheeks
Exercise number 1. Easy, without tension, smile. Notice in the mirror where the fold is formed when you smile. Put the index finger in the place where a fold is formed during a smile. The finger should be perpendicular to the corners of the mouth. Then relax your lips, and smile again, without taking your fingers from the folds.
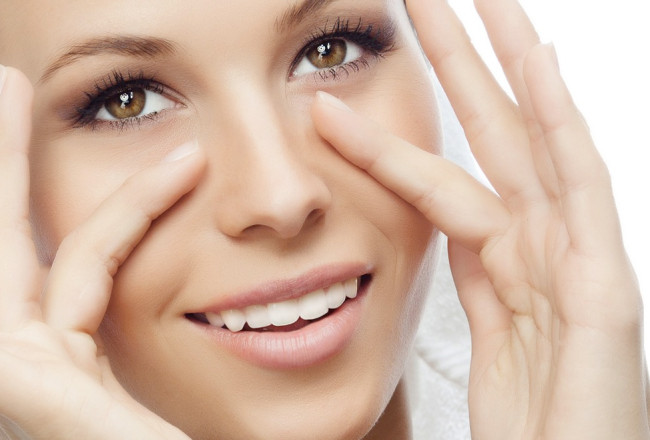
Exercise number 2. Take the corners of the mouth to the cheekbones, as if you smile very broadly. Put the index fingers on the outer edges of the eye sockets, and hold the nasolabial fold with the thumbs (this is necessary to prevent the appearance of additional wrinkles during the exercise). Loose for 10 seconds in this position. Repeat the exercise 3 times.
Improve the chin contour
Exercise number 1. Raise and tighten the muscles of the chin until you feel that it has become dense to the touch. Then relax and repeat everything first-10-15 times.
Exercise No. 2: With closed teeth and a motionless lower jaw, it is necessary to lower the lower lip so that the teeth appear. And then close back with the upper lip. If wrinkles are formed when performing this exercise, click the places of their formation with your fingers.
Strengthen the muscles of the neck
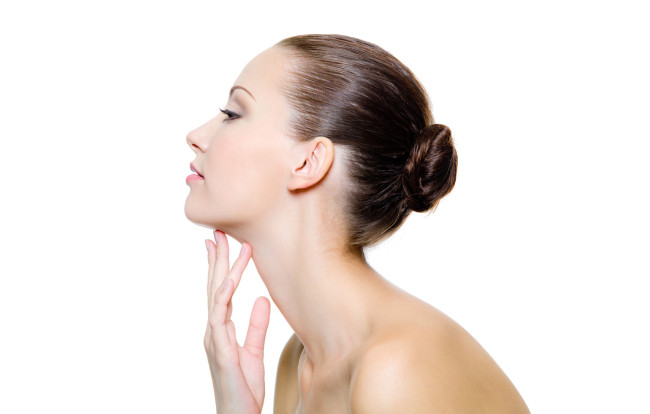
Exercise number 1. Pull the lower lip down, and at the same time strive to raise the corners of the mouth. The neck muscles are tense and well outlined. Do the exercise under the account.
Exercise number 2. Lie on your back, so that it is convenient for you. Press the forearm to each other so that the wrists are in contact. The hands of the arms are wrapped around the side surfaces of the neck, the fingers are tightly pressed. The head and neck rise from the floor by approximately 1 cm. Suture for a couple of seconds in this position. Return to the starting position slowly. Repeat 20-30 times.
Exercise number 3. Open your mouth and, as it were, pull the lower lip into the oral cavity, placing it on the lower teeth. Tightly (with effort) press the upper lip to the surface of the teeth. Place one finger in the middle of the chin so that it creates resistance when performing the exercise. The lower jaw begins to move with scooping movements from the bottom up, and extending slightly forward. Having finished the exercise, throw your head back and relax for 30 seconds.
Prevention of the appearance of the "second chin"
Exercise number 1. The fist of one hand rests under the lower jaw (into soft fabrics, and not in the bone itself). Close and close your mouth smoothly, feeling the resistance of the fist.
Exercise number 2. As much as possible, with effort, stick out your tongue, trying to get it before the end of the chin. The upper half of the face remains motionless. Repeat 10-15 times.
Exercise number 3. Sit comfortably, raise your chin up, slightly throwing your head back. In this case, the brush of one hand wraps the neck in the front and slightly pulls the skin downward. At this time, you need to smile with closed lips. It is necessary to execute 10 approaches.
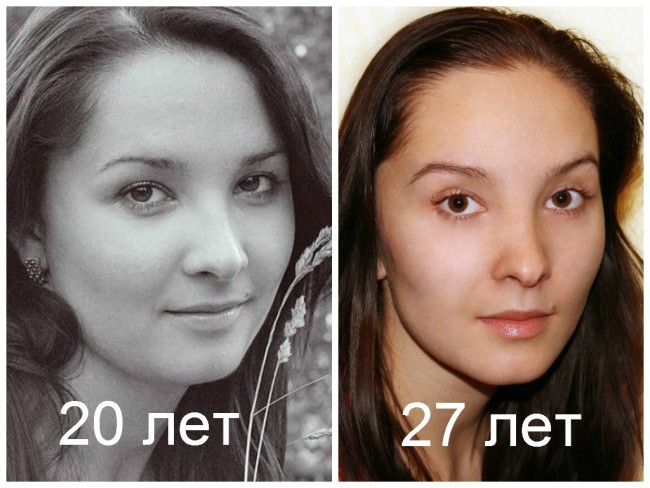
According to numerous reviews on the forums, we can draw conclusions that systematically using the methodology of facebilding, you can literally turn back the time. And it is possible to achieve such wonderful results without any financial investments and plastic surgeons. It is enough not to be lazy and devote several minutes a day to your face.






Comments
a couple of years ago, there was no side of metrogils from the same problem, there were no side effects ...
I’m not a fan of peeling at all, it saves from acne of metrogil, it also smoothes it ...
Great article! ...
I take the second course of the Capsules Climafite 911. The tides went very quickly. It became calmer, irritability went away and I sleep well ...
i also noticed - it is worth nervous, everything immediately affects the face. Therefore, I try to avoid conflicts and unpleasant people. Of the creams, I like Miaflow from wrinkles - smoothes not only small wrinkles ...