Knitting with knitting needles is a fascinating activity that not only will allow you to pass the evening of another, but will also give a lot of interesting details of the wardrobe.
Content
Knowing various knitting techniques will expand skills, and also make your needlewoman’s path interesting and cognitive. Knitting training begins with the development of basic techniques. One of these techniques is English elastic band. The popularity of this type of weaving is due to two factors - the pattern is simple in execution and has the same appearance from both the front and the wrong side, which makes it very in demand. English elastic band has established itself in practice. Simple schemes will tell you how to tie a hat, a scarf with an English elastic band, also arrange a sweater (but not a edging) or prepare spectacular leggings.
How to knit English elastic band: small tricks
Knitting in the technique of "English elastic band" will give you an elastic and at the same time a slightly loose canvas with a relief pattern. In order for the ornament to be beautiful, and the product is soft, use the advice of experienced knitters:
- English gum “loves” thick yarn and knitting needles (the latter should be thicker than yarn).
- Take carefully about the issue of the number of loops. The drawing is quite voluminous, so 20-40 loops scored can ultimately give a very wide canvas.
- To obtain an even edge of the canvas, as well as the same pattern, it is recommended to work with an odd number of loops on both sides of the product.
- Do not use this type of elastic band in places subject to increased stretching (cuffs, neck) - the product will quickly stretch and lose an attractive appearance.
- To make the pattern beautiful, knit the front loops only behind the front wall.
- The finished product associated with the use of the English elastic band must be washed and dried. As for drying - to produce it only in a horizontal position, since the thing will lose its shape.
- As a result of using the technique, a rather voluminous canvas is obtained, which means that the flow of thread increases. Consider this factor when buying yarn and take 1-2 skein more.
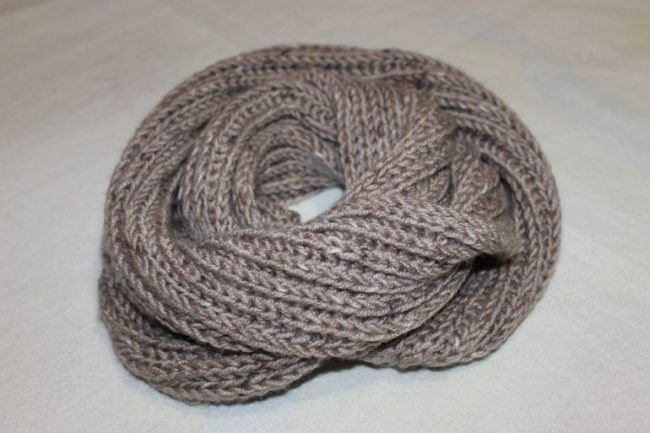
How to knit English gum. Drawing English elastic band
If you do not know how to knit English gum with knitting needles, the schemes for beginners will help solve this problem. The most common weaving English knitting is a 1x1 or 2x2 pattern.
How to knit English gum with knitting needles 1x1 scheme
- Take the knitting needles and form an odd number of loops.
- The 1st row is knitted with a consistent change in straight and reverse loops. Start with LP.
- The 2nd row also turns out to be an alternation: if you are in front of you, knit a front loop, if the wrong one, remove it, having previously made a cloak. And so until the row is over.
- 3rd row: Nakid LP-do the front, IP-cloak and carry the loop. Next, repeat these 2 actions again until the row ends.
- You get all subsequent ranks in the same way as a number 3.

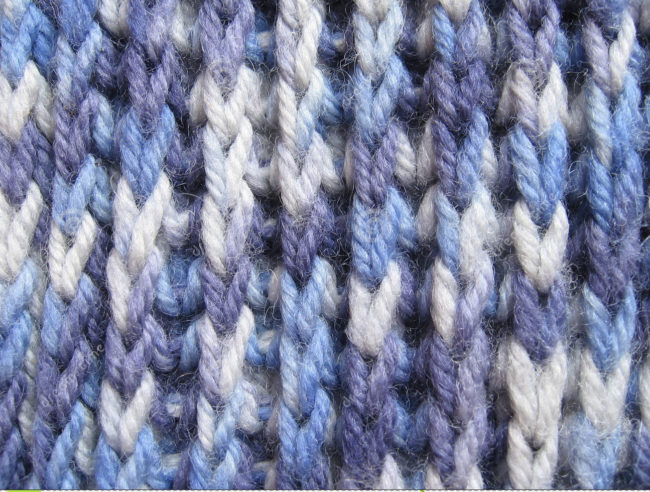
How to knit English gum with knitting needles circuit 2x2
- Form a multiple of the 4th number of loops. Sicks are included in this number.
- 1st row. The loop of the edge is transferred and do 2 lp. Next, the cloak, take off the loop and once again the cloak, and again removed the loop. After again, 2 lp and 2 loops were removed by throwing in front of each cloak (B). Repeat the sequence in the end of the row. Knit the last loop.
- 2nd row. Cross the edges of the edges, and then work according to the scheme: cloak, loop was removed, the cloak and loop were removed again (C), followed by the cloak and loop (2 times) - knit each pair of front (D). Alternate (c) and (e) until the end of the row. Complete the row with the knitting of the wrong loop.
- The 3rd and further odd ranks are formed according to the principle of the 1st, and the 4th and all even stripes are according to the 2nd row scheme.
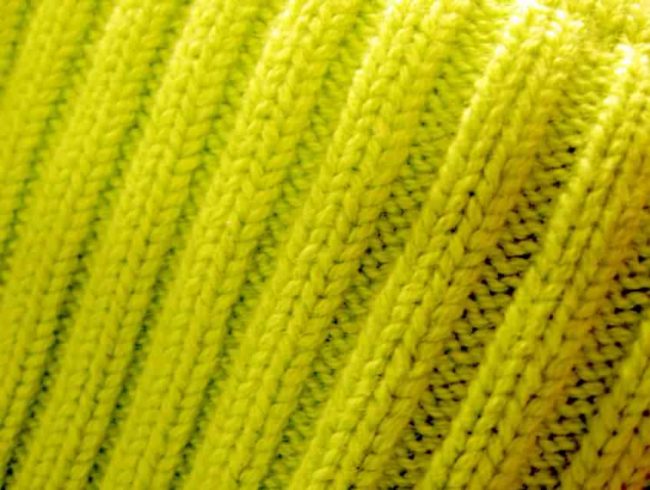
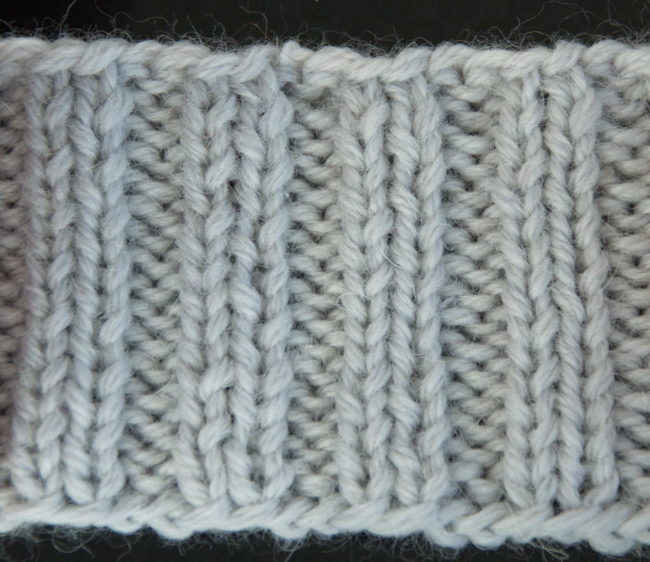
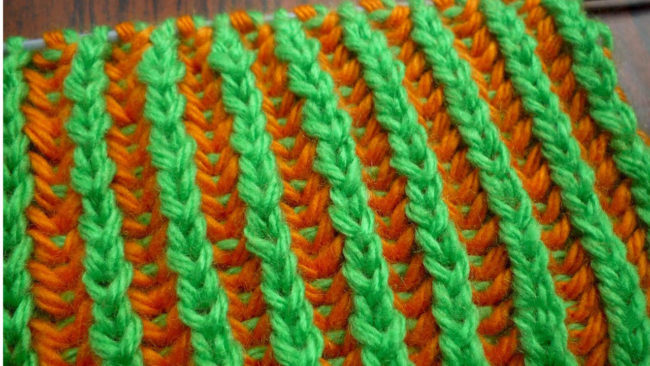
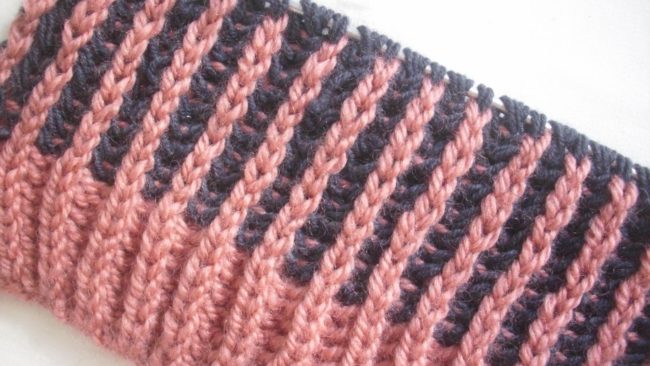
Two -color English elastic band: vertical columns
Bring a note of originality and add paint will allow two -color weaving. The proposed scheme will tell you how to properly form a canvas of several colors.
Take 2 threads (one color) and form an odd number of loops. At the same time, for the first loop, you serve a double thread, and for all subsequent ones - a single one.
- 1st row. Cross the loop. Next, knit 1 LP, cloak and remove 1 loop (K). The sequence (K) continue the entire length of the row. The latter is knitted wrong.
- 2nd row. We wove a new color: 1 lp, cloak, loop was removed. And again, the lp (capture with the crochet), the yarn, the loop was removed. Thus, form the whole row. The last hem - the wrong.
- 3rd row. You do not turn knitting, but move to the beginning of the knitting needles and begin the formation of a new row with a thread of the first color. The 1st loop was removed. The next with the crochet make the wrong side, then - the cloak and removed the loop (m). The sequence (m) is distributed until the end of the row. The latter is the wrong.
- 4th row. The canvas turned over and work with the second color. Remove the 1st loop. Next, the cloak, a loop was removed, the crochet loop was designed to be the wrong side (B). The repetitions of the sequence (c) form this series.
- 5th row. You do not turn knitting, but move to the beginning of the knitting needles and begin the formation of a new row with a thread of the first color. The 1st loop was removed. Next, decorate the shaking loop with the front, the cloak and carry the loop. Repeat these actions for all loops of the row.
- Repeat the 2nd row block-the 5th row how many times are required.
How to knit English gum. How to tie double elastic with knitting needles
The double elastic technique will give a fairly dense canvas, which perfectly holds the shape of the structure. A simple weaving will help in the formation of belts, cuffs, the upper part of the socks. You can both tie a double elastic on circular knitting needles, and get the necessary ornament using straight spokes. The technique of execution is very similar. Dial a multiple of the 4th number of loops and add 2 more iron loops to them. Consider the formation of a pattern on the example of 30 loops.
Straight knitting needles
- The 1st row get the alternation of straight and reverse loops, while knitting the LP, remove the individual entrepreneur, after passing the thread in front of the work.
- 2nd circle. Those loops that were missed at the previous stage (wrong), now knit - the wrong ones, and the front, on the contrary, pass it, transferring to the knitting needle to the right. The location of the thread is behind work.
- The 3rd and further odd ranks are formed similarly to the 1st Circle, and in the 4th and all even rows weaving is similar to the 2nd circle.

Circular knitting needles
- 1st row. Close the circle: transfer the 1st loop from the left to the right knitting needle (a), and then remove the 1st loop (“native”) on the right side with the left knitting needle, gently stretching the loop (a) through it. Next, knit the classic elastic band 1x1 - alternate straight (beyond the front wall) and reverse (beyond the back wall) loop.
- You get the 2nd circle again by alternating the loops-knitting the LP, remove the individual entrepreneur, after passing the thread in front of the work.
- 3rd circle. Those loops that were missed at the previous stage (wrong), now knit - the wrong ones, and the front, on the contrary, pass, transferring to the adjacent (right) knitting needle. The location of the thread is behind work.
- Alternately repeat the 2nd and 3rd circle.
The technique of double elastic is an excellent output for those who do not know how to knit an elastic band with knitting needles so that it does not stretch.

How to tie a hat
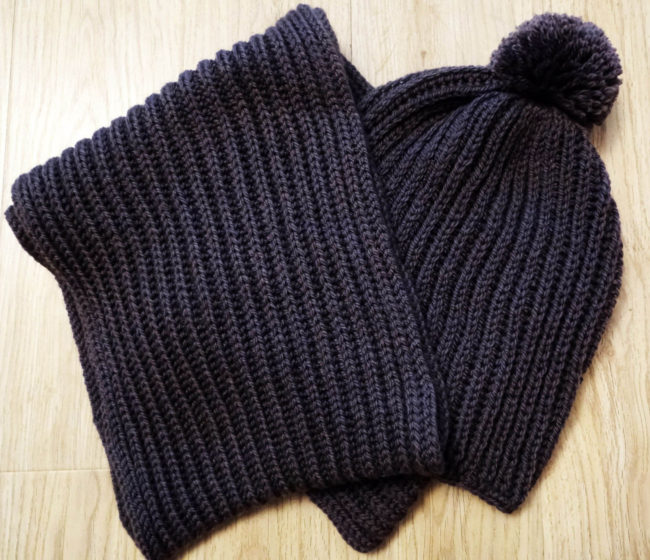
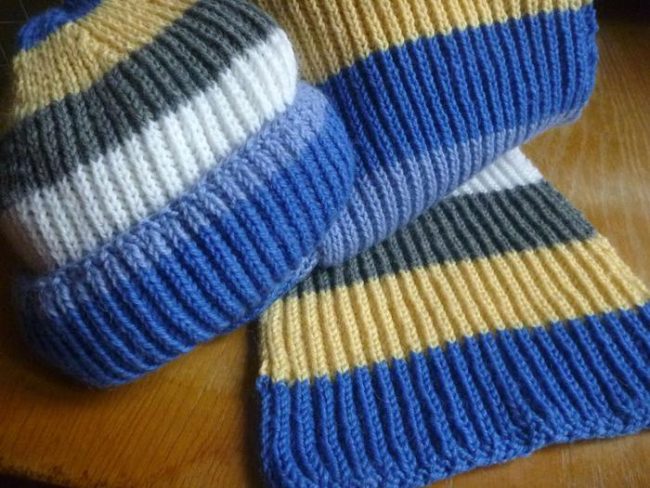
What can be more original and attractive than a head -to -hand headdress. Weaving English elastic band is ideal for knitting interesting and textured berets and hats. You remember that this knitting is characterized by increased elasticity, so the advice is for those who do not know how to tie an elastic band for a hat with knitting needles - you need to start with a conventional elastic band (1x1 or 2x2), and then switch to the formation of English. You will need a couple of spokes (No. 4) and 100 g of woolen yarn.
- Type 64 loops. Why "approximately"? The problem is that the exact number of loops can be found only through practical measurements. This value is determined by several factors - the head of the head, the density of knitting and the desired planting of the product. A simple calculation will allow you to “narrow” the search circle - dial the loops and calculate how many are 10 cm, and then - measure the circumference of the head.
- To obtain a rim, knit 4-6 circles (the quantity determine wishes by width) with a classic 1x1 elastic band, alternating straight and wrong loops.
- After starting the formation of English weaving. You knit a row (a) according to the following scheme (remove the only loop): knit a straight loop, make a cloak and remove the wrong loop and form a facial loop again. Going to the wrong side (c), you work according to this scheme (the hem was removed): transfer the individual entrepreneur by prior a fraud, and form the mockery loops with the faces, considering them one loop. Alternate the rows (a) and (c) until you get the canvas of the desired length (24-26 cm).
- Prepare for a reduction - knit a series with an ordinary 1x1 elastic band.
- Reduce the number of loops-from the next row, make the front surface, but capture every 6th loop together with the 7th. Thus, form another 2 cm of the canvas.
Now capture every couple of loops and knit them together. Thus pass another 2 cm. - Cut the thread, leaving the tail 30-40 cm. Pour it into the needle and transfer all the loops from the knitting needles to the thread. Turn the crown and make the rear seam.
How to knit English gum on circular knitting needles
To get a relief pattern in the form of an English gum, use ordinary knitting needles or circular. The need for the latter increases with knitting without a seam, for example, snood. How to knit a scarf with an English elastic band on circular knitting needles? Prepare 300 mg of half -wool yarn and, of course, a working tool - circular knitting needles 6 mm thick. The scheme is quite simple.
- Dial 120 hem loops. Drive them so that there are no twisted fragments. The “working” knitting needle is the one on which the 1st Imarian Loop (with a tail of the thread) is located.
- 1st row. Make a cloak on the “working” knitting needle and remove one loop from the left knitting needle to the right. Next, knit 1 LP (front loop). After the cloak again and remove the loop, and then form 1 lp (step a). Repeat the step A throughout the circle.
- At this stage, the drawing is still visible poorly, so it is very important to control the correct location of the loops so that the latter do not twist.
- 2nd row. The 1st loop with a crochet is designed as the wrong side (IP). Next, the cloak and carry the loop. Repeat these 2 actions until the end of the circular series.
- 3rd row. Knock and carry the 1st loop, form a 2nd crochet loop as a front one. Repeat these actions before the end of the circle.
- The 4th row (and future even stripes) are knitted similarly to a row 2.
- The 5th row (and further odd stripes) are knitted similarly to a row 3.
The length of the canvas determines the width of your scarf pipe. Having received the canvas of the size you need (for example, 30 cm), knit the final series according to the scheme of 1 LP x 1 IP. If the 1st loop is facial, then you also knit the front, if the wrong one, knit the corresponding loop. To close the row, arrange a pair of loops together. Return the resulting LP to the left knitting needle and again make 2 loops together. Thus go through the whole row. Closing it, cut the thread and close the final loop. Hide the tips of the threads using the hook.
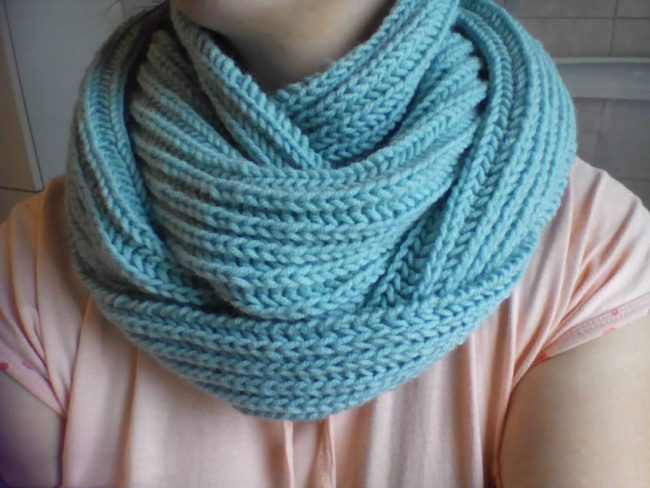
Experiment and please loved ones with unique products!


Comments
a couple of years ago, there was no side of metrogils from the same problem, there were no side effects ...
I’m not a fan of peeling at all, it saves from acne of metrogil, it also smoothes it ...
Great article! ...
I take the second course of the Capsules Climafite 911. The tides went very quickly. It became calmer, irritability went away and I sleep well ...
i also noticed - it is worth nervous, everything immediately affects the face. Therefore, I try to avoid conflicts and unpleasant people. Of the creams, I like Miaflow from wrinkles - smoothes not only small wrinkles ...