It is never too late to learn something new, especially if you have small children. With them, every mother and dad learn to draw, sculpt, build houses and play with toys. It is drawing that helps to bring the baby closer to his parents, because how warm and delicate atmosphere is present in your child’s attempts to learn with your help to draw elementary objects.
Content
In the future, for each holiday you will receive bright and memorable drawings of landscapes, bouquets of flowers, various vases with flowers. Probably the most common pattern is a vase that can be drawn with an empty or with a beautiful bouquet of colors in it. Everyone can draw a vase in stages, it is enough to feel a little proportions.
In this article, we will consider the main features of the VAZ drawn with pencil, determine the main types of vases for drawing. We give examples of instructions on how to draw a vase in stages for beginners in different performance.
How to draw a vase. Vase definition, its main forms and types
Before starting to explain how to draw a vase for beginners, it is worthwhile to dwell on the definition of the concept of a vase.
By and large, the vase is a cylinder - a voluminous geometric figure, so when drawing a vase, always remember what is the basis of this object. Immediately, the question may arise how to draw a vase high, low, wide, inclined, imagining only a cylinder in front of you. Everything is very simple, the cylinder is based on, however, by changing certain proportions, reducing or increasing the specific side of the cylinder, you can achieve the necessary form.
The vase is a beautiful and fragile vessel, which in the distant past was used only for various liquids. In the modern world, the use of a vase has become much extensive. It is used as a decorative element, as a stand for bouquets, for storing fruits and sweets. This item has a very ancient and rich history. Vases have already been widely used in ancient Greece and in ancient China. It is their vases these days that are considered the greatest objects of art and history.
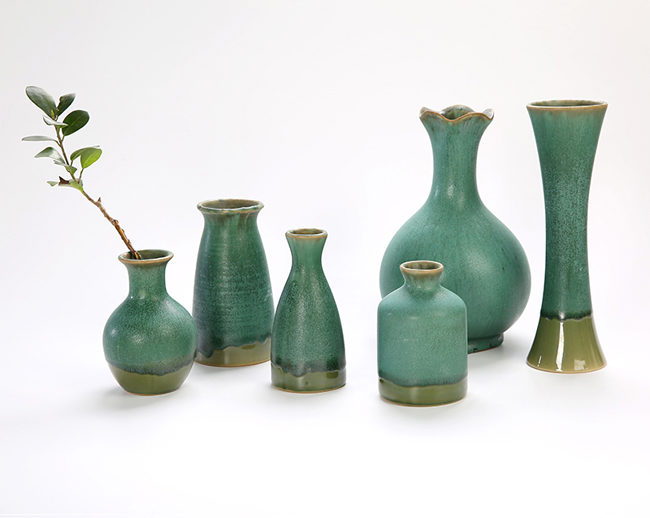
How to draw a vase. Types and forms of VAZ
- If you want to understand how to draw a vase with a pencil, you need to know that this item can be completely different shapes and material. And all this, of course, must be reflected in the figure.
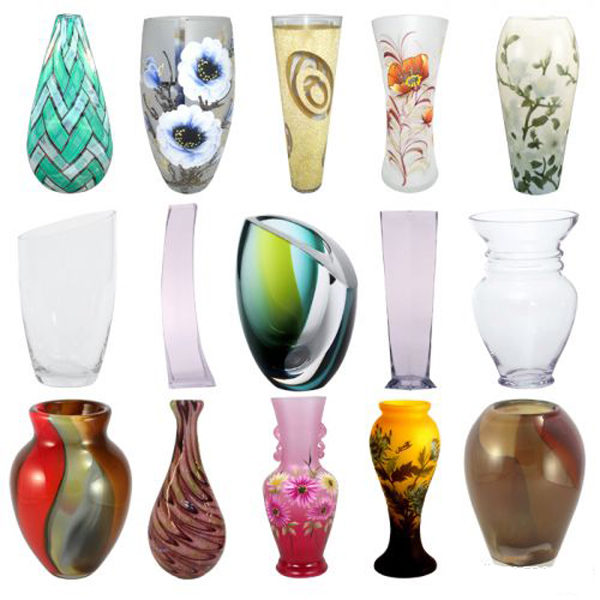
- Vases can be voluminous, with a more convex lower part and handles available on the sides. Such vases are similar to ancient Greek. When drawing, they can be decorated with intricate patterns.
- Simple and concise vases of a smooth shape without handles.
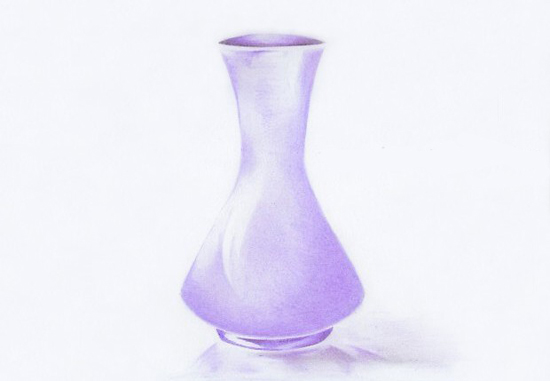
- Glass vases with an oblong cylindrical shape with a slightly lean throat. It is perfect to draw such a vase with one rose flower.
- Modern vases are the most unusual and strange forms. These can be completely direct cubic vases, narrow cylindrical, slightly convex in the central part, vases with asymmetric sides, triangular and round vases.
- Such a wide variety of forms and types of vases will help you understand, for example, how to draw a glass vase or how to draw a vase with flowers for beginners.
Features of phased drawing of a vase
- The phased drawing of a vase is a completely simple process that only requires a sense of proportion from you.
- You can start drawing vases from the simplest shapes. This can be a strictly straight vase in the form of a long cylinder or prism.
- For beginners, you should start learning to draw a vase using a regular simple pencil, a sheet of white paper and an eraser.
- The initial stage of drawing - will learn to draw the vase itself, and then you can portray a more complex composition, for example, draw a vase with a bouquet of flowers.
- As already noted, it is best to start drawing a vase with a simple pencil. This is suitable for teaching children who are still afraid to make a quick and clear touch.
- In the future, you can try to draw a vase with paints, which will allow you to get a brighter pattern.
- Beginning artists do not need to choose some complex forms and try to draw a vase with all shadows and transitions. At this stage, you can do with elementary forms with simple lines, without volume.
- In order to clearly imagine how to draw a vase with flowers, fruits, large bouquets, it is important to see a real object in front of you. Put your favorite vase in front of you and try to draw it. Then you can add one flower, for example, a tulip and complicate your drawing. Clearly following each stage, you can quickly and easily learn to draw a vase.
How to draw a vase with a pencil in stages for beginners
Before starting drawing, put several sheets of white paper in front of you, since everything does not always work out the first time. Also take a well -sharpened hard simple pencil, you can also buy softer pencils for creating shadows. Be sure to arm yourself with an eraser that will help you and your child feel more confident.
Let us give an example of several options for drawing a vase in stages with a detailed description.
How to draw a simple vase - instruction
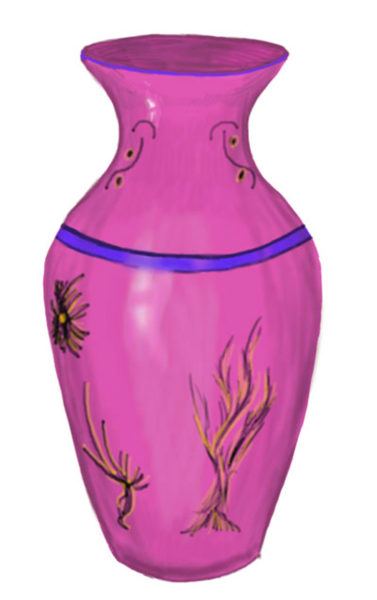
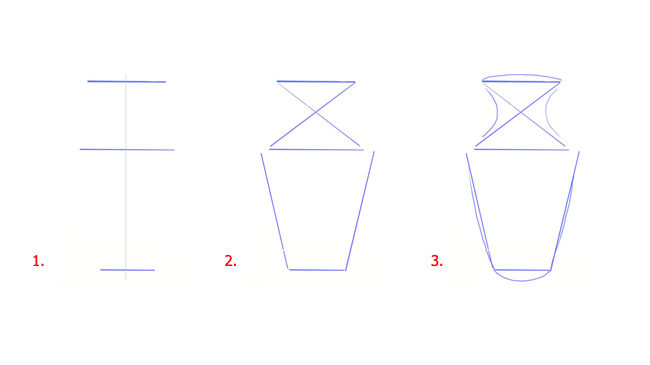
- Put a sheet of paper in front of you, pick up a pencil and draw the initial marking, on which we will draw a vase. Marking is an even vertical line in the center of the sheet, which is crossed by three horizontal lines denoting the top of the vase, the middle and bottom. Make the upper line medium length, the lower one is short, and the central one is the longest. More details, how to draw markings, is shown in Figure number 1.
- At the next stage, it is necessary to connect the previously drawn marking lines using the ruler. Connect the upper and central horizontal lines with the diagonal, and connect the central and lower lines using straight lines, which form a semblance of a trapezoid. Do not press the pencil too much, the lines are only the basis, in the future they will need to be erased with an eraser.
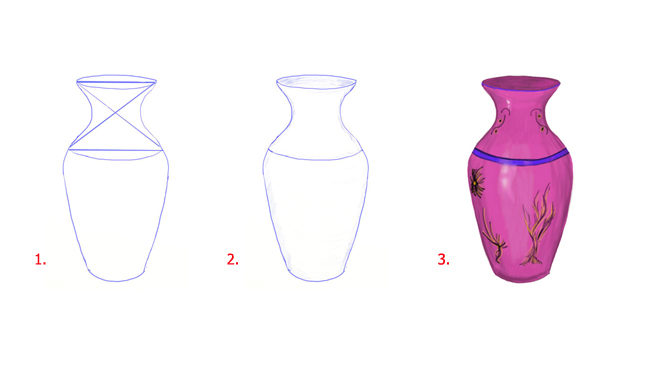
- Further, along the drawn schematic lines, it is necessary to give our vase the real outlines. This is done with the help of smooth and light lines, while also do not press the pencil much, since these lines are not yet final. It is necessary to draw the neck of the vase, the smooth bend of the entire neck, then round the base.
- At the next stage, we will proceed to a more specific drawing of the outlines of the vase. With a sharp simple pencil, carefully lead a smooth line, connecting all parts of the vase. Both sides of the vases should eventually turn out to be symmetrical. The central part will be the widest and most convex, while it is important to make the neck narrow.
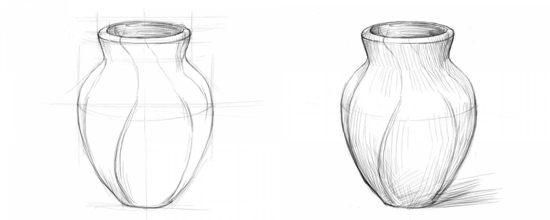
- Next, we remove all the extra lines and strokes with the eraser and you can try to make shadows on the walls of the vase with a milder pencil. The part of the vase on which the light falls will be lighter, the rest can be slightly shaken. The further part of the vase from lighting, the more dark it should be.
- At the last stage, you can show your imagination and come up with an interesting vase pattern. Then take colored pencils or paint and paint your vase.
How to draw a vase with flowers in stages
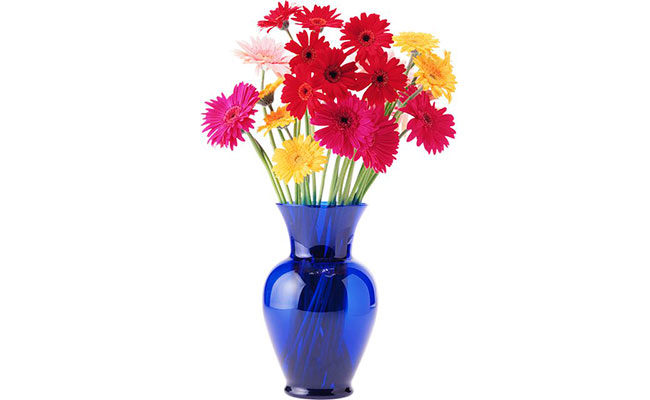
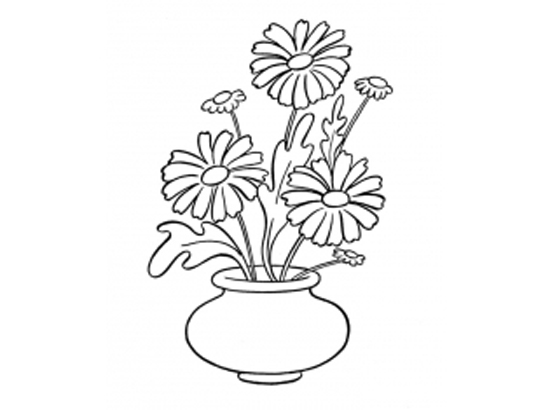
How to draw a simple vase described above, now you can try to draw a glass vase with a beautiful bouquet of flowers. Flowers can be very different. At the initial stage, give preference to the simplest. You can draw a fresh spring bouquet of daffodils and tulips. Having learned how to draw such an unusual vase with flowers, in the future your child will certainly give something similar to you for a holiday.
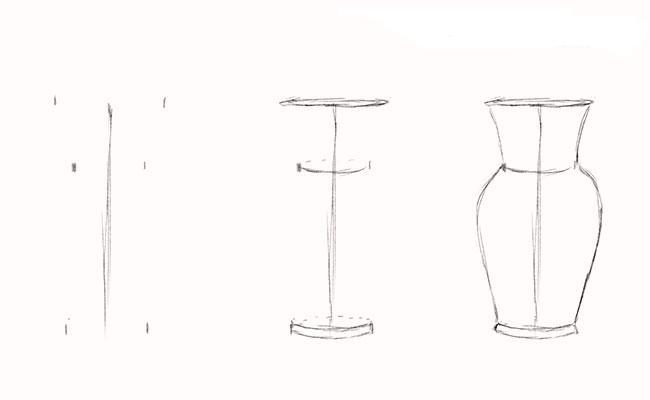
- Take a blank sheet of white paper and a well -sharpened simple pencil. In this case, at the initial stage, it is best to arm yourself with a solid pencil, softer will be used to create shadows and lines. In the center of the sheet, draw the marking of the future vase. You need to draw a vertical line, this can be done by hand or using a ruler. On both sides of this line, mark the upper part of the vase, its central part and lower ones with small strokes. At the same time, consider that the central part will be the most convex. Then connect all the strokes with slightly curved lines, which will give your vase volume. Next, a little schematically draw the overall contour of the vase.
- Wash all the extra lines and proceed to drawing the colors of our spring bouquet. In the beginning, a little randomly depict the circles - here we will draw the heads of our colors. Next, draw the core of each flower in the form of a wavy line connected in a circle.
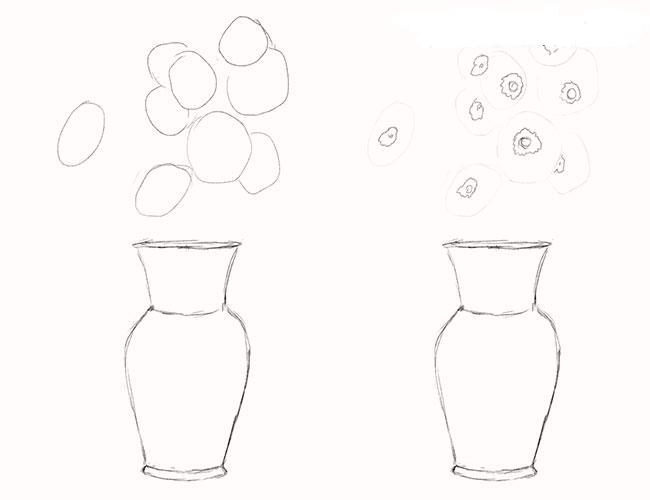
- At the next stage, you can start drawing the Herber petals. First, draw just ordinary strokes long, like petals. Then connect every two lines into one petal. You need to draw a lot of petals, since Herbera has very magnificent inflorescences. The petals are drawn in layers, applying one on one. It is not necessary to draw each line here. Thus draw petals in all colors.
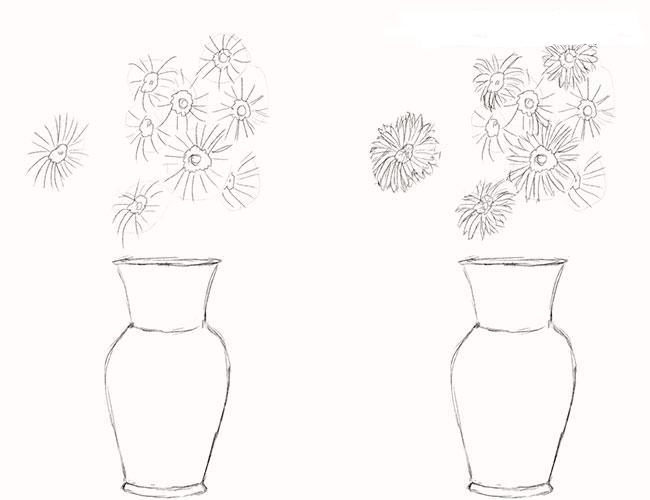
- Next, proceed to draw the stalks of colors. Since our vase is glass, the stems will be visible over its entire length. Do not clearly draw lines of stems, make sloppy strokes, so they will look more natural. In the bouquet itself, you can draw several unsuccessful flower buds. At the same time, make sure that the proportions of the vase and flowers are preserved.
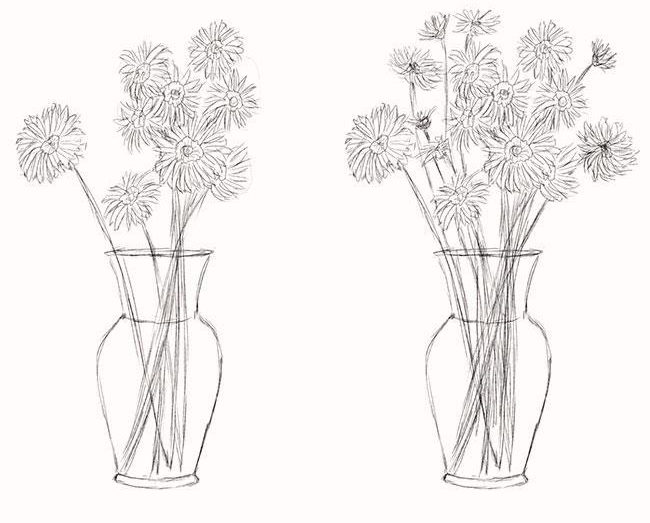
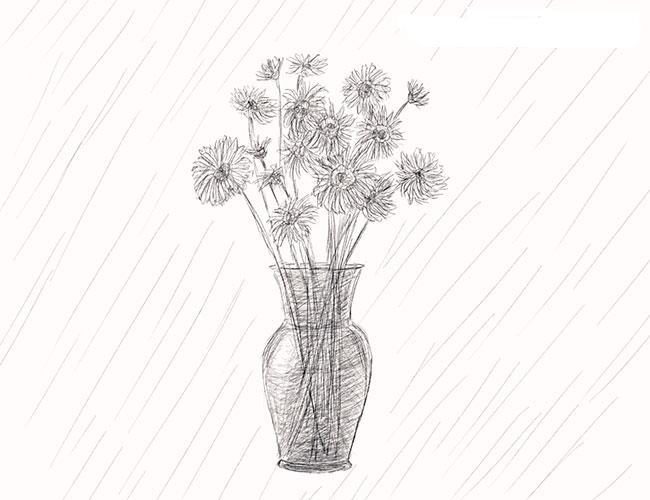
- At the last stage, it is necessary to remove all extra lines and strokes. Then take a softer pencil and circle the vase contour. The internal area of \u200b\u200bthe vase must be slightly shaved, observing the location of the shadows. The place where the light falls must be made lighter. Our vase is ready, if desired, it can be painted with paints or colored pencils. Together, Gerber can draw any other flowers.
How to draw a vase with tulips - instruction

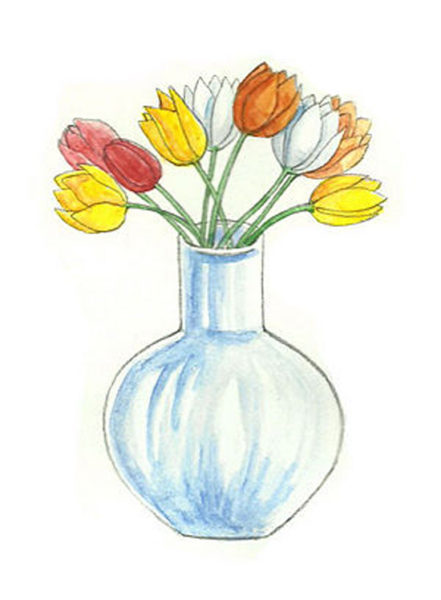
Tulips are one of the very first spring colors. It is their most often that children give mothers on March 8, they are drawn on all kinds of cards and drawings. Here is a option of drawing a vase with tulips for beginners. Even children will master this technique.
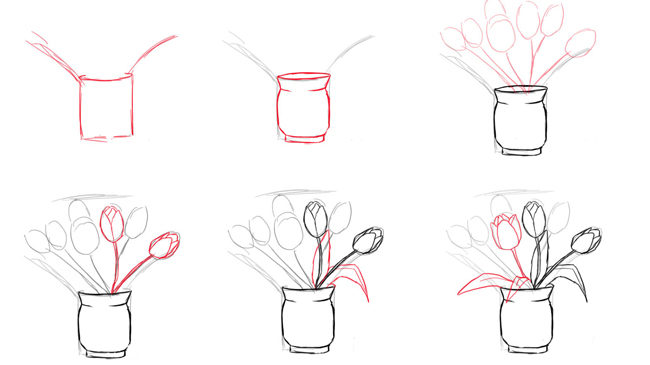
- First of all, we draw the shape of a small cylinder. The height of the cylinder is low, we will draw a fairly simple variant of the vase. Next, from the cylinder we draw straight lines that are diverging to the sides. In this way, we will outline the contours of our future bouquet of tulips. For a schematic image, it is best to use a simple pencil.
- Next, we give a specific form of a vase. Reduce the lower part, make slightly mowed edges at the base. Pay attention to the neck of the vase, make it a little expanding.
- At the next stage, we will start drawing tulips. First of all, you need to portray them schematically. To do this, draw the stems approximately equal to length. The number of colors is 7, so you need to draw as many small ovals that we will subsequently transform into tulips.
- Next, you can deal with the drawing of tulips petals. To do this, divide the upper part of the ovals into petals with pointed edges. It is best to draw slightly blossoming tulips, so the bouquet will look more fresh and natural.
- In addition to the colors, you need to draw leaves. In tulips, the leaves are oblong with a pointed edge, slightly bending at the tip.
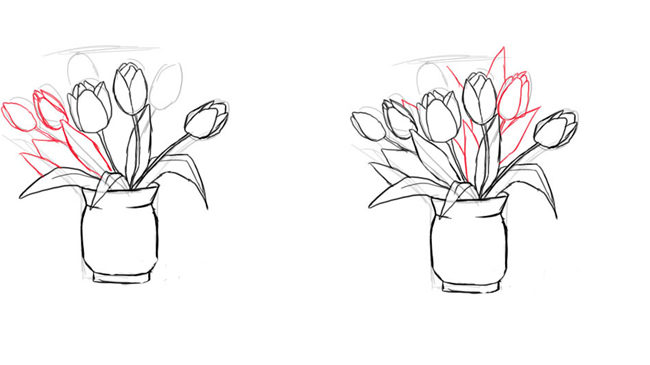
- We continue to draw tulips buds to varying degrees of opened. Do not be afraid to add a lot of leaves. From this, your bouquet will look even more beautiful. The extreme leaves can be portrayed a little hanging over the edge of the vase.
- At the last stage, erasure all the extra lines and a milder pencil, circle the contour of the vases and tulips.
- If desired, a vase with tulips can be painted with paints.
How to draw a vase with a rose - instruction
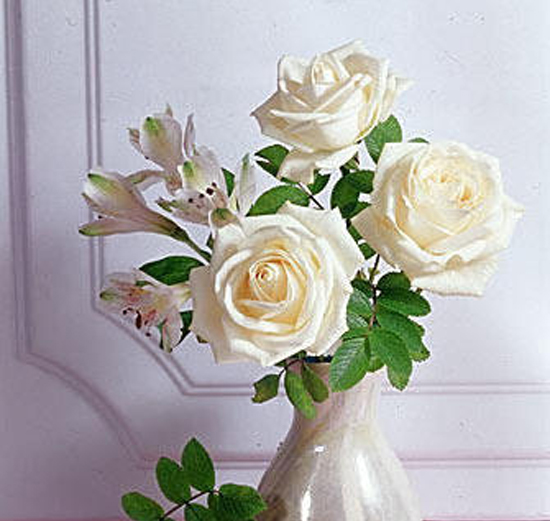
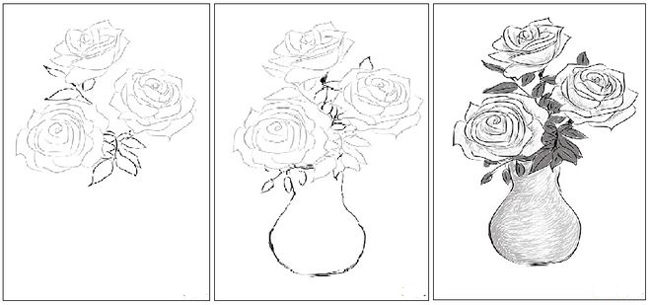
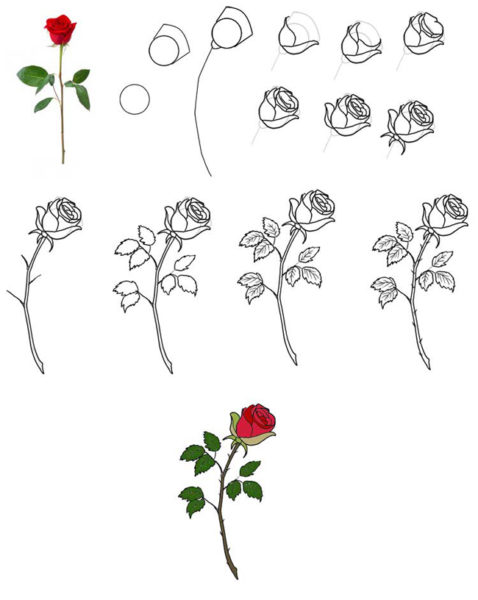
- Having trained a hand on drawing a vase in previous descriptions, you can easily draw a vase with roses. The simplest way is to image a narrow and fragile vase with one rose.
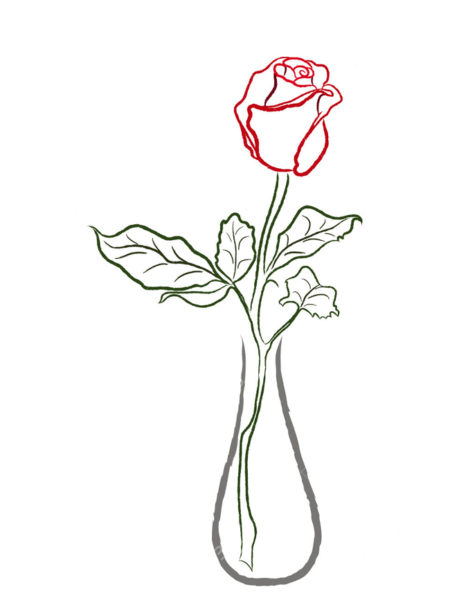
- To draw such a rose, there are a huge number of phased lessons on the Internet. You only need to learn how to draw all the petals and the rose as a whole, but in this version you draw elementary. Let us give an example of a phased image of a rose with closed petals.
How to draw a vase with a verba - instruction
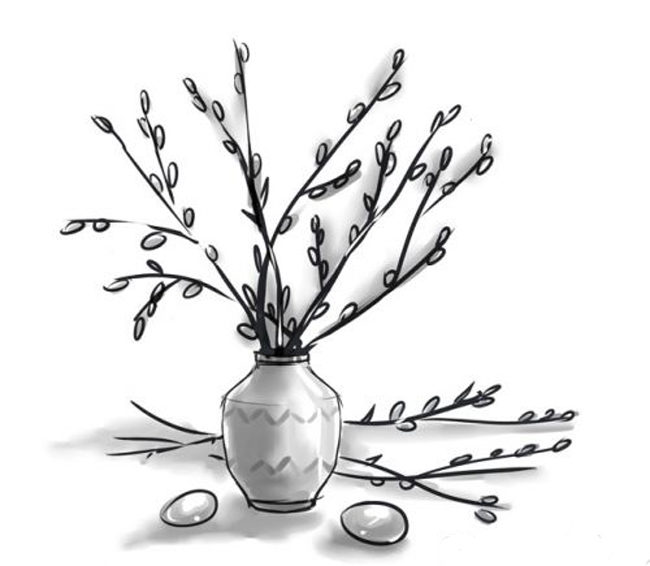
Another option for drawing a vase is its image not with a bouquet of flowers, but with several twigs. It is Verba that is considered the first messenger of spring, its cats are portrayed on all spring cards. In addition, the verba is one of the symbols of Easter holiday. Let's try to draw a vase with the vertebral branches in stages and you will get a great gift for the spring holiday.
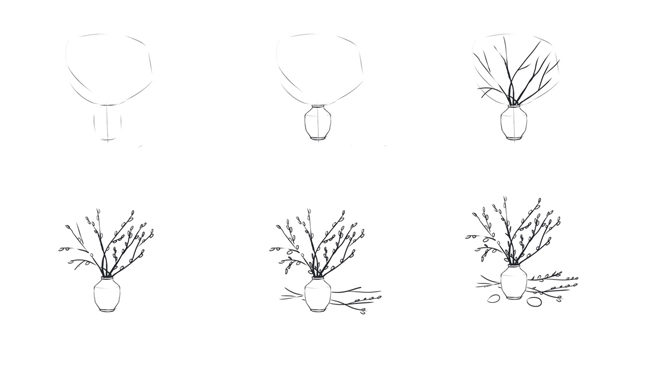
- The vase will draw a very small size of a slightly round shape. To do this, draw a small vertical line in the central part of a sheet of paper, then measure two horizontal lines from it in the upper part and the lower. In parallel to the central line, draw slightly rounded lines, which then become the walls of the vase. From the upper part of the vase, draw the diverging lines at an angle. Thus, we note the location of the vertebrae branches.
- Next, draw the specific outlines of the vase. The central part should turn out to be wider and more convex, which gradually narrows to the neck and base.
- With a simple pencil, draw the vertebral branches. To do this, just draw two lines that narrow at the very top, additionally draw small twigs. Verba branches must be drawn so much that proportions are preserved.
- At the next stage, you can begin to draw white and fluffy vertical cats. This is a very simple stage, since each cat has the shape of a small oval, which must be drawn along the entire length of the vertebral branch.
- Draw a couple of vertebrae branches with blossomed cats near the vase. This will give your drawing volume and plot.
- At the last stage, erasure all extra lines with an eraser and draw several Easter eggs on the table near the twigs of the vertebra.
- If desired, the drawing can be painted and made a beautiful congratulatory card from it.
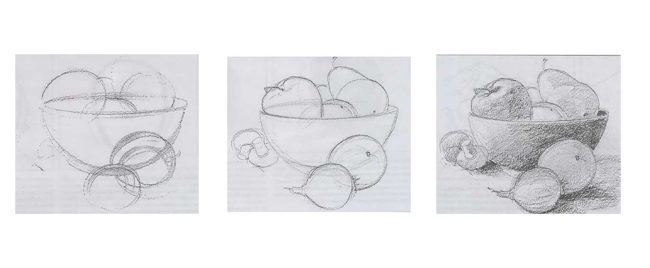
How to draw a vase with fruits with a pencil - instruction
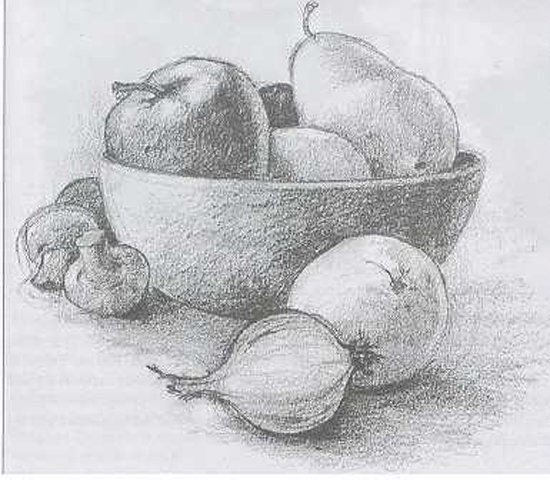
The vase is used not only for colors and willows, deep and wide vases are often used to store fruits.
- A vase with fruits is very simple. You do not need to think more about how to draw for children, because with the help of this description you will not only draw a beautiful fruit vase, but also study the name of some fruits.
- Schematically draw a semicircular vase with the contours of pears and apples inside. Fruits are only partially visible, so it is necessary to draw only halves. In addition, you do not need to draw the inside of the vase, it will be hidden by fruits.
- Fruits can also be drawn on the table near the vase. This will give your drawing volume.
- Take a softer pencil and circle the contours of the vase well and draw apples and pears more clearly. Next, you need to erase all the extra lines and give the objects of the shadow.
- Our vase with fruit is ready.
How to draw a watercolor vase - instruction
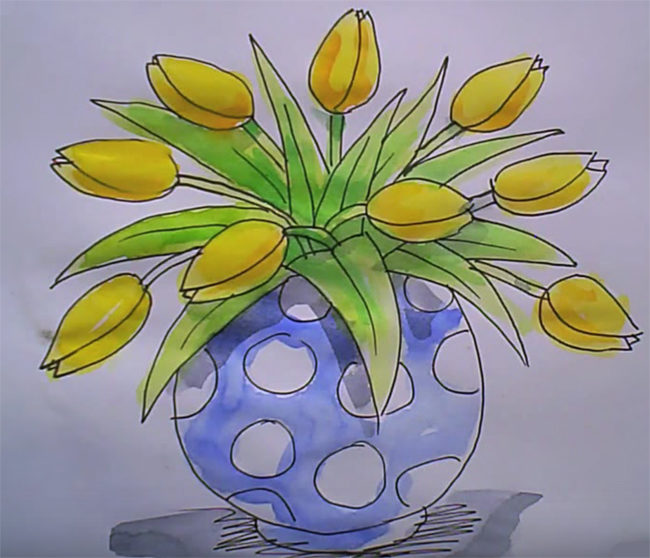
- After you have mastered the technique of drawing a vase with a simple pencil, you can begin to draw paints, or rather, watercolor.
- Schematically depict a rounded vase, as well as stems of tulips with small ovals instead of inflorescences.
- After that, carefully finish the leaves of an oblong slightly pointed shape.
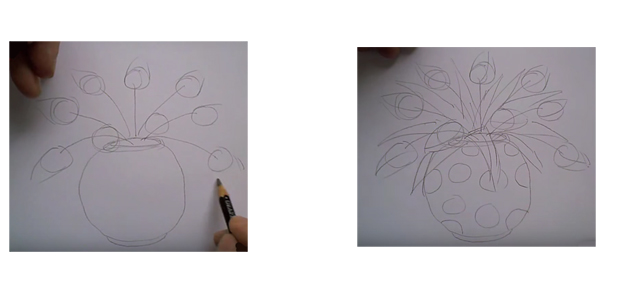
- On a vase, draw beautiful peas and draw more clearly flowers and leaves.
- Then take watercolor paints and gradually begin to paint each element of your drawing.
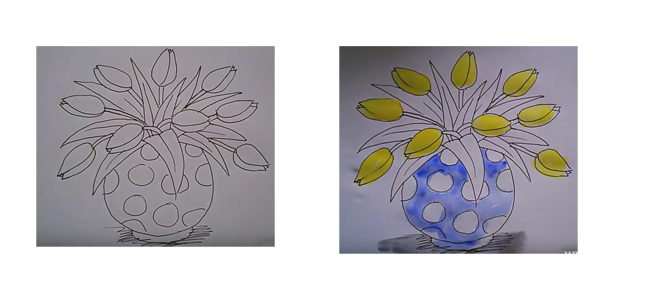
Photo of drawn vases

Having viewed all the listed steps of drawing a vase in different versions, you, together with your child, quickly and can easily draw your own masterpieces.


Comments
a couple of years ago, there was no side of metrogils from the same problem, there were no side effects ...
I’m not a fan of peeling at all, it saves from acne of metrogil, it also smoothes it ...
Great article! ...
I take the second course of the Capsules Climafite 911. The tides went very quickly. It became calmer, irritability went away and I sleep well ...
i also noticed - it is worth nervous, everything immediately affects the face. Therefore, I try to avoid conflicts and unpleasant people. Of the creams, I like Miaflow from wrinkles - smoothes not only small wrinkles ...